Menu navigation – Vinpower Digital HDDShark User Manual
Page 8
5
Menu Navigation
The system is essentially composed of various functions and settings that organized into a
menu tree structure ease of operation. User normally uses four primary navigation buttons on
the Control Panel to navigate through the menu chart and select the desired function or setting:
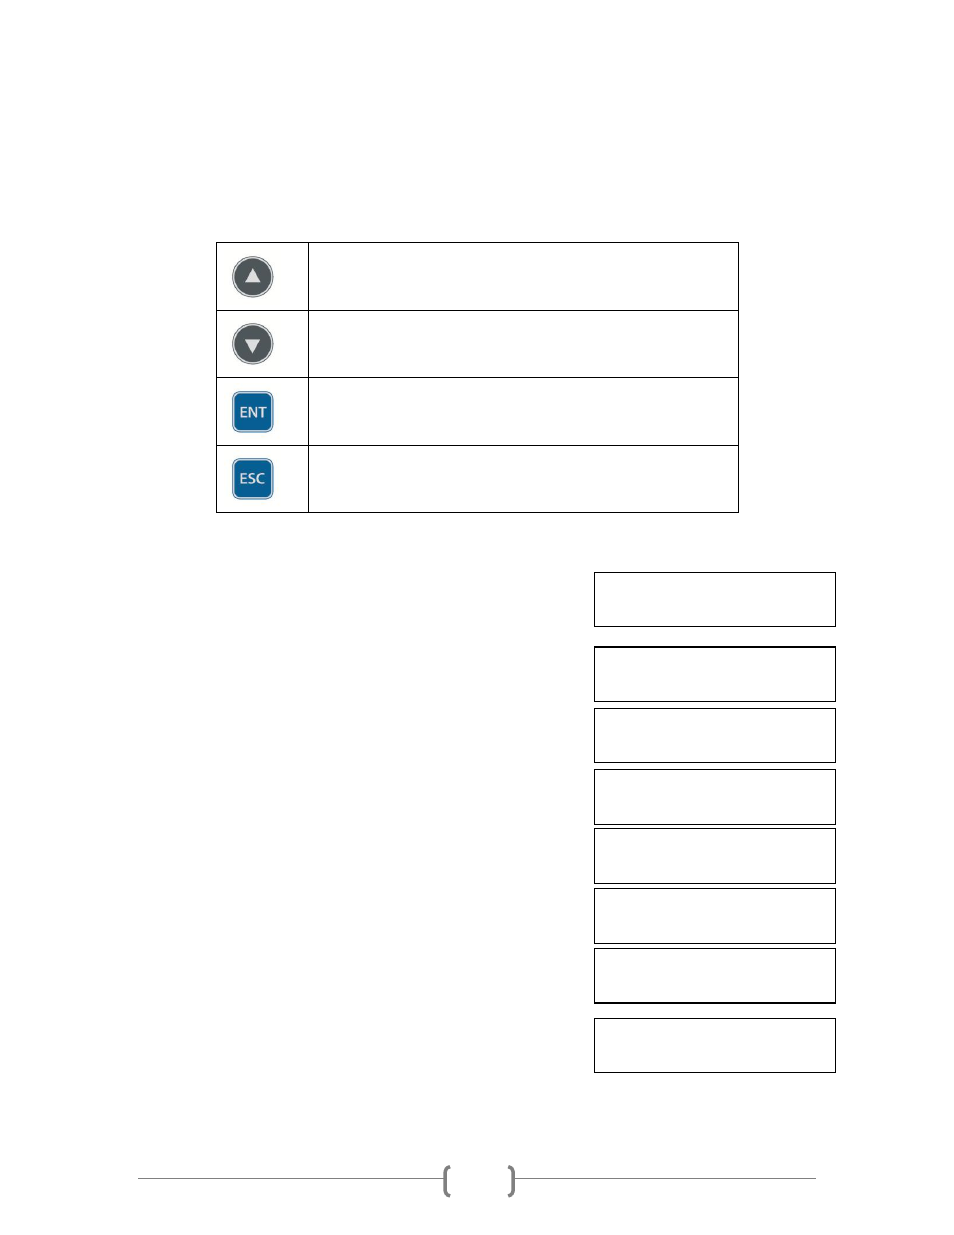
Menu/Option Scroll Up
Menu/Option Scroll Down
Enter into the Menu
Execute the Function
Submit the Setting change
Go back to the previous Menu
Abort the current Function
Cancel the Setting change
Example: Adjust the “Buzzer” setting in the “Setup” menu:
Step 1.
Turn on the system by pressing the Power button.
After it has booted up, the main menu screen will
appear (root menu) that signifies the system is ready.
Step 2.
Consecutively press the UP or DOWN arrow button
until “Setup” appears.
Step 3.
Press the “ENT” button once to enter into the
“Setup” menu.
Step 4.
Consecutively press the UP or DOWN arrow button
until “Buzzer” appears.
Step 5.
Press the “ENT” button once to enter into the
“Buzzer” menu.
Step 6.
Press the UP or DOWN arrow button to change the
option from “On” to “Off”
Step 7.
Press the “ENT” button once to submit the setting
change. The menu will change back to the previous
menu, “Setup”.
Step 8.
Press the “ESC” button once to go back to the
previous menu, the root menu.
DUPLICATOR H.01
1.Copy (Smart)
DUPLICATOR H.01
5.Setup
Setup
1.Language
Setup
2.Buzzer
Buzzer:
On
Buzzer:
Off
Setup
2.Buzzer
DUPLICATOR H.01
5.Setup