ZeeVee ZvShow Channel (QAM & DVB-T/C) User Manual
Page 2
2
w w w . z e e v e e . c o m
C O N F I G U R I N G A N D U S I N G T H E Z V S H O W C H A N N E L
1
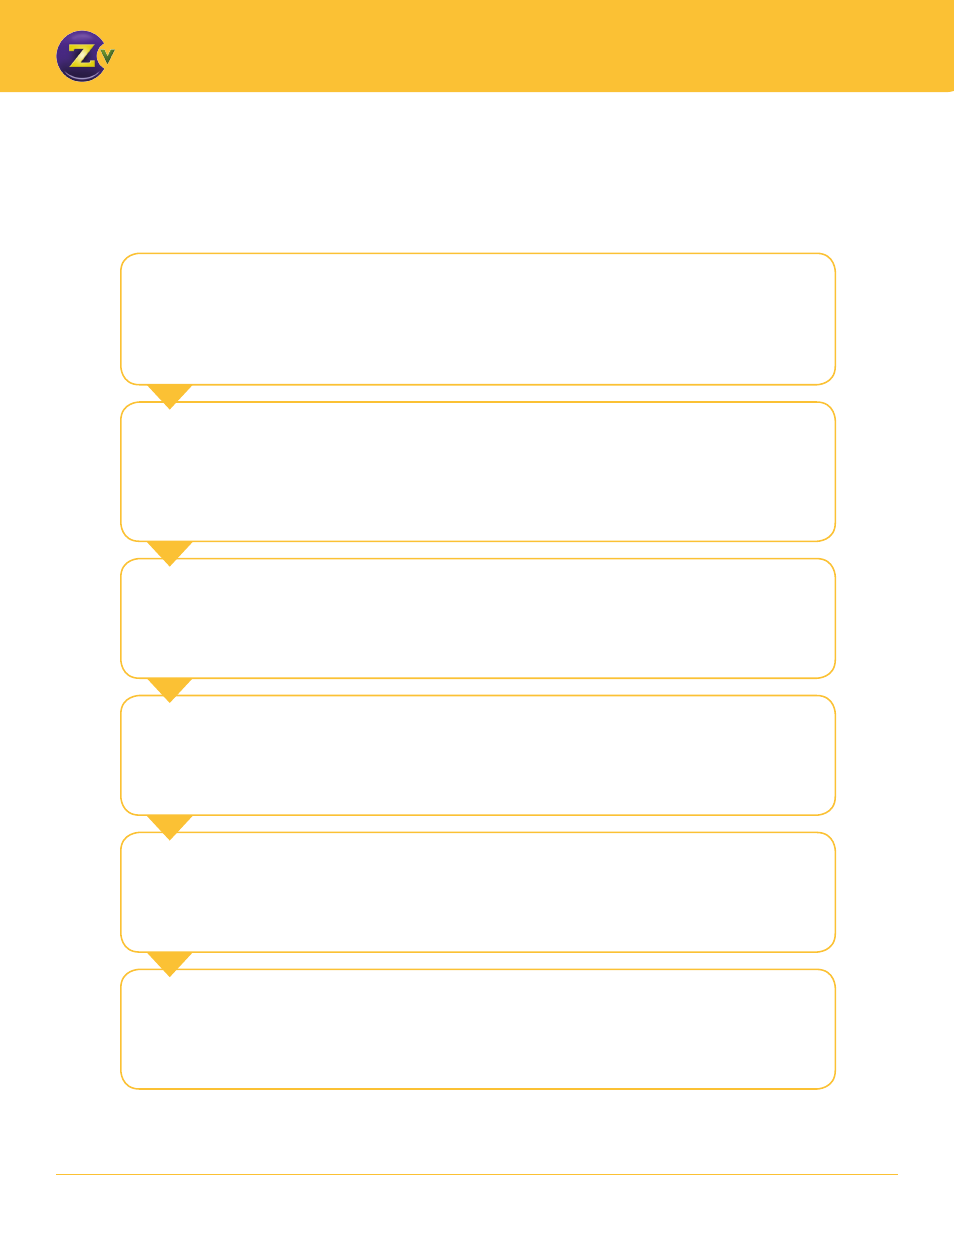
Generate a Video File –
There are a number of tools available for generation
of video that can be converted to the .zvc format. ZeeVee does not develop, manufacture
or endorse any of those tools. Some example file formats accepted by the ZvConvert tool
include .MP4 (Mpeg4 or avchd), .WMV (Windows media file), and MOV (QuickTime).
6
Scan HD Televisions –
Most digital HD televisions require a full channel scan
to pick up and display newly added channels, especially new digital sub-channels.
5
Enable ZvShow Channel –
Once the ZvShow channel has been
configured, enable it via Maestro, so the program will be sent out via the appropriate
RF channel.
4
Configure Channel Lineup –
Through Maestro, configure the new
ZvShow channel on the appropriate logical channel (Channel#). Exact placement of
the channel depends on how you want the desired presentation order to appear to
the TV viewer.
3
Upload file to ZeeVee Unit –
Once generated, the file must be loaded
in to the ZeeVee unit that will be sourcing the channel. This is easily done through
Maestro, the ZeeVee web management tool.
2
Convert a Video File –
Once a video file has been created, it must be
converted to the proper format. ZeeVee offers a conversion tool for this purpose
called ZvConvert. You can download the tool from the Technical Support/tools section
of the website (http://zeevee.com/support/tools). Instructions for using the ZvConvert
tool can be found later in this document.
Using ZvShow
To use the ZvShow functionality the user needs to follow a simple sequence of steps: