Step 2: mount the indoor bracket, Step 3: attach the camera to the bracket – ACTi E213 User Manual
Page 21
Hardware Manual
Step 2: Mount the Indoor Bracket
NOTE:
The indoor bracket is not included in the camera package and must be purchased
separately.
The pictures on the succeeding pages are for reference only, camera labels and
appearance may vary depending on camera model.
Before installing the bracket, make sure the ceiling or wall can bear more than the weight of the
camera and its accessories.
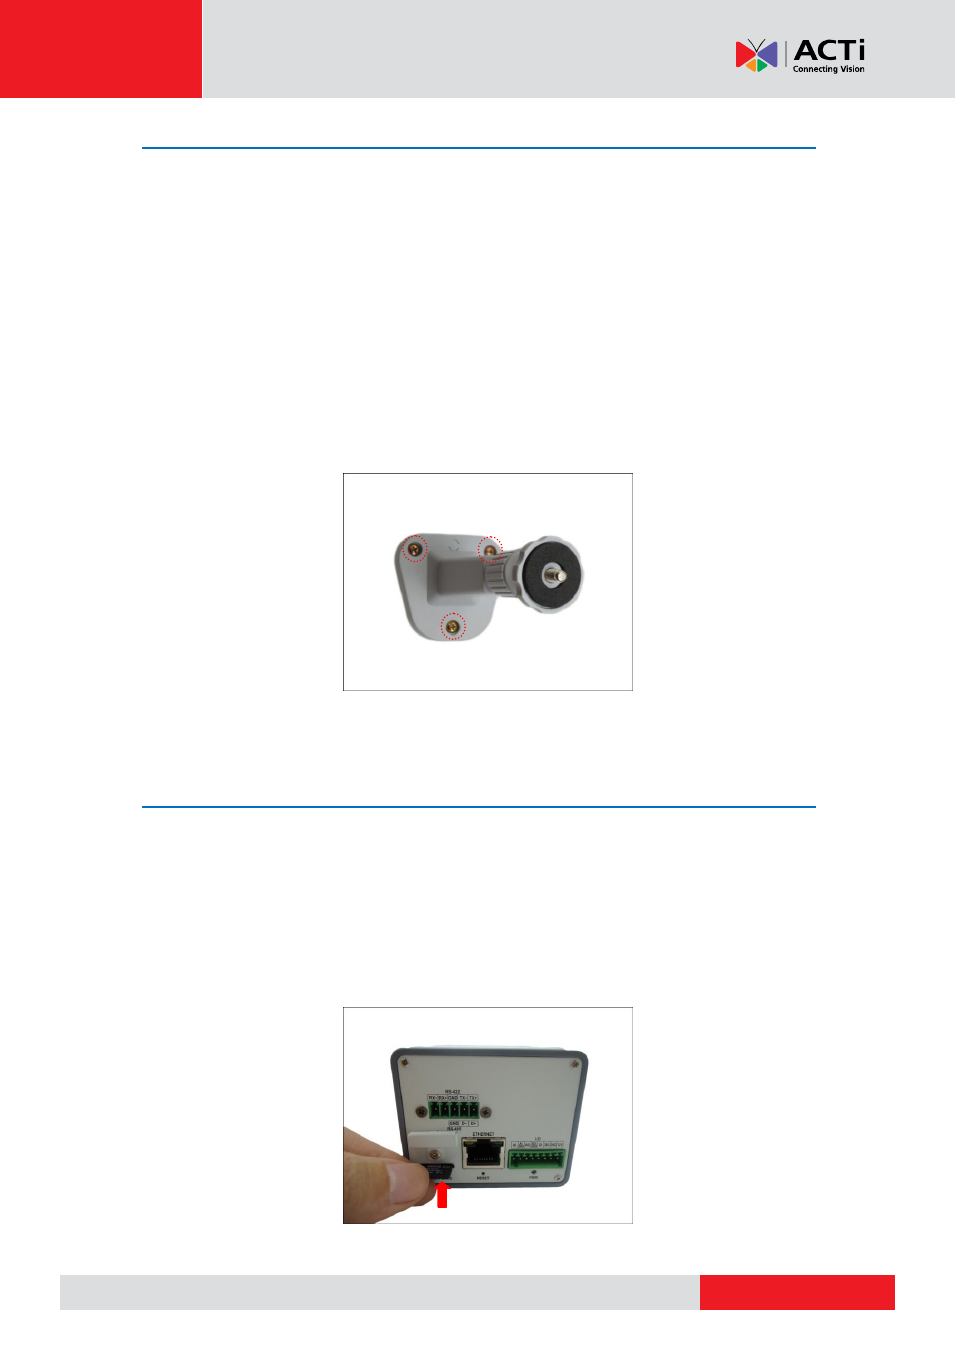
Install the indoor bracket to the ceiling or wall using the three (3) screws included in the bracket
package.
Step 3: Attach the Camera to the Bracket
NOTE:
The following images show the mounting bracket attached on the bottom side of the
camera. Same procedures apply when attaching the mounting bracket on the top side.
1.
If necessary, insert a memory card into the memory card slot of the camera with the metal
contacts facing down. Push until the card clicks into place. See
on page 25 for more information.