Using the 10-key pad, Function button, Functions – Casio CDP-200R User Manual
Page 8
General Guide
E-6
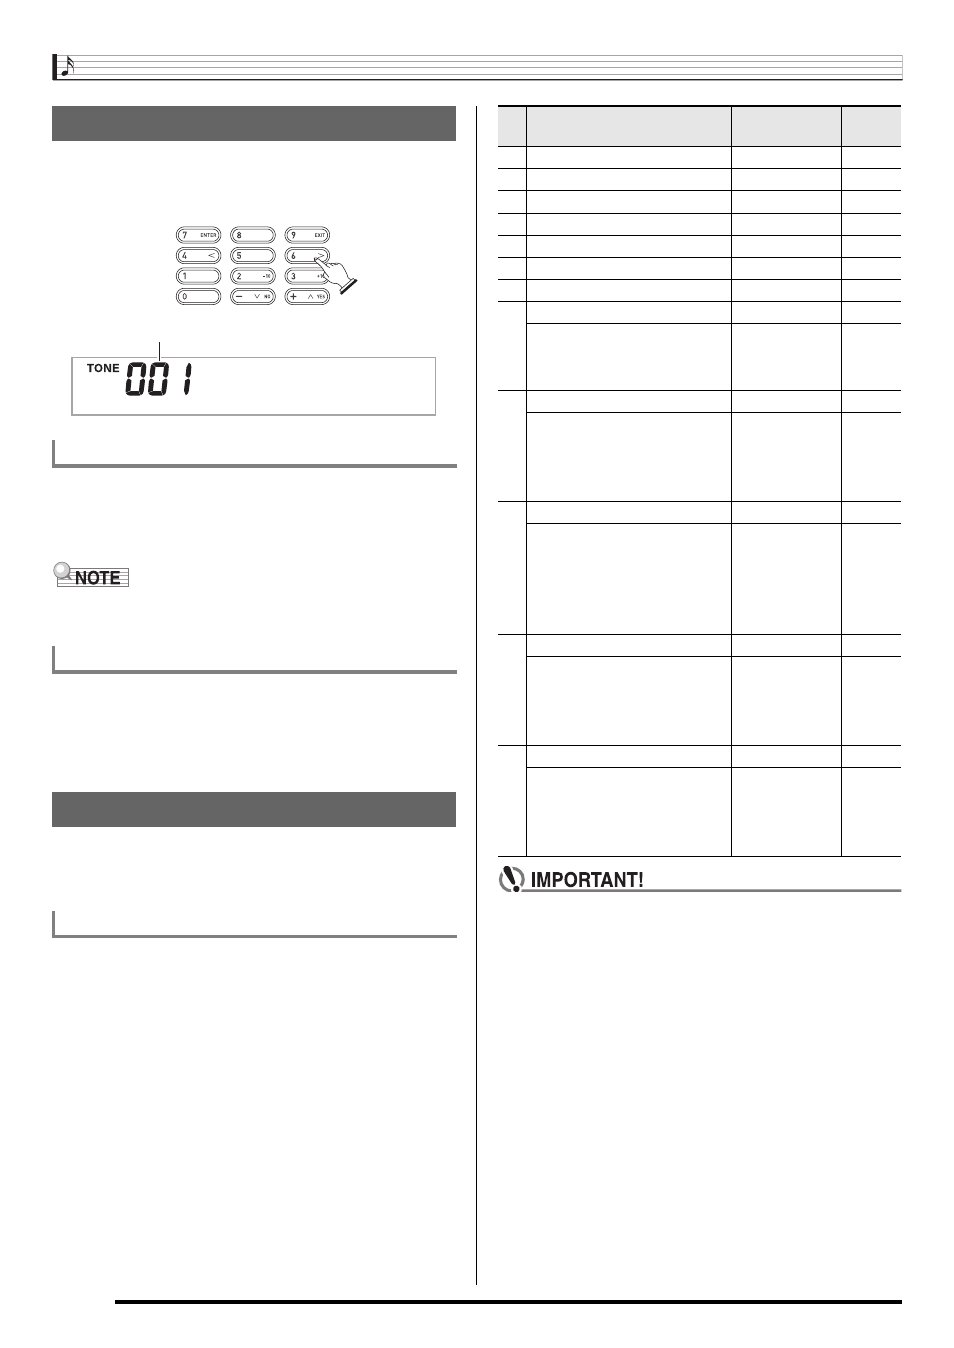
Use the number buttons and the [–] and [+] buttons to change
the settings of the parameters that appear in the upper left
area of the display.
Use the number buttons to enter numbers and values.
• Enter the same number of digits as the currently displayed
value.
Example: To enter tone number 001, input 0
3 0 3 1.
• Negative values cannot be input using the number buttons.
Use [–] (decrease) and [+] (increase) instead.
You can use the [–] (decrease) and [+] (increase) buttons to
change the displayed number or value.
• Holding down either button scrolls the displayed setting.
• Pressing both buttons at the same time will revert to the
initial default setting or the recommended setting.
You can use the FUNCTION button (
7
) to adjust the reverb
effect, to delete data, and to perform a wide range of other
Digital Piano operations.
1.
Press
7
to display the function menu.
2.
Use the
cl
(10-key) [4] (
u) and [6] (i) keys to
display the function you want.
• You can exit the function menu by pressing
7
.
• After selecting functions 8 through 12, press the
cl
(10-key) [7] (ENTER) key to display the menu item’s
submenu. Then use [4] (
u) and [6] (i) to select an
item. You can exit a submenu by pressing the
cl
(10-key) [9] (EXIT) key.
3.
Refer to the indicated pages for details about
each function.
• The tone and other parameters revert to their initial
defaults whenever you turn on power (page E-8).
Using the 10-key Pad (
cl
)
Number Buttons
[–] and [+] Buttons
FUNCTION Button (
7
) Functions
To select a function
S t . G r P n o
Setting
Function
Display
See
Page
1
Transpose
Trans.
E-14
2
Accompaniment Volume
AcompVol
E-39
3
Song Volume
Song Vol
E-26
4
Touch Response
Touch
E-9
5
Tuning
Tune
E-14
6
Reverb
Reverb
E-13
7
Chorus
Chorus
E-13
8
Sampling
SAMPLING
Automatic Sampling Start
AutoStrt
E-22
Automatic Sampling Stop
AutoStop
E-22
Sampled Tone Protect
(Protect)
E-23
9
Step Up Lesson
LESSON
Voice Fingering Guide
Speak
E-31
Note Guide
NoteGuid
E-32
Performance Evaluation
Scoring
E-32
Phrase Length
PhraseLn
E-32
10 Other Settings
OTHER
Arpeggiator Hold
ArpegHld
E-54
Pedal Effect
Jack
E-14
Pitch Bend Range
Bend Rng
E-15
Accompaniment Scale
AcompScl
E-53
LCD Contrast
Contrast
E-9
11 MIDI Settings
MIDI
Keyboard Channel
Keybd Ch
E-63
Navigate Channels
Navi. Ch
E-63
Local Control
Local
E-64
Accomp Out
AcompOut
E-64
12 Delete
DELETE
Sampled Sound Delete
(tone name)
E-23
User Rhythm Delete
(rhythm name)
E-43
User Song Delete
(song name)
E-55
All Data Delete
All Data
E-55