Casio QV-200. User Manual
Page 18
69
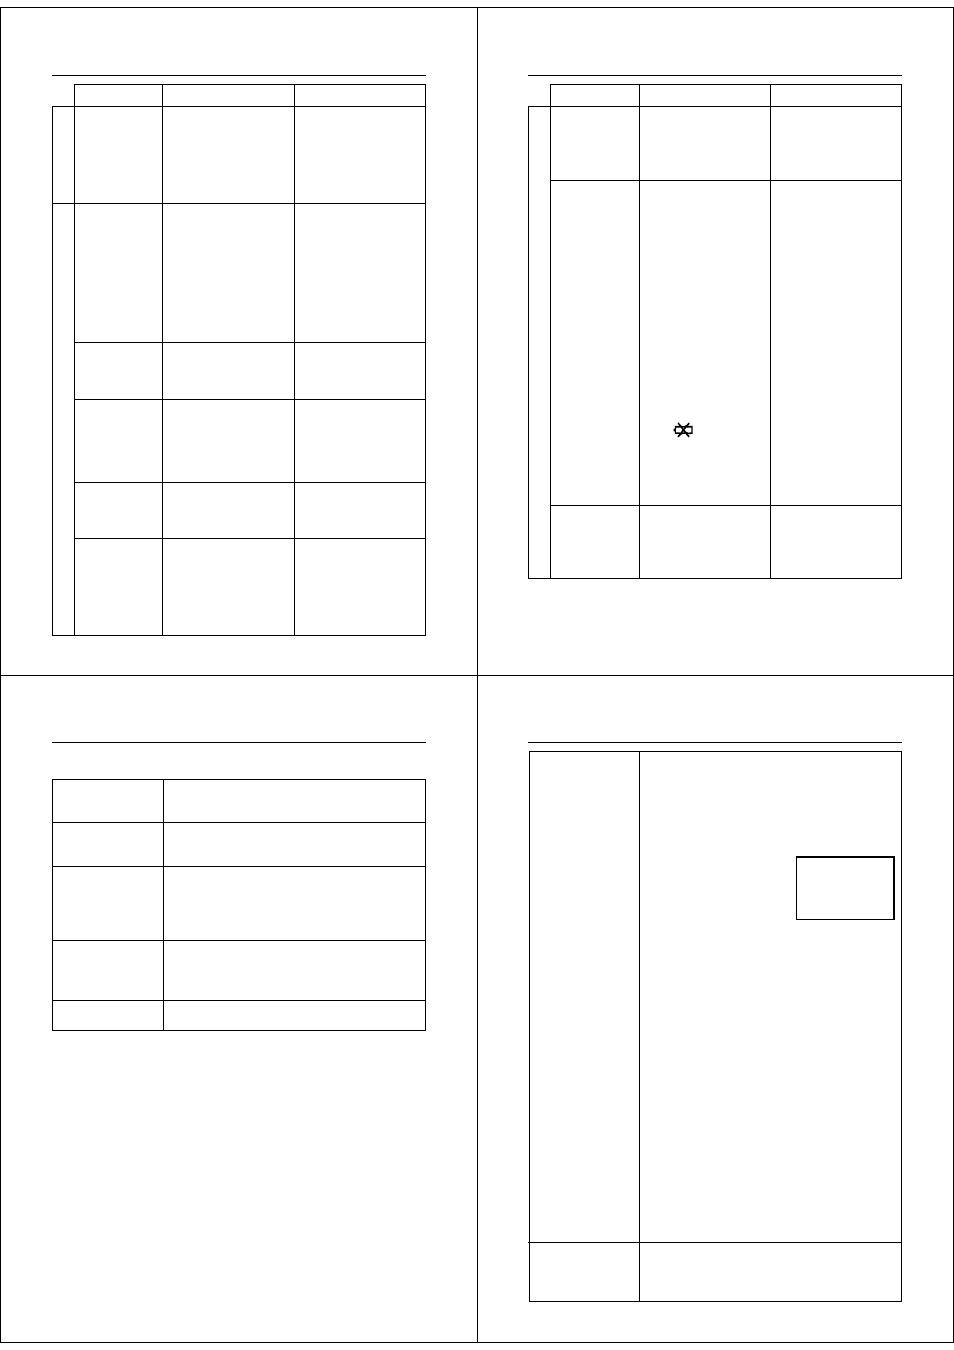
Symptom
Probable Cause
Action
1. Unprotect the page
you want to delete
(page 50).
2. Change to a normal-
size, 1-page display
format.
Remove batteries and
disconnect the AC adap-
tor if you are using one.
Restore power and turn
the camera on. If this
does not work, contact
your dealer or an author-
ized CASIO service pro-
vider.
Adjust the BRIGHT set-
ting (page 11).
Remove batteries and/or
unplug the AC adaptor.
Reload batteries and/or
plug in AC adaptor and try
operation again.
A d j u s t t h e B R I G H T
(brightness) setting.
1. C o n n e c t c o r r e c t l y
(page 58).
2. Turn power on after
connecting cable.
3. Set function switch to
PLAY (page 31).
1. A l l p a g e s a r e p r o -
tected.
2. M u l t i - p a g e d i s p l a y
(page 34) or zoom dis-
play (page 36)
Malfunction due to static
electrical charge or strong
impact
Wrong BRIGHT setting
Malfunction due to expos-
ing camera to electro-
static charge.
Incorrect BRIGHT setting
1. Incorrect cable con-
nection
2. Camera connected to
is not turned on.
3. Function switch sets to
REC.
Delete opera-
tion does not
start when DEL
is pressed.
All buttons and
switches do not
operate.
Very bright or
very dark LCD
image.
No buttons or
switches oper-
ate.
LCD monitor is
too bright or too
dark.
C a n n o t e x -
change data be-
tween two cam-
eras
Other
Deletion
70
Reference
Symptom
Probable Cause
Action
Pressing MODE
does not change
t h e F I N E
NORMAL Menu.
Cannot transfer
d a t a ( e r r o r
keeps occurring)
K e y s o f c o n -
nected camera
are disabled.
1. Correct the situation
and try again.
2. Correct the situation
and try again.
3. C h a n g e f u n c t i o n
switch setting of re-
c e i v i n g c a m e r a t o
PLAY (page 31).
4. The sending camera’s
p r o t e c t e d m e m o r y
pages are hidden. Un-
hide protected memory
pages by holding down
[–] while turning power
on (page 52).
5. Replace batteries or
use the AC adaptor
(page 13).
6. Securely reconnect the
cable.
Normal operation will re-
turn when you exit data
communications by press-
ing EXIT.
There are no convertible
images in memory.
1. S e n d i n g c a m e r a ’ s
memory is empty.
2. Receiving camera’s
memory is full
3. Receiving camera’s
function switch is in
REC position.
4. The message “ALL
DATA IS PROTECT-
ED” is on the monitor
of the sending camera.
5. Low battery (indicated
by
)
6. Disconnection of cable
during data communi-
cation
Connected camera op-
eration is disabled during
data communications.
Troubleshooting
Other
71
Camera is set up to hide protected images, and all
images are protected.
ERROR
Error during data communication. Check cable con-
nections and mode settings.
REMAIN
No more memory for FINE images. Use MODE to
change to NORMAL Mode, delete some images, or
change resolution of existing images from FINE to
NORMAL.
MEMORY FULL
Not enough memory for further recording. Delete
some images from memory or change resolution of
stored images from FINE to NORMAL.
MEMORY EMPTY
No images are stored in memory.
ALL DATA IS
PROTECTED
Messages
72
Reference
Problem with internal memory. Perform the following
procedure.
Important!
The following procedure deletes all images stored in
memory. You can use the optionally available floppy
disk drive (FD-10V) or connection kit (LK-10V/LK-2V)
to make copies of images before deleting them.
1. Holding down the EFFECT
and DEL buttons, turn on
camera power.
2. After checking that the SYSTEM RESET message
is on the display, press the shutter button to per-
form a system reset or turn power off if you do not
want to perform a system reset.
• Never turn off power while the system reset is in
progress! Doing so will damage camera memory
are require servicing by an authorized service
provider!
• Be sure to power the camera using the AC adap-
tor or a new set of alkaline or lithium batteries.
Weak batteries or manganese batteries can re-
sult in a power failure while the system reset
operation is in progress, causing damage to cam-
era memory.
After the final “SYSTEM RESET” confirmation mes-
sage appears, press the shutter button.
The display should return to normal after the system
reset is complete.
Important!
• System reset can result in a change in the order of
images stored in camera memory.
• Corrupted images may be lost entirely.
• If image data is partially corrupted, parts of the im-
age may not be recoverable.
Problem with internal memory. Contact your dealer or
an authorized CASIO service provider.
MEMORY ERROR
#1~#3
CONSULT THE
OWNER’S MANUAL!
SYSTEM RESET
YES
SHUTTER
NO
CALL TECH
SUPPORT
MEMORY ERROR
#4
CONSULT THE
OWNER’S MANUAL!