Casio QV-200. User Manual
Page 7
25
Recording Images
Exposure Adjustment
This camera features an automatic exposure (AE) function that auto-
matically changes the shutter speed in accordance with lighting. In
addition, you can also manually adjust the exposure to compensate
for backlighting, indirect indoor lighting, dark backgrounds, and other
special conditions.
To manually adjust the exposure
1.
Enter the Record Mode.
•
Set the function switch to the REC position.
2.
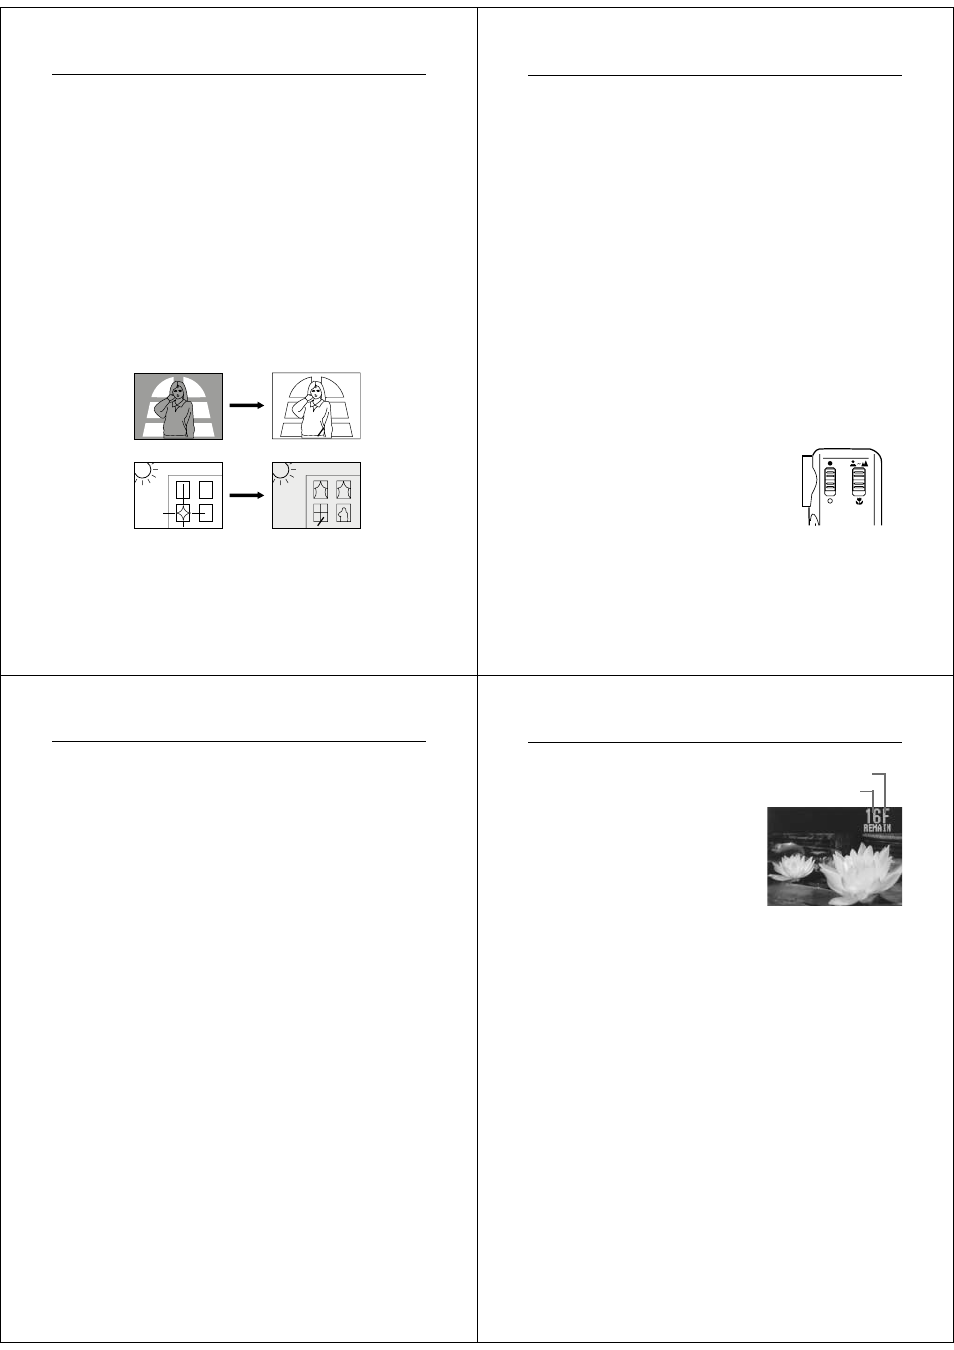
Use the [+] and [–] buttons to manually adjust the exposure.
•
Pressing [+] makes the image on the LCD brighter. Use it to
adjust for dim indoor lighting and backlighting.
•
Pressing [–] makes the image on the LCD darker. Use it to
adjust for bright sunlight.
3.
After adjusting the exposure, press the shutter button to
record the image.
+ –
+ –
Operation
26
Notes
• Exposure adjustment is generally expressed in terms of an expo-
sure adjustment value. The exposure adjustment value is always
set to zero whenever you turn on the camera.
• The exposure adjustment value is changed by 0.25 with each press
of [+] or [–]. The range of the value is -2 to +2.
• The exposure adjustment value automatically reverts to zero when-
ever the shutter button is pressed. You can manually reset the ex-
posure adjustment value by using [+] and [–] to change the value
back to zero, which is indicated when the +/– indicator disappears
from the monitor.
Important!
• When the exposure adjustment is too bright or too dark, you may
not be able to adjust within the range of -2EV to +2EV.
Changing the Aperture Setting
There are two aperture settings you can use to match lighting condi-
tions. Use the aperture switch to change the aperture setting.
• Use the [
] (F8) setting to decrease expo-
sure. This setting works best outdoors.
• Use the [
] (F2) setting to increase expo-
sure. This setting works best indoor and
with back lit images.
Note
• Also see page 28 for information about exposure warning indica-
tors.
27
Recording Images
Record Mode Displays
The following provides details on the images, indicators and mes-
sages that appear on the LCD in the Record Mode.
Image Display
An image of the object that is picked up by the camera’s lens appears
on the LCD. The camera is designed to refresh the image on the LCD
about seven times per second. Because of this, you may experience
a feeling of jerkiness in the changing image if you move the camera
quickly. This is normal and does not indicate malfunction.
Note
• The LCD image that appears in the Playback Mode is more detailed
than the image produced in the Record Mode. Because of this, you
should consider the Record Mode image to be a reasonable fac-
simile of the image that is actually stored in memory.
Remaining Pages/Resolution Mode Indicator
Pressing DISP in the Record Mode displays a value that shows how
many memory pages are available for recording images, along with
the current resolution mode setting (FINE or NORMAL).
1.
Enter the Record Mode.
•
Set the function switch to the REC position.
Operation
28
2.
Press the DISP button.
•
Press DISP again to clear the
number of remaining pages
and the resolution mode indica-
tor from the monitor screen.
Note
• The display/non-display status of the number of remaining pages
and the resolution mode indicator is linked to the page status
indicators(page 33) and the zoom indicator(page 36).
Exposure Warning Indicators
Exposure warning indicators appear on the LCD whenever the light
being picked up by the lens would result in under exposure or over
exposure of an image.
Under exposure
Over exposure
Use the procedure described on page 26 to change the aperture or
change the lighting of the image so the indicator disappears from the
LCD.
Important!
• The exposure warning indicators also appear when lighting is out-
side the range of the camera. In such a case, changing the aperture
will not clear the indicator from the LCD.
• The manual exposure adjustment procedure (page 25) cannot be
used when an exposure warning indicator is on the LCD. Clear the
warning indicator by changing the aperture switch setting.
remaining pages
resolution mode