Shooting display options using the func. menu, Using the func. menu, Shooting display options – Canon PowerShot SX410 IS User Manual
Page 24
24
Before Use
Basic Guide
Advanced Guide
1
Camera Basics
2
Auto Mode
3
Other Shooting Modes
5
Playback Mode
6
Setting Menu
7
Accessories
8
Appendix
Index
4
P Mode
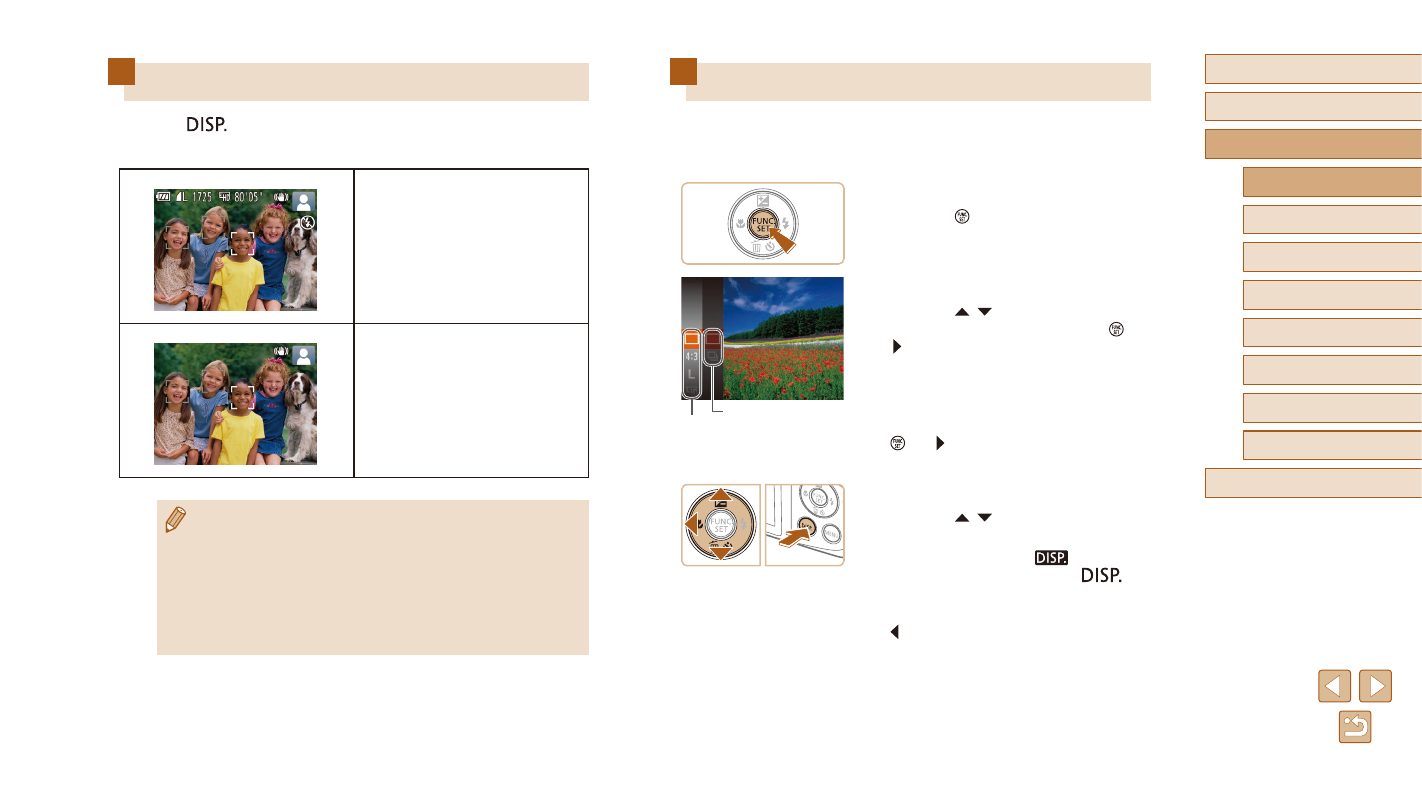
Using the FUNC. Menu
Configure commonly used functions through the FUNC. menu as follows.
Note that menu items and options vary depending on the shooting mode
(= 107) or playback mode (= 112).
1
Access the FUNC. menu.
●
Press the [ ] button.
2
Choose a menu item.
●
Press the [ ][ ] buttons to choose a
menu item (1), and then press the [ ] or
[ ] button.
●
Available options (2) are listed next to
menu items, on the right.
●
Depending on the menu item, functions
can be specified simply by pressing the
[ ] or [ ] button, or another screen is
displayed for configuring the function.
3
Choose an option.
●
Press the [ ][ ] buttons to choose an
option.
●
Options labeled with a [
] icon can
be configured by pressing the [
]
button.
●
To return to the menu items, press the
[ ] button.
(1)
(2)
Shooting Display Options
Press the [
] button to view other information on the screen, or to
hide the information. For details on the information displayed, see “On-
Information is displayed
No information is displayed
●
Screen brightness is automatically increased by the night view
function when you are shooting under low light, making it easier
to check how shots are composed. However, on-screen image
brightness may not match the brightness of your shots. Note that
any on-screen image distortion or jerky subject motion will not
affect recorded images.
●
For playback display options, see “Switching Display Modes”
(= 62).