Saving scanned images to a folder – Epson Expression Premium XP-7100 Small-In-One Inkjet Printer User Manual
Page 168
168
4.
If there are options for the selected file format, click
Options
or
Option
and select the options you
want.
5.
Do one of the following:
•
Windows
: Click
Browse
to choose the folder where you want to save the images. Then click
OK
to save the images to the folder and launch your email program, or click
Cancel
to cancel the
operation.
•
Mac
: If you also want to save the images to a local folder, select the
Copy the image(s) to a local
folder
checkbox and select a folder. Then click
Send
, or click
Cancel
to cancel the operation.
Parent topic:
Scanning to Online Destinations Using Easy Photo Scan
Saving Scanned Images to a Folder
You can save your scanned images to a local network folder using Easy Photo Scan.
1.
Scan your original using Easy Photo Scan.
2.
Click the
icon.
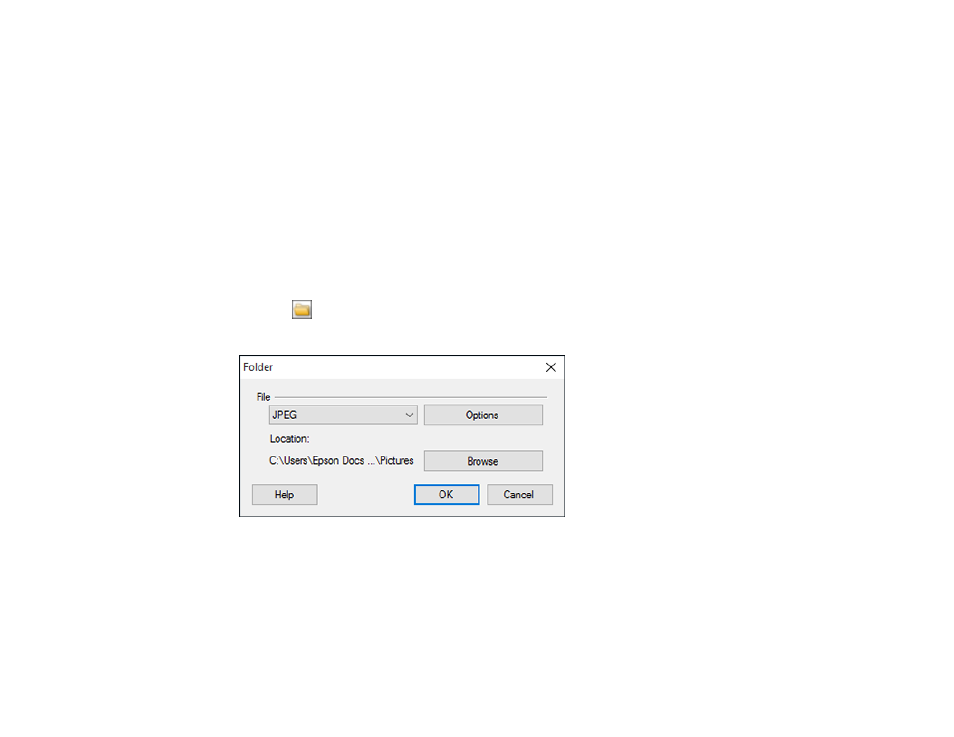
You see a window like this:
3.
Select the image format for the saved files from the
File
or
File Type
list.
4.
If there are options for the selected file format, click
Options
and select the options you want.
5.
Click
Browse
or the
Save in
field to choose the folder where you want to save the images.
6.
Click
OK
to save the images to the folder, or click
Cancel
to cancel the operation.
Parent topic: