Using the live sequencer – Akai Professional Akai MPK Mini Plus 37-Key MIDI Controller User Manual
Page 15
15
Press the
Seq Play / Stop
button to play a sequence, and again to stop playback. Use the
[<<]
and
[>>]
buttons or the
Encoder
knob to navigate the steps of a sequence. You can also
edit sequence parameters at any time by pressing
Shift
and using the
Knobs
.
Parameter
Value Range
Notes
STEP (Sequencer
Step)
01-64
Indicates the currently selected step.
LEN (Sequence
Length)
01-64
Shared between the Step Editor and Live
Sequencer.
TRANS
(Transpose status)
Off, On
Indicates the on/off status of the Transpose
function.
T. DIV (Time
division)
1/4, 1/4T, 1/8, 1/8T, 1/16,
1/16T, 1/32, 1/32T.
Determines sequencer time division. This
function is shared with the Arpeggiator.
KEYS 0-08
Indicates
the number of keys set to play at
the current step.
CHAN (MIDI
Channel)
C1-C16 MIDI
channel
destination for Key
Sequencer.
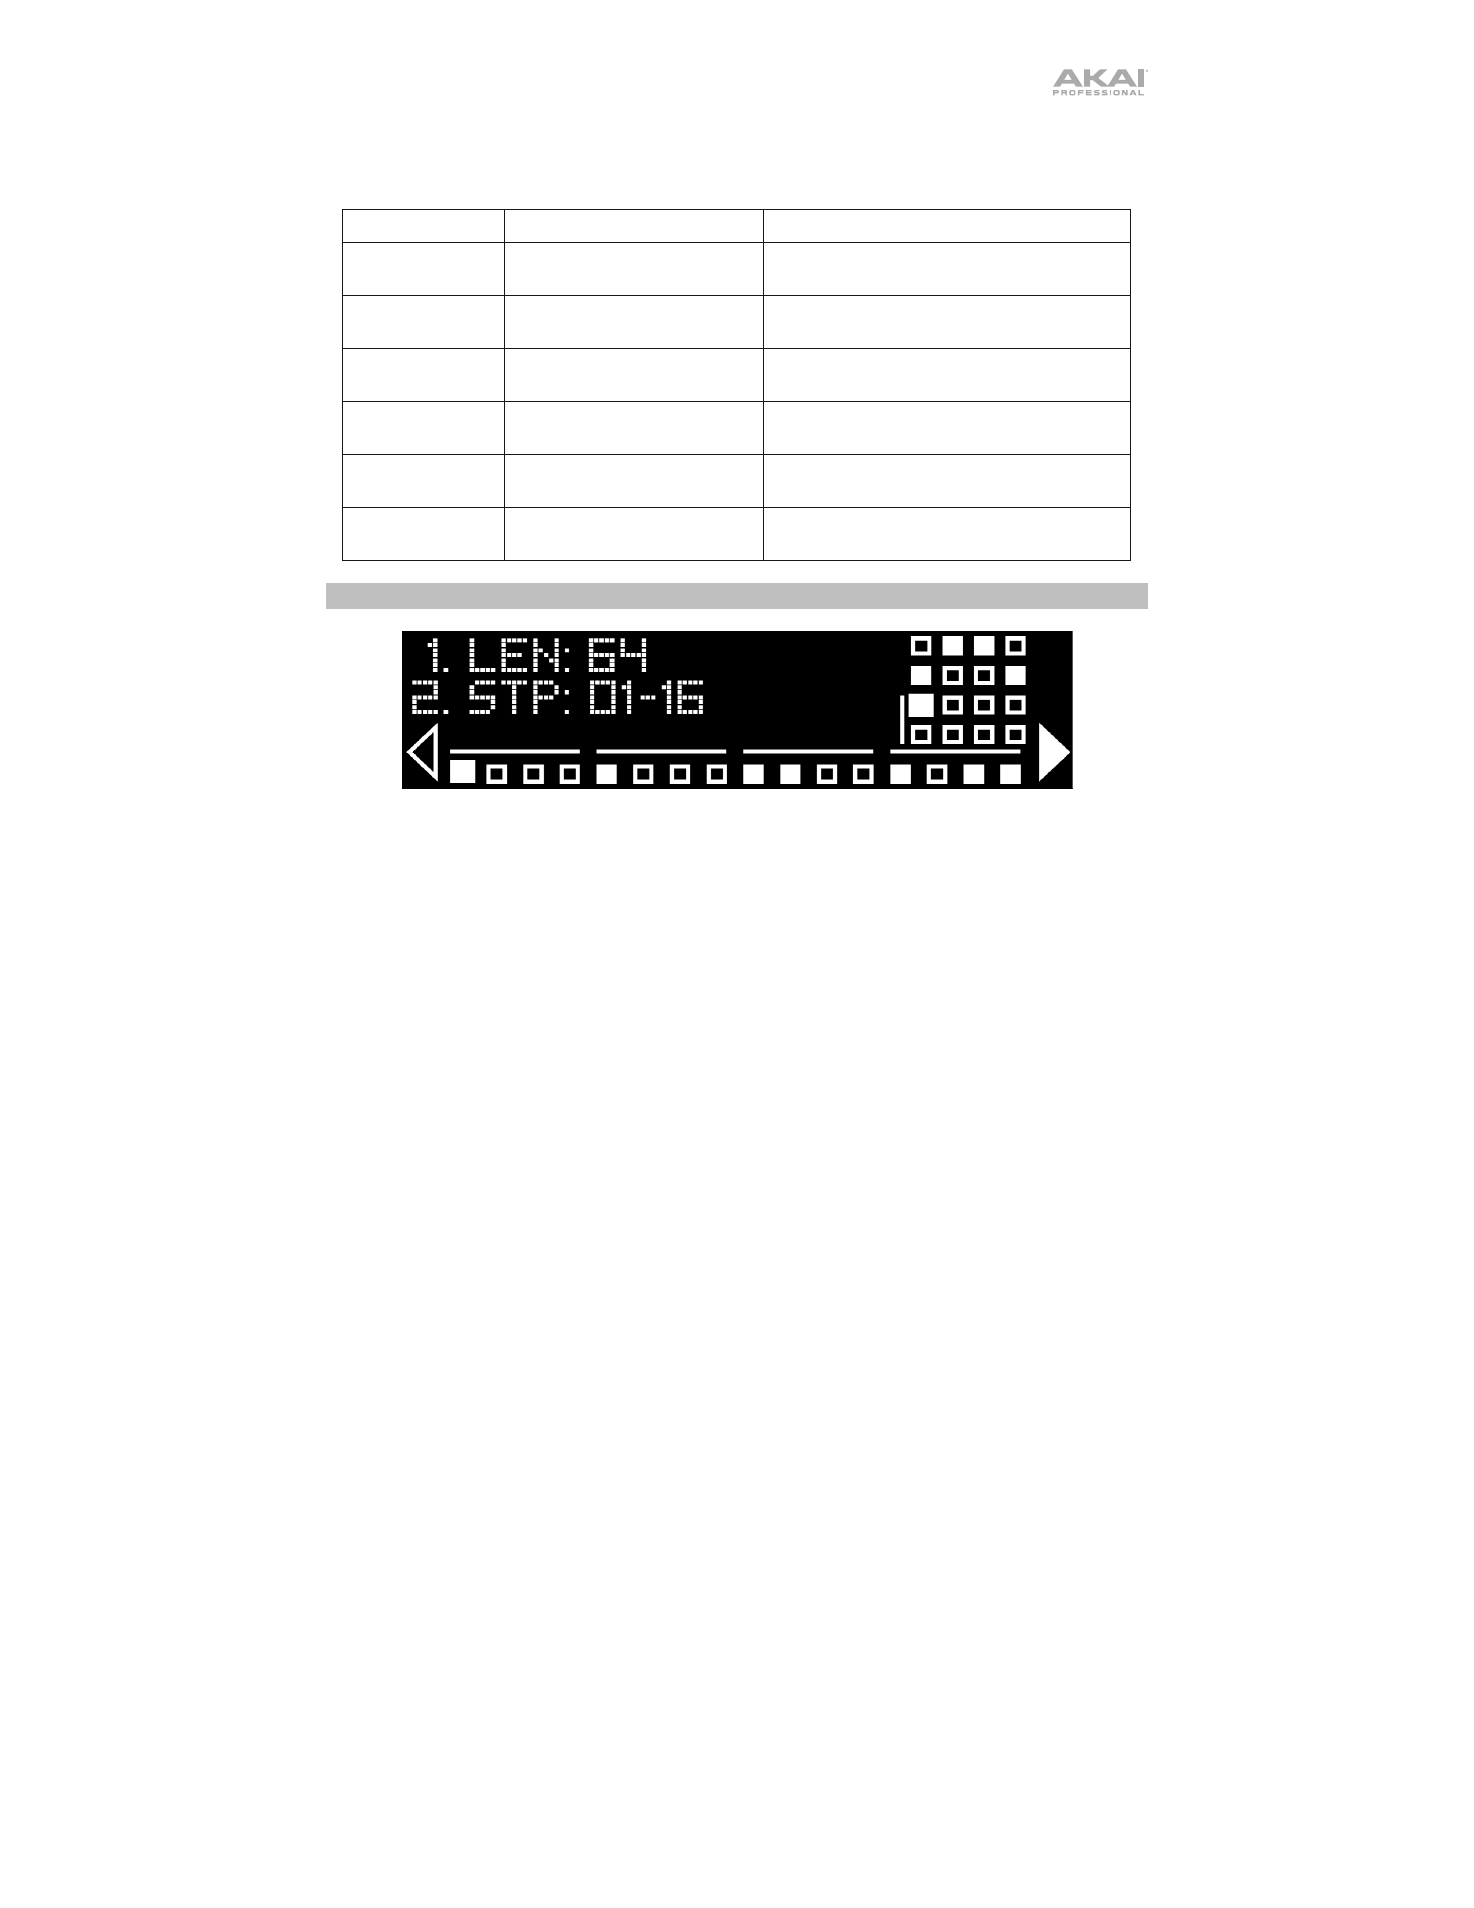
Using the Live Sequencer
Press and hold
Shift
and the
Octave Up
buttons to open the Live Sequencer menu. The
display will show a list of editable parameters as well as the pads engaged in a grid view and
the sequence steps along the bottom of the screen. Use the
Encoder
to scroll through the list
of parameters. A filled-in square indicates a drum hit on that step, while an unfilled square
indicates a rest. A filled-in arrow to the right or left indicates more steps offscreen.
To program a drum sequence,
first set the Pad parameter to your desired mode: choose
Live to record drum hits in real-time or Step to program hits step-by-step. You can edit
sequence parameters at any time by pressing
Shift
and using the
Knobs
.
•
In
Live
mode, Pads 1-16 will correspond to the 16 different drum voices. Press
Seq
Play
and live record your drums directly into the sequencer. Press
Shift
and an active
Pad
to remove it from the sequence.
•
In
Step
mode, Pads 1-8 in
Bank A
correspond to the first 8 steps of the sequence,
while
Bank B
corresponds to steps 9-16. Press one of the
Pads
to add the currently
selected drum voice to that step.
To select a pad for editing,
hold
Shift
and press a pad to select it for display. When shift is
held, the currently selected pad should be shown in White. Tap another pad to select it. When
selected, the new pad should turn White. Release the Shift button to enter the newly selected
drum voice in your sequence.