Control software, Connection, Studio scan remote control" software – Analog Way Studio Scan XTD620 User Manual
Page 16
Chapter 9 : CONTROL SOFTWARE STUDIO SCAN XTD 620
PAGE 16
Chapter 9 : CONTROL SOFTWARE
9-1. CONNECTION
• CONNECTING THE RS-232:
Connect the serial port of your Controlling Device to the REMOTE CONTROL (RS-232) connector (DB 9 Female) of
the STUDIO SCAN XTD 620 with a straight cable (DB 9 Female / DB 9 Male).
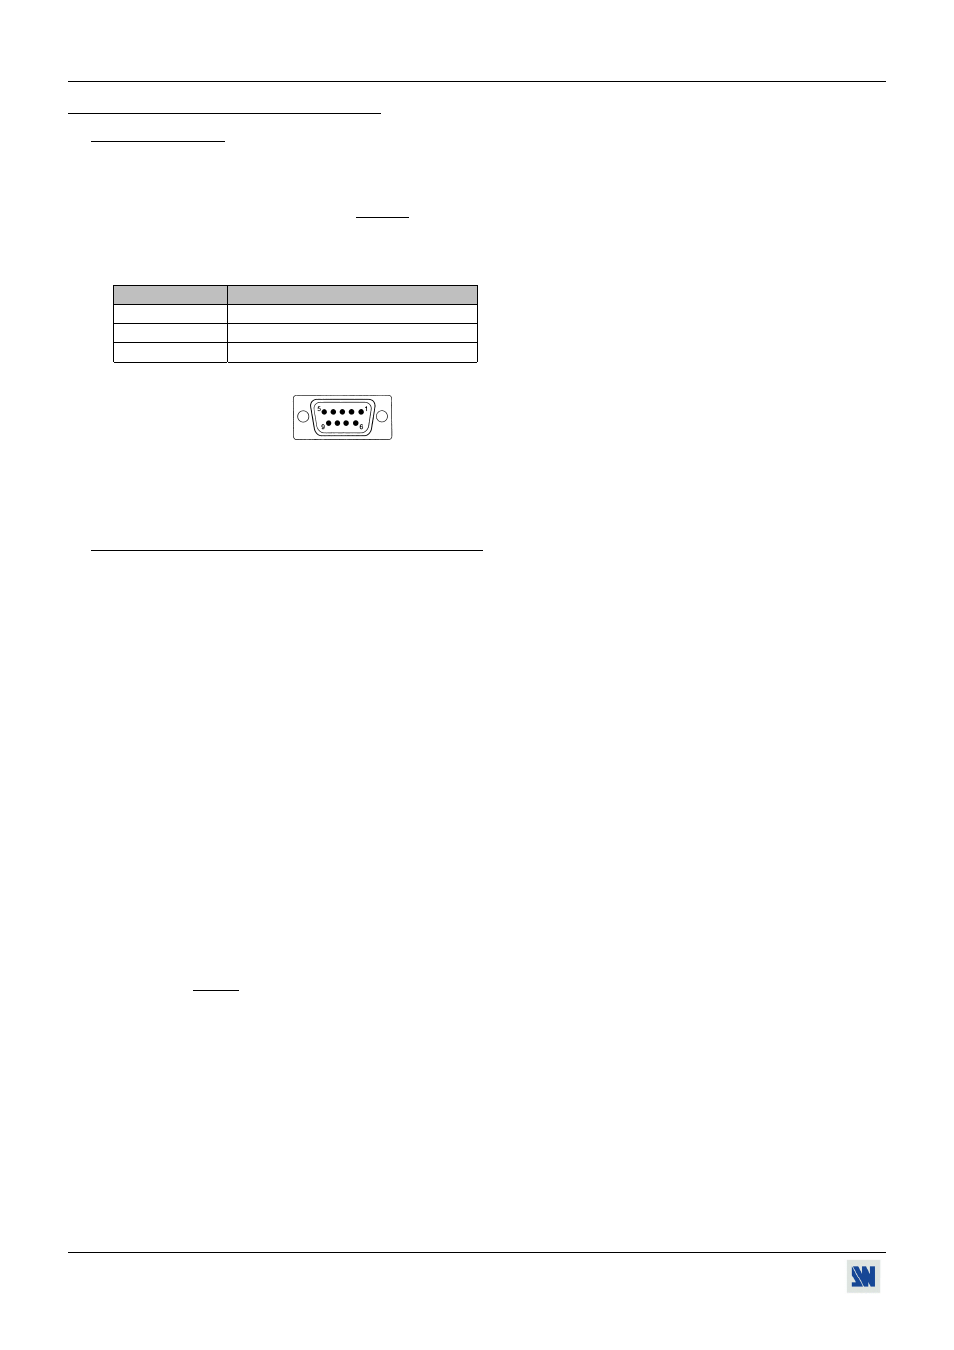
• PIN-OUT:
PIN #
FUNCTIONS
2
TRANSMIT DATA (Tx)
3
RECEIVE DATA (Rx)
5
GROUND (Gnd)
DB 9 female
(Rear panel of the STUDIO SCAN XTD620)
• SPEED TRANSMISSION: 9600 bauds, 8 data bits, 1 stop bit, no parity bit, no flow control.
9-2. "STUDIO SCAN REMOTE CONTROL" SOFTWARE
Your STUDIO SCAN XTD620 is shipped with a compatible DOS "STUDIO SCAN CONTROL PROGRAM" (3"1/2
disk). This software allows you to make adjustments and controls by a simple keyboard command (Frame freeze, Image
adjustments, Storage, etc...).
• SOFTWARE INSTALLATION (on DOS PC):
c Turn your computer ON and wait for his complete Starting.
d Insert the disk into the floppy drive.
e Under DOS type in : A:INSTALL A: C:
↵.
• STARTING UP:
c Connect the serial Port of the computer to the RS-232 Remote Connector of the STUDIO SCAN.
d Type in "XTD" followed by the number of the connected Serial port (Ex : "XTD 2"
↵).
e TURN ON all your devices.
When powering ON the STUDIO SCAN, the REMOTE CONTROL RS-232 is automatically activated after a few
seconds. Adjustments are automatically controllable by both front panel and REMOTE CONTROL.
The last modified adjustment will be taken into account.
• USING: - Type in the red letter to activate the control (Ex : "F" for "Freeze").
- Use the 4 arrows for the Hpos, Vpos and Hsize, Vsize control.
- Type in TAB to change the screen.
- Type in ESC to go back to DOS.
NOTE: Type Q for the status of internal firmware.