Bematech MP-4000 TH User's Manual User Manual
Page 20
User’s Manual
20
Communication Interface Configuration
In this section you can configure the Communication Interface.
28.
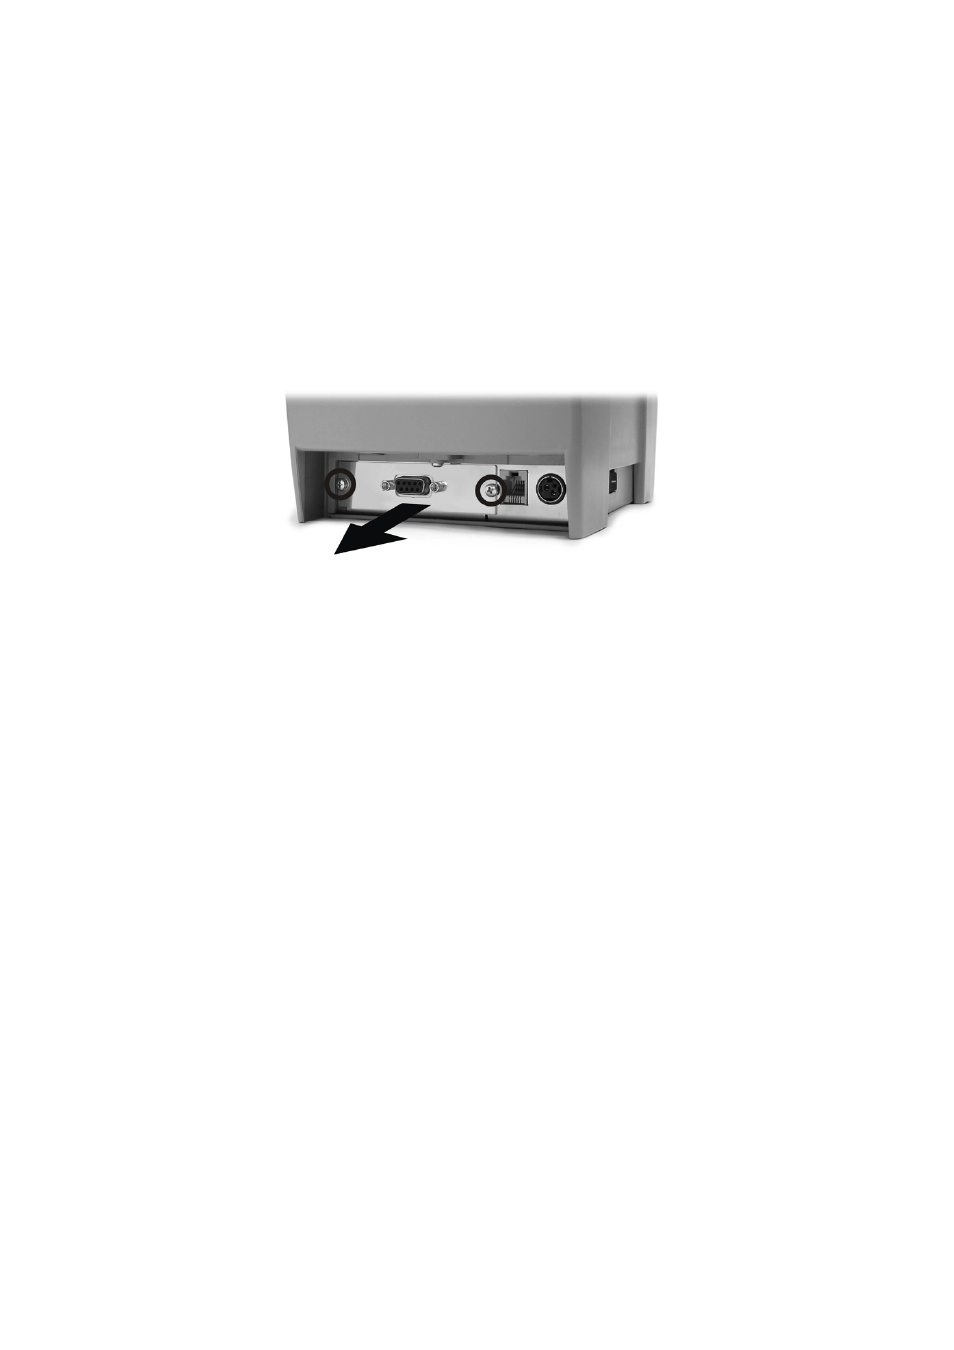
Inserting or Changing the Communication Interface
If you need to change to another Communication Interface Board or change the hardware
settings, follow the steps below.
Make sure the printer is switched off.
Disconnect the printer from the PC and from the power supply
Unscrew the Communication Interface Board from the cartridge.
Now detach the Communication Interface Board.
Replace the Interface Board by the new one.
Attach the Communication Interface Board and screw it to the cartridge.
29.
RS-232 Serial Interface (DB-9 /DB-25 connector)
29.1.
Specifications
The port to the PC is a RS-232 serial port (DB-9), which operates with the following
characteristics: RTS/CTS hardware protocol, 8 bits of data, no parity bit, 1 start bit, 1 stop bit.
The port to the PC is a RS-232 serial port (DB-25), which operates with the following
characteristics: RTS/CTS hardware protocol, 8 bits of data, no parity bit, 1 start bit, 1 stop bit.
When in ESC / POS™ mode the protocol of flow control for hardware is modified for DTR / DSR.
The software protocol is changeable: XON/XOFF
Communication speed: 1200, 2400, 4800, 9600, 19200, 38400, 115200(default), 230400
baud rate.
29.2.
Dip Switches
By turning on the printer while pressing the Cut button, the MP-4000 TH will print a Quick
Reference Table with the LED Error Codes and a Table with Dip Switch Configuration for the
serial interface.
If you have the version with the serial interface card, the integrated Dip Switches will allow
you to make quick changes to the settings, like communication settings, handshaking, parity
check, data bits, and stop bit.
If you want to make changes follow the steps below.
Make sure the printer is switched off.
If you want information about the options you have with the Dip Switches, make a print before
switching off again.
Turn off the printer first and close the cover if it is open.
Make sure there is paper in the printer.
Then press and hold the PAPER CUT button while you switch the printer on again.
When the printer starts printing, release the PAPER CUT button and a table for the Dip Switch
settings will be printed.