Design guide, Earthing the refrigerator, Side panels – Kleenmaid ZSGS420IBS User Manual
Page 10: Tools required, Hardware supplied, Materials required, Flooring
EARTHING THE REFRIGERATOR
IMPORTANT—(Please read carefully)
FOR PERSONAL SAFETY, THIS APPLIANCE MUST
BE PROPERLY EARTHED.
The power cord of this appliance is equipped
with an earthing plug which mates with a standard
earthed wall receptacle to minimize the possibility
of electric shock hazard from this appliance.
Have the wall outlet and circuit checked by a
qualified electrician to make sure the outlet is
properly earthed.
Where an unearthed wall outlet is encountered, it is
your personal responsibility and obligation to have
it replaced with a properly earthed wall outlet.
IMPORTANT:
The refitting of
electric plugs and cables should
be done by a qualified technician
or service agent. In some countries
the refitting of electric plugs and
cables is only permitted when the
work is completed by a qualified
technician.
Mains lead replacement
If the mains lead on your refrigerator needs
replacing at any time, it must be replaced by a
special lead which is obtainable from your local
dealer. A charge will be made for the replacement
of the mains lead if you have damaged the lead.
The refrigerator must be positioned so that the plug
is accessible for service and repairs.
Design Guide
10
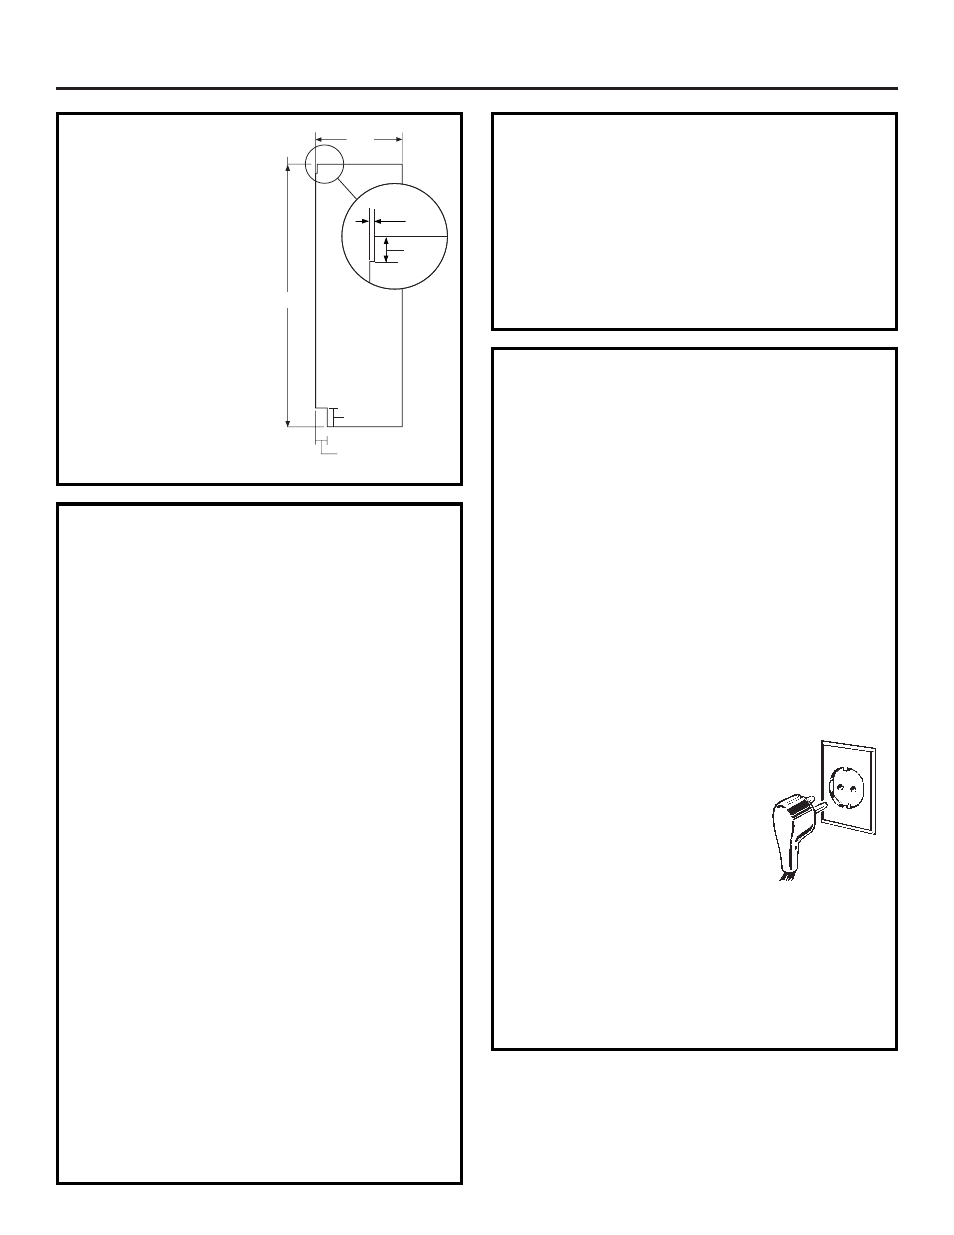
SIDE PANELS
Side panels must be used
whenever the sides of the
refrigerator will be
exposed. The 6 mm side
panels will slip into the
side case trim. Secure the
panels to the refrigerator
with stick-on hook and
loop fastener strips. Order
the side panels from the
cabinet manufacturer.
• Cut a notch in the top
front corner as shown
to allow clearance for
corner keys in the front
side trim.
* Depending on installation height.
TOOLS REQUIRED
• Tinsnips to cut banding
• Stepladder
• Bucket
• Level
• Appliance Hand Truck
• Tubing cutter
• 7/16" open-end wrench
• #2 Phillips screwdriver
• Drill and appropriate bits
• 5/16", 7/16" socket
• Safety glasses
• 1-1/4" open end wrench
• Pliers
• 1/4" ratchet wrench
HARDWARE SUPPLIED
• Water filter bypass plug
• Anti-Tip brackets
• 1/4" nut and ferrule
• Dispenser trims for 6 mm and 19 mm overlay panels
• 12 pan head screws for custom handle installation
MATERIALS REQUIRED
• 900 mm x 50 mm x 100 mm wood block for
Anti-Tip support
• 1/4" copper water line tubing or GE SmartConnect™
Refrigerator Tubing kits
• Water shut-off valve (optional but recommended)
• Custom panels for doors and grille panel
• Screws to secure refrigerator to cabinetry
• Stick-on hook and loop fastener strips for 6 mm
side panels
FLOORING
For proper installation, this refrigerator must be
placed on a level surface of hard material that is at
the same height as the rest of the flooring. This
surface should be strong enough to support a fully
loaded refrigerator, or approximately 680 kg.
NOTE:
Protect the finish of the flooring. Cut a large
section of the cardboard carton and place under the
refrigerator where you are working.
*2134 mm
65 mm
610
mm
*76 mm to
102 mm
5 mm
48 mm
Insure proper
earthing
exists
before
using.
Earthing
plug