Installation dvd, Main menu – MacroSystem Bogart SE Ver.3 Addition to the manual User Manual
Page 5
5
Bogart SE 3 Addition to the manual
Installation DVD
Installing the software
In order to install Bogart 3, the DVD must be present in the
drive when the device is switched on . Put the DVD in the drive
and restart the device (Off/On) . After some time, you should
see an installation menu on your monitor . Follow the instruc-
tions for the installation and choose between an update and a
new installation:
• It is usually possible to update your software. In that case, all
projects, settings and archives will be preserved
• In the case of a new installation however, your hard disk will
be wiped in its entirety and reformatted . After a new instal-
lation, you must install and activate all software again . The
main software must also be activated again .
After the update or the new installation, you should be shown
the product activation menu . This should enable you to
activate Bogart 3 . Select Bogart SE V 3 .0 in the list and click
on „activate“ . Once you have entered the 12-digit activation
code (included with your package), the main software will be
activated .
Note: After the installation, Bogart SE should appear on your
chosen monitor. If not, you can use an emergency switch to
change the active monitor. In order to do this, you must hold
the right mouse button down for 5 seconds. You should then
hear a sound signal and the current monitor setting should
appear in the device‘s display (if present). You should now click
on the left mouse button to change the monitor. The possible
modes are DVI, VGA and Video. This emergency switch may
also be performed when you have not yet activated a version of
Bogart (for example, immediately after a new installation).
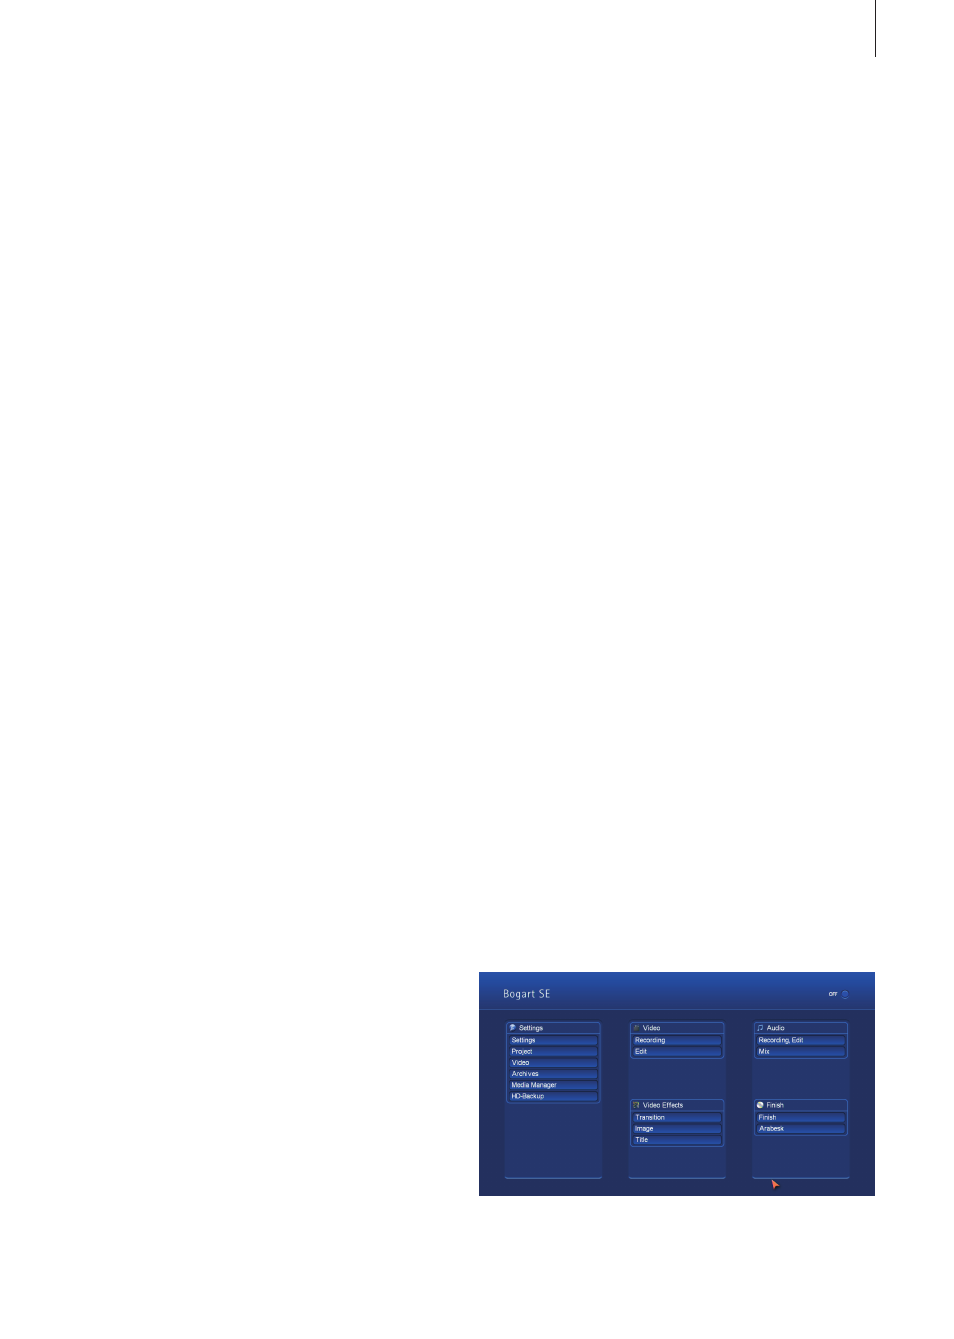
Main menu
• A new display mode has been added which allows the dis-
play of relevant names of scenes, images and effects during
playback
• The multiline scene bin now appears also at lower screen
resolutions (such as 1280 x 720)
• You can now move on all the lines of the multiline scene bin,
instead of only the middle one
• You can now zoom out so far as to fit 120 minutes on the
screen, without scrolling
Effects
• Rendering effects is now significantly faster. This is quite
obvious with the important fade transition .
• Specific combinations of effects which have been created
and stored using the effect stack will now appear directly in
the effect lists and are therefore easier to use
Finishing
• HDV footage that has been calculated and which is ready for
export is now saved separately for each project
• When creating HDV, it is now also possible to do so with a
resolution of 1280x720 (in projects of that resolution)
Settings
• The systems settings have been completely restructured and
are now laid out more clearly
• The synchronization between image and sound can be
adjusted
• When mixing sound, the envelope display can now be
switched off and on
Miscellaneous
• A project can now be copied to a different, previously empty,
project
• If you let the pointer pause on the image of a scene or an ef-
fect, relevant information will be displayed
• The indicator for used capacity (in the project settings) now
includes the System and the MediaManager or RelaxVision