MacroSystem Bogart SE Ver.2 User manual User Manual
Page 57
55
Bogart SE 2 user manual
• Add another sample: You can add another sample (not just
the selected one) to the Clipboard
• Add sample from another project: You can add any sample
from any project . To do this, first select the project, then the
sample .
• Remove sample(s): This option is only available if you have
selected at least one sample in the Clipboard . All tagged sam-
ples will be deleted from the list .
• Import sample(s): This option is only available if you have
selected at least one sample in the Clipboard . All tagged sam-
ples will be added to the current project .
• Options: You can determine if trimmed parts of the samples
are transferred or left out .
Any audio samples placed on the clipboard are deleted when
the system is switched off .
Also in this menu you see the button "Pre-listen" under the
effect options .
Here, you have the option of either deactivating the function
("off"), i .e . either hearing the effect or the original . Once you
select either Effect or Original, this will loop-play about 20 sec-
onds of the effect selected in the list (applied to the music se-
lected in the list of sound clips) or some seconds of the original
sound piece . This option can save you a lot of time, because
the audio effects can be heard and compared with the original
without being rendered .
This function also displays signal amplitude as a control .
Flashing blue indicates that everything is in order, flashing
yellow indicates a risk of over-modulation during audio mix-
ing (only if several over-modulated segments are mixed), and
flashing red indicates over-modulation .
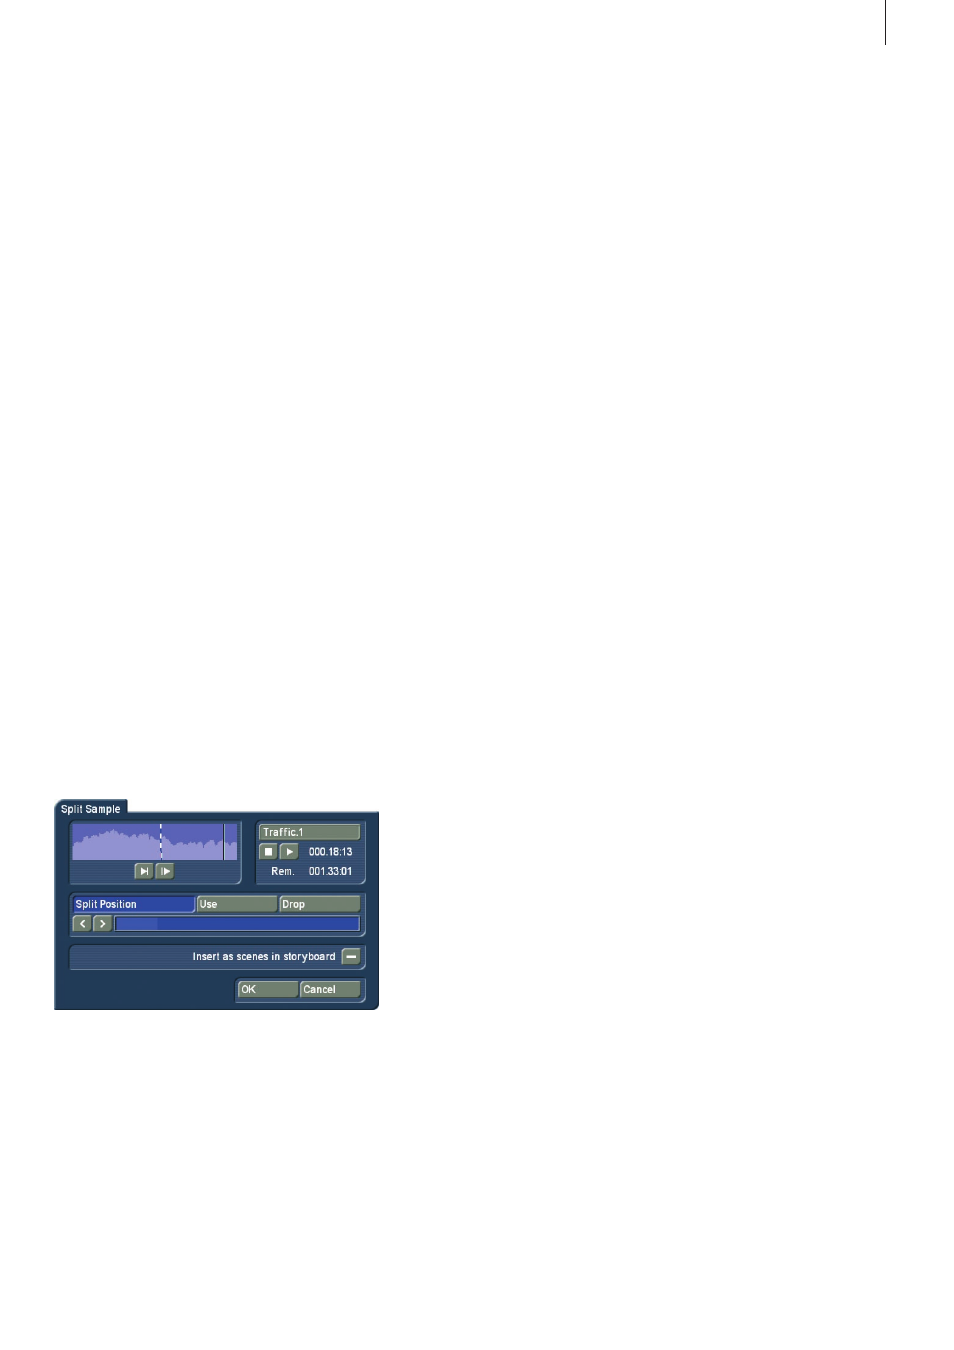
(9) Click on the Split button to access the Split Sample menu .
You can then split audio scenes in the same way as video
scenes . The name of the audio sample is displayed at the top
on the right-hand side . The name is followed by .1 or .2 etc .
(e .g . A 1 .1 or A 1 .2) . You can of course click in this field to call
up the keyboard again, and rename the audio sample . Click-
ing on the Split Position button now enables you to split the
audio sample . A graphical display of the part to be split off is
shown in the bar at the bottom . In addition, the wave form and
audio scrubbing (Chapter 3 .2), which cannot be disabled in
this menu, show the point of the audio sample at which you
are located .
The Use and Drop buttons and the arrow buttons have the same
function as in the Split Sample menu of the image material .
Click on the Play button to start playback of the audio sample
currently being edited . During playback you can split the sam-
ple for example at a bar by clicking on Use at a suitable point .
Your audio sample will be split at this point without playback
being stopped .
If you whish to copy the split audio pieces into the Storyboard
in the Edit screen, you need to first activate the "Insert as
scenes in storyboard" by marking the little box .
After splitting the sample and confirming with "Ok" or waiting
until the end of the sound, the video data will be created .
The sample parts are automatically copied in the form of
empty scenes, containing the respective parts of the sound .
These empty scenes are placed into the Storyboard in the
Edit screen – they’ll be easy to spot: Black scenes with a little
music note symbol .
Additionally, you can now press the "Replace" (or "Insert")
button (see chapter 4 .5, item (16) / (12)), so that the selected
empty audio scene takes the place of the selected scene in the
Storyboard . If the video scene is too long, it is trimmed to the
right length at the end .
This function is great for audio pre-editing as you can comfort-
ably make your cuts and then implement the rhythmically cut
up audio piece to any video material .
Once you have split your audio sample, the sample list shows
that copies of it have been made and that your original sample
is still available .
(10) Use the Trim function to remove unwanted components
at the beginning or end of the recorded or split audio mate-
rial . Coughing in the commentaries and residual material from
adjacent CD tracks can thus be eliminated . The Trim function
is also familiar to you from video editing, and functions in the
same way with audio . The wave form and audio scrubbing (see
Chapter 3 .2) cannot however be disabled in this menu .
(11) Click on the Delete button to delete the selected audio
sample .
(12) Click on the Undo button to undo deletion of an audio
sample . The last ten samples deleted can be recovered in this
way . Deleted scenes cannot be reactivated following a restart .
(13) The name of the audio sample clicked on in the sampl list
is displayed automatically in the name field . The name can be
changed in the manner familiar from video . Click in the name
field to call up the keyboard . The length of the audio sample is
displayed in the adjacent field .
(14) Use these buttons to control the Stop/Record/Play func-
tions for the audio sample highlighted in color in the audio list .