Chapter 6 lines, Chapter 7 page – MacroSystem Title-Studio User Manual
Page 11
Chapter 6
Lines
In addition to formatting the font, it is also possible to format
the entire text line or paragraph. It is possible to change or
set the distance between characters of a line, the distance
between lines, the character width and the formatting of sen-
tences.
In the main menu of Title Studio, you have the ability to change
the font size of the selected text. Below that, you will find four
buttons to format the line. Use the buttons to indicate whether
the text should be left aligned, centered, and right aligned or
justified.
Depending on the screen resolution, there is a Block button
below the line settings that you need for marking and moving
text. In the smaller menu display, there is also an Extended
button. This button opens a menu that will be included in a
neighboring menu panel if you are working in higher resolu-
tions. The Extended menu can also be found in the on-screen
keyboard display. Here you can set line distances and widths.
Note: When you have opened the Extended menu, settings will
only be applied after you have closed the menu with OK.
Buttons that are used to set percentage values, allow for
values between 50% and 200% to be set and are preset to
100%.
Use the function Charwidth to change the width of letters and
punctuation marks of a line. Since this can also be applied to a
part of a line, you must first mark the range to which the width
should be applied. You can then enter the desired percentage
in Charwidth. The changes will immediately become visible in
the text. The letters are now -depending on the percentage-
wider (>100%) or narrower (<100%), which has a correspondi-
ng effect on the complete line.
The Charspacing function stretches or compresses a line,
while the width of the individual letters stays the same. Mark a
range for which you would like to set the distance, and set the
desired distance percentage with Charspacing. Depending on
the percentage you have set, the line will be stretched (>100%)
or compressed (<100%).
If you need to change the distance between lines, you must
mark the lines you wish to modify. Use Linespacing to make
this modification. If you choose a setting smaller than 100%,
the lines will be pushed closer together, while a larger percen-
tage will increase the distance between them. This setting will,
of course, also adjust the lines below the lines you marked to
the new settings.
This part of the menu also contains the „delete active line“
function. This function deletes the line in which you are cur-
rently located.
Chapter 7
Page
Several title effects offer support for the display of more than
one page. If your text is divided in several pages, you can
maintain this structure in Title Studio. To do this, click on
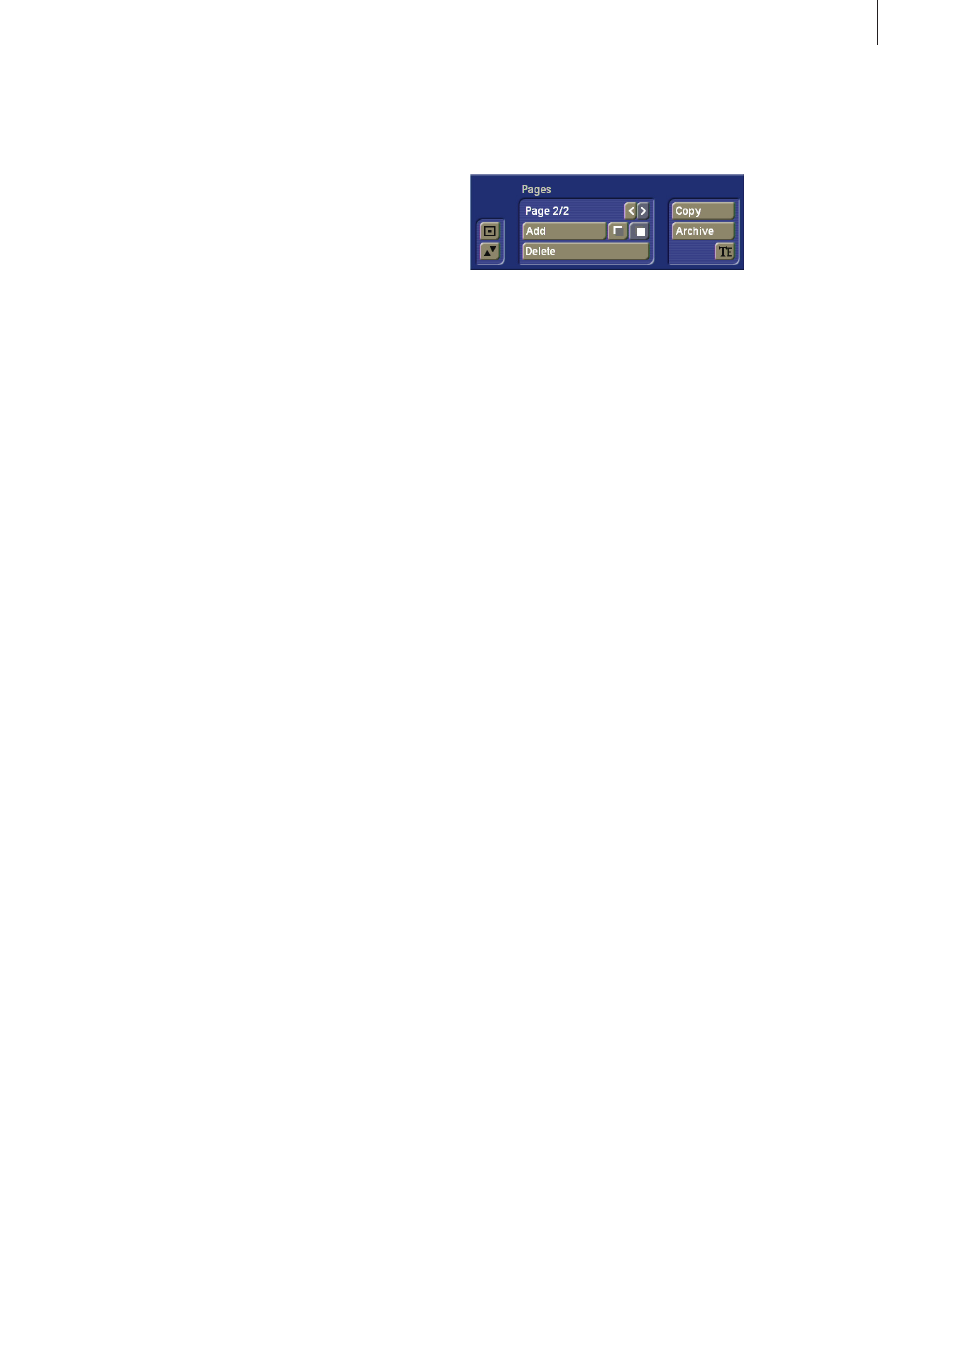
Pages on the right side of the main menu of Title Studio. This
will open a smaller menu in which you can insert and move
more pages.
In the top left of the menu, you can see the text information:
Page x/y. This means that page x is currently displayed and
that the document has y pages. This will usually start as:
Page 1/1
Add: The Add button in the menu will add a new page at the
end of the document. This means that your text document will
have a new page.
<: Use this button to switch to the previous page.
>: Use this button to switch to the next page.
Copy: Click on this button when you need to add a copy of
the current page to the document. The copy will consist of the
complete page with all tables and texts. This will help you to
maintain a uniform page layout for all text pages. To do this,
you only need to design the first page and then transfer its
layout to the next pages by using Copy.
If you have written several pages, and you would like to re-sort
one or several pages, you can do this with the button to the
right of the Add button. Click on the left symbol to insert the
currently displayed page before the previous one. Click on the
right symbol to insert the current page after the next one. The
position in which you have inserted this page will be displa-
yed in the upper part of the menu. „Page 4/7“ means that the
current page sits at position 4 of 7 pages.
Delete: To delete a specific page, select this page and click on
this button. The current page will be deleted without asking for
confirmation. Careful, this page is now irreversibly lost.
Archive: Use this button to archive a single page. This will
enable you to use it in another document, or to keep it as a
backup copy.
Click on this button to open a new menu with the following
buttons:
11
Title-Studio Manual