Caution, Important, Notice – Royal Vacuums CH50102 User Manual
Page 11: Maintenance, Tools (cont’d), Filter bag, Attach wand and tools, How to clean tools
4. MaintenanCe
Familiarize yourself with these maintenance tasks as proper use and care of your vacuum will ensure continued clean-
ing effectiveness.
Any other servicing should be done by an authorized service representative.
11
when the red indicator light for the bag full/clog light
illuminates, the following should be checked:
• If the filter bag is full; change the filter bag.
• If very fine materials have been picked up clogging the
bag pores; change the filter bag.
• If there is a blockage at the bag opening; remove the
blockage.
Filter BaG:
when to replace
CAUTION
!
!
Very fine materials, such as face powder or
cornstarch, may seal the filter bag and may cause it
to burst even though it is partially full of dirt. When the
cleaner is used to remove material of this nature,
change filter bag often.
what to Buy: Filter Bag
Use only genuine Hoover
®
bags with your vacuum.
When purchasing a new bag, ask for Hoover
®
Allergen Filtration Type SB disposable
filter bags.
IMPORTANT
All new carpet has loose fibers which can fill the bag
quickly while vacuuming. This type of debris does
not activate the “Bag Full/Clog” indicator.
An Internal Thermal Protector has been designed into your cleaner to protect it from overheating. When the
thermal protector activates the cleaner will stop running.
If this happens proceed as follows:
1. Turn cleaner OFF and unplug it from the electrical outlet.
2. Check fullness of filter bag; change if needed.
3. Inspect and remove blockage along the dirt path. This blockage may occur at the: nozzle, nozzle inlet,
wand, nozzle hose, hose, inspection door, filter bag inlet, secondary filter, and final filter.
4. When cleaner is unplugged and motor cools for 30 minutes, the thermal protector will deactivate
and cleaning may continue.
If the thermal protector continues to activate after following the above steps, your cleaner needs servicing.
NOTICE
!
!
3.3
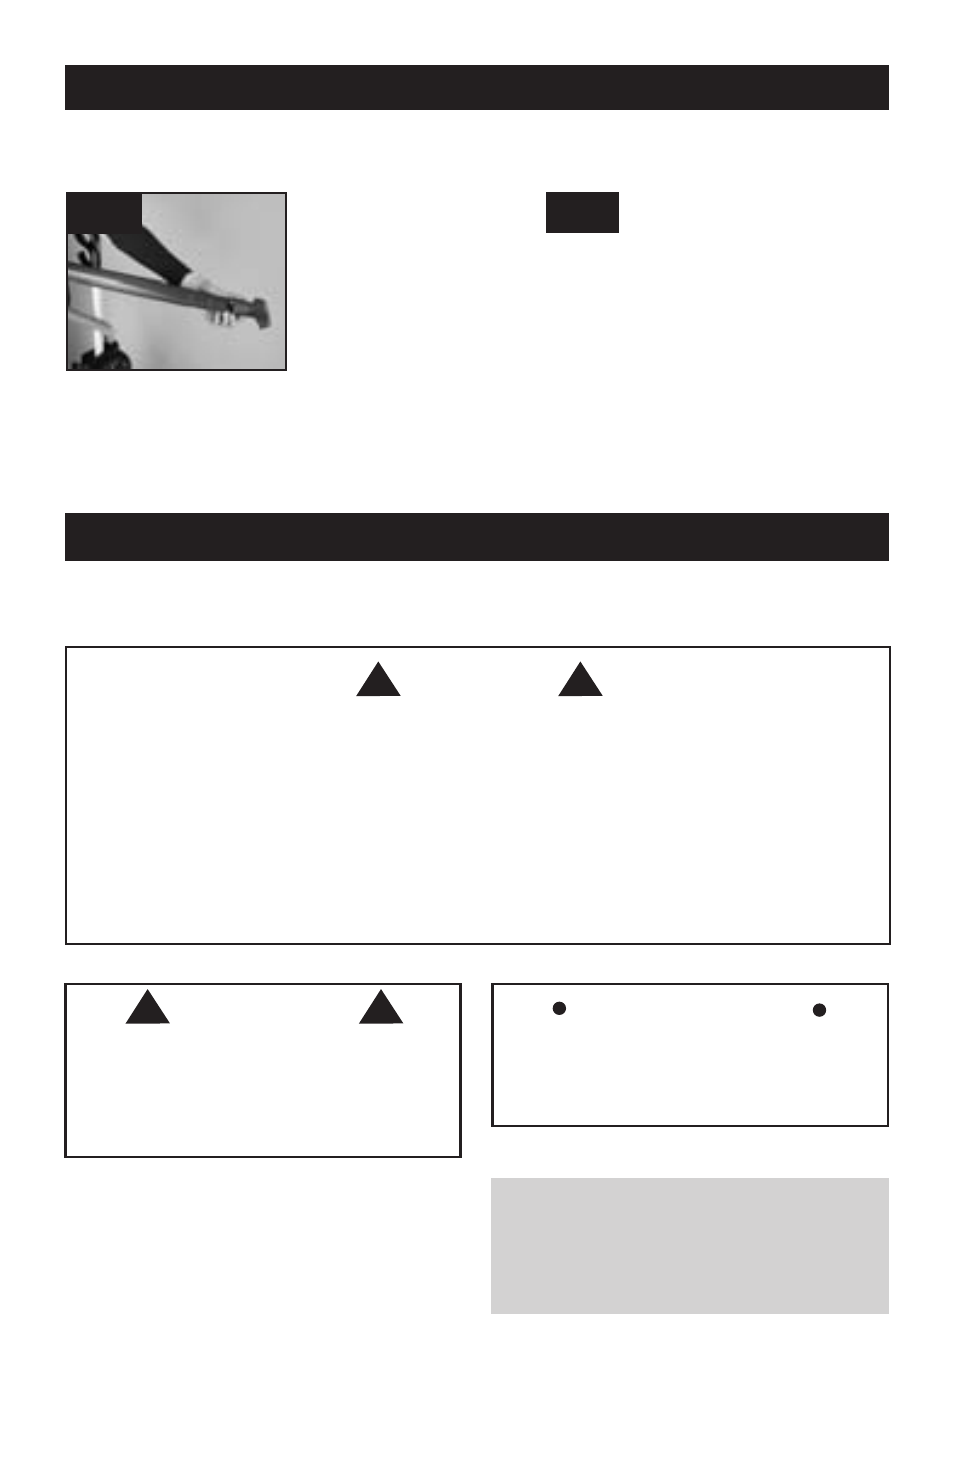
attaCh wand and tools
3.2 Remove wand from com-
partment on cleaner body.
Attach desired tool by push-
ing it firmly onto the end of
the wand.
Twist wand or tool slightly to
tighten or loosen the con-
nection.
how to Clean tools
3.3 To clean the hose, wipe with a
damp cloth. Do not submerge in
water
3.2
water. Cleaning tools may be washed in warm
water with a detergent. Rinse and air dry com-
pletely before using.
To use tools without the wand:
Pull the hose out of the
wand while the wand is still docked in the channel on the
back of the machine. Attach tools directly to the end of the
hose.
3. tools (Cont’d)