Silvestri Bicam III User Manual
Page 3
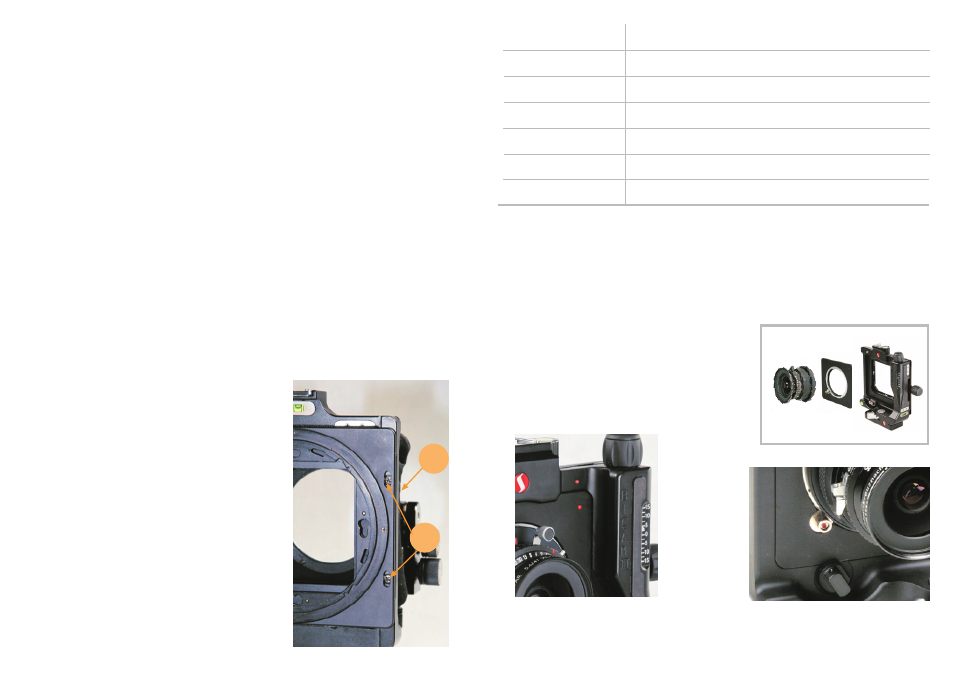
A) Align the red dot on the lens board
with the one on the camera body.
dimensions
weight
shift movements
lenses attachment
back attachment
reference code
height 175mm, lenght 185mm, depth 50mm (compact)
0,80 Kg.
15mm rise, 15mm fall - 15+15mm horizontal shift
Silvestri lens board, Silvestri bayonet
Silvestri standard four points attachment
3000
Technical information
C) Lock the lens board by rotating
the locking knob (5).
B) Insert the top of the lens board
first, then push it in the housing.
How to attach the lens board
Thank you for choosing the Bicam III camera. If you are a professional photographer
or if high quality photography is your passion, your choice could not be a better
one. You will understand reading these instructions the great opportunities this
camera, unique in its kind, can offer you. First of all the flexibility and the possibility
of having a ready to use compact camera that shows to be ideal for outdoor work.
Care instructions
!
Do not force the vertical and horizontal shift movement when it gets to the end.
!
Be careful of keeping all shifting elements clean.
!
Regularly clean the Flexi Maxi rail with compressed air and paper, to remove
dust, sand etc.
!
Do not force the shift and tilt movements, make sure you have completely
unlocked the locking knobs before using the tilt and swing controls.
!
To remove the bellow of the Flexi Maxi from the camera body, do not pull the
bellow but push the bellow frame through the camera back's opening.
Camera adjustment
The precision of each movement of the camera is adjustable
by mean of microscrews,
see the following pictures showing where to find the microsrews for each movement:
Rise & fall movement:
Untighten the microscrews, push the side bar
(04) in and tighten the screws (02).
04
02