Model 740, Headphone outputs, Connecting ac mains power – Studio Technologies 740 User Manual
Page 13
Model 740 User Guide
Issue 3, May 2004
Studio Technologies, Inc.
Page 13
Model 740
connect pin 2 to high (+ or hot) and both
pins 1 and 3 to shield.
A trim potentiometer, accessible from the
back panel, is used to set the precise
output level of the reference tone direct
output. After an installation has been
completed it may be desirable to set the
trim pot to provide the required level. For
details please refer to the Post-Installation
Calibration section of this user guide.
Headphone Outputs
The Model 740 contains two headphone
outputs, one on the front panel and one
on the back panel. Both jacks are ¼-inch
3-conductor (“stereo”) tip-ring-sleeve type.
The jack on the front panel is intended to
allow an operator to plug in a pair of head-
phones as needed. No permanent con-
nection should be made to this jack. The
headphone output jack on the back panel
is provided so that a remote headphone
output jack can be installed. This could
prove useful in cases where a headphone
jack might be desired on an I/O panel
located at a PC-based editing location,
small voice-over room, etc.
Separate output circuitry is used for the
front-panel and back-panel headphone
outputs. Depending on the configuration
of the Model 740’s monitor output, the
front-panel headphone output may cause
the monitor loudspeaker to mute. This
is not the case with the back-panel head-
phone output. A connector plugged into
the back-panel headphone jack will never
impact the monitor output.
Note that while the Model 740 is a single-
channel (monaural) device, the head-
phone outputs are configured to drive
stereo headphones. If possible, any
plug used with either headphone output
should be a 3-conductor (stereo) type.
A 2-conductor plug will short the ring and
sleeve leads together, causing additional
loading to the headphone output circuit.
While not something that will cause a
reliability issue, it’s preferable if the right-
channel output is not shorted.
There may be cases where a remote
location may need to support a monaural
earpiece, such as a talent voice-over
position. In this case simply connect
only the tip and sleeve connections on
the 3-conductor plug used to mate with
the Model 740’s back-panel jack.
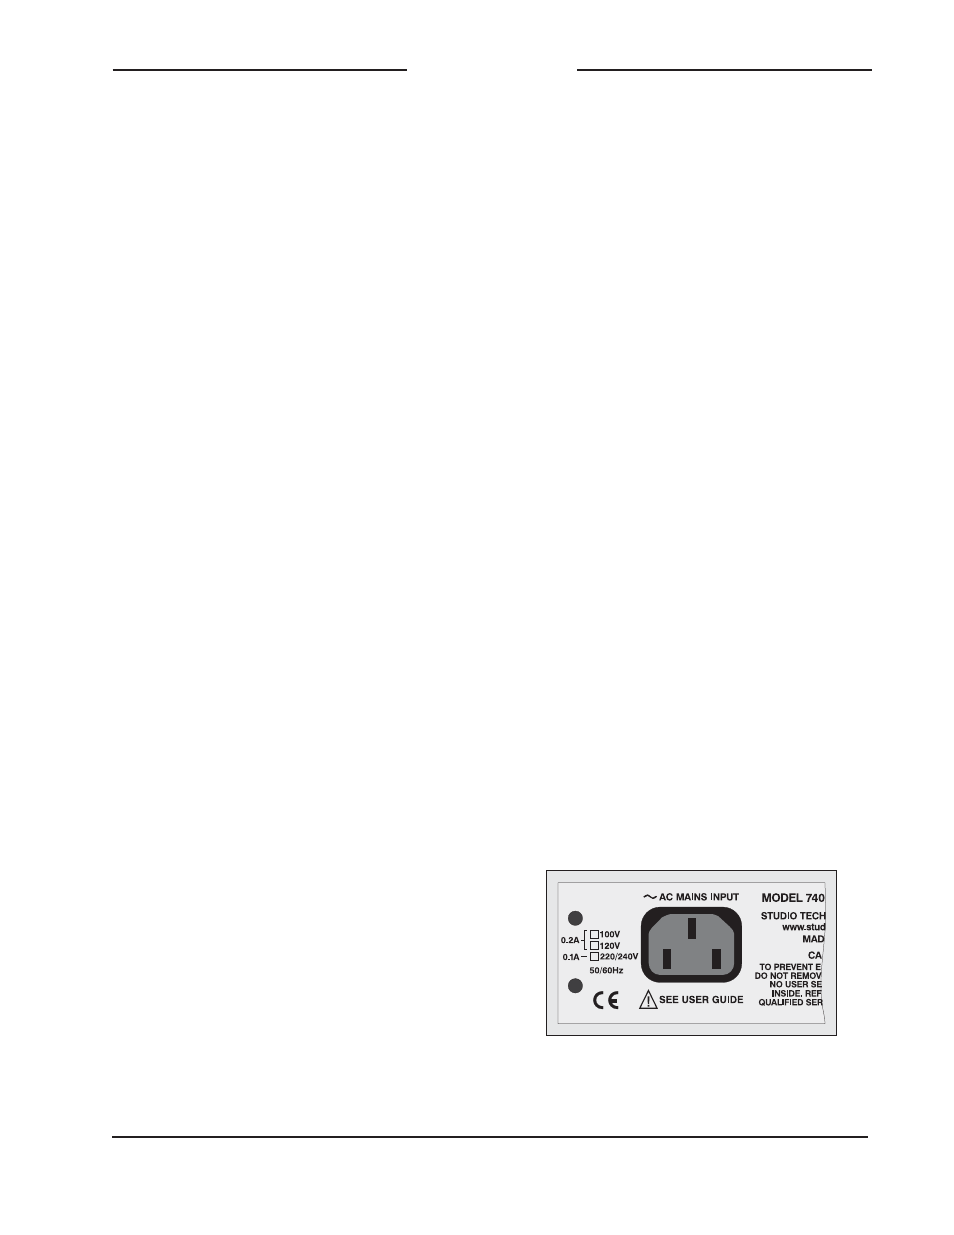
Connecting AC Mains Power
The Model 740 is factory configured to
operate from AC mains power of nomi-
nal 100, 120, or 220/240 V, 50/60 Hz. A
maximum of 24 watts of power is required.
Units shipped to locations within North
America are factory configured for 120 V
operation and are supplied with an inter-
nal 0.2 A, 5 x 20 mm time-lag fuse. Units
shipped to Japan are factory configured
for 100 V operation and use the same
0.2 A, 5 x 20 mm time-lag fuse. Units
configured for 220/240 V operation are
supplied with a 0.1 A, 5 x 20 mm time-lag
fuse.
Detail of back panel showing AC mains power
connector