Grass Valley iTX Master Control v.2.3 User Manual
Page 32
iTX-MC User Guide
3-2
Using Fully Automated mode
Adding a master control primary event to a schedule
Master control primary events are main video items added to an iTX schedule to enable the
iTX automation system to switch to and playout from any of the live video sources available
to the Imagestore 750 from the upstream router.
To add a master control primary event to an iTX schedule:
1.
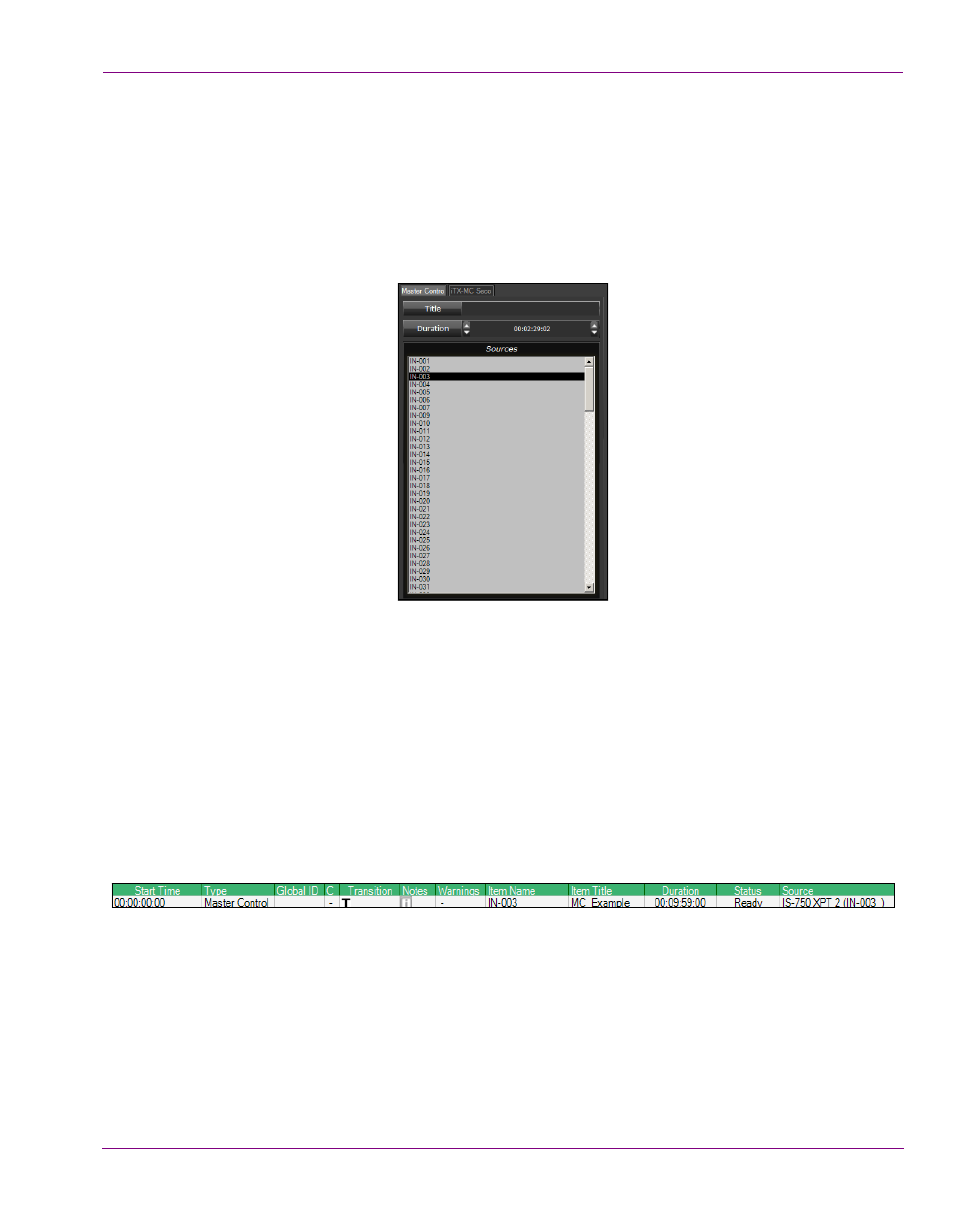
Select the Master Control tab in the Content Selector to display the Master Control Palette.
2.
Ensure that the Master Control palette’s Selection pane contains the Imagestore 750’s
video sources.
If the video sources are not listed, please verify the channel’s Master Control
configuration setting, the Master Control Plugin’s Setup configuration and/or the
network connection to the Imagestore 750 device.
3.
Optional: Specify a name for the master control primary event in the Title field.
4.
Optional: Set the event’s duration in the Duration field.
The Duration field specifies the duration of the next event to be added to a channel. The
event’s Duration setting can also set/edited after it has been added to the schedule.
5.
Drag and drop a source from the Selection pane onto the iTX schedule grid.
A master control primary event item is added to the schedule.
When a master control primary event is added from the Master Control palette, it will initially
be given the specified duration, a default transition (Cut) and the video source’s name will
appear in the Item Name column. If specified in the Master Control Palette, the event’s
name also appears in the Item Title column. The Source column displays the router’s
crosspoint information.
The event’s properties may be edited by selecting the event in the schedule, which displays
the event’s current property settings in the Event Editor.