Figure 167, Left), Select – Grass Valley Karrera Video Production Center Installation v.4.1 User Manual
Page 231: Press, Figure 168 ), Move the lever arm down all the way and select, Move the lever arm up all the way and select
KARRERA — Installation & Service Manual
231
Control Panel Maintenance
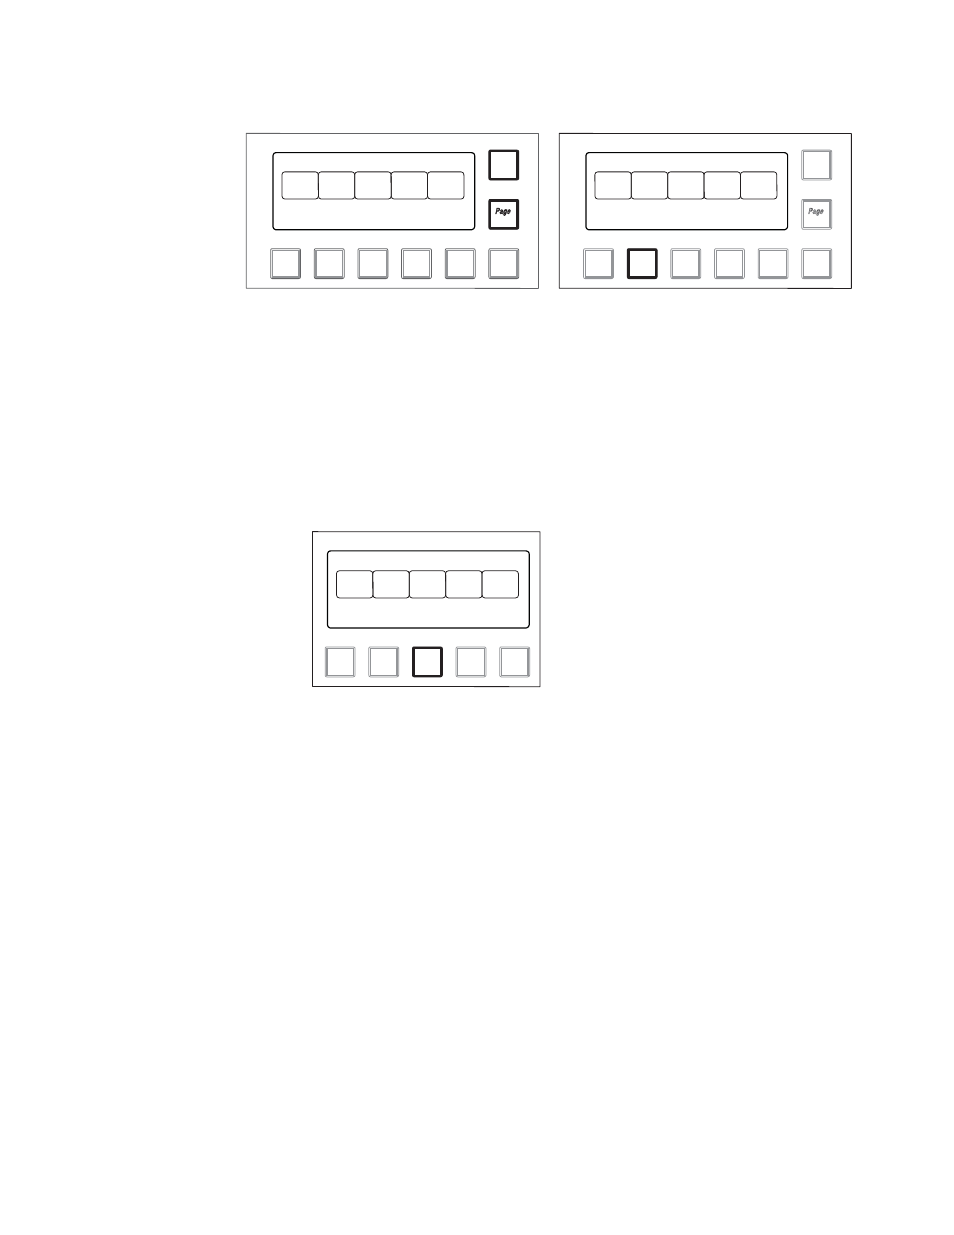
Figure 167. Karrera Calibration Menu, EMEM Area
2.
Select
Calib
(press
7
) to enter calibration mode (
, right).
Note
Pressing the Menu button at this time exits calibration mode without making
any changes.
3.
Choose the ME Lever Arm to calibrate. Lever 1 is the topmost Lever
Arm on that panel. For example, to choose the second Lever Arm select
Lever 2
=
8
. (
Figure 168. Karrera Lever Arm Selection, EMEM Area
4.
On the chosen ME’s Transition Area, follow the instructions displayed
(
).
a.
Move the Lever Arm down all the way and select
Next
(press
Key Prior
).
b.
Move the Lever Arm up all the way and select
Next
(press
Key Prior
).
This saves the calibration values and exits calibration mode.
Me
Menu
Pause
Pause
9
Bank
ank
3 / 7
7
8
Lrn
Menu 1
Trans
Rate
Stripe
Delg
Panel
Mem
Macro
Me
Menu
Pause
Pause
9
Bank
ank
3 / 7
7
8
Lrn
Menu 2
Panel
Saver
IP
Addr
Calib
Time
Date
8804_01
9
Bank
ank
3 / 7
7
8
Lrn
Menu 2
Lever
1
Lever
2
Lever
3
Lever
4
Joystick
8804_02