Page 17 parts removal and replacement – LeMond RevMaster Classic User Manual
Page 23
Page 17
PARTS REMOVAL AND REPLACEMENT
the bearing cup – rotate the
bottom bracket tool an addi-
tional 10 degrees clockwise.
8. Verify that the bottom bracket
spindle is not loose by tugging
on the spindle shaft.
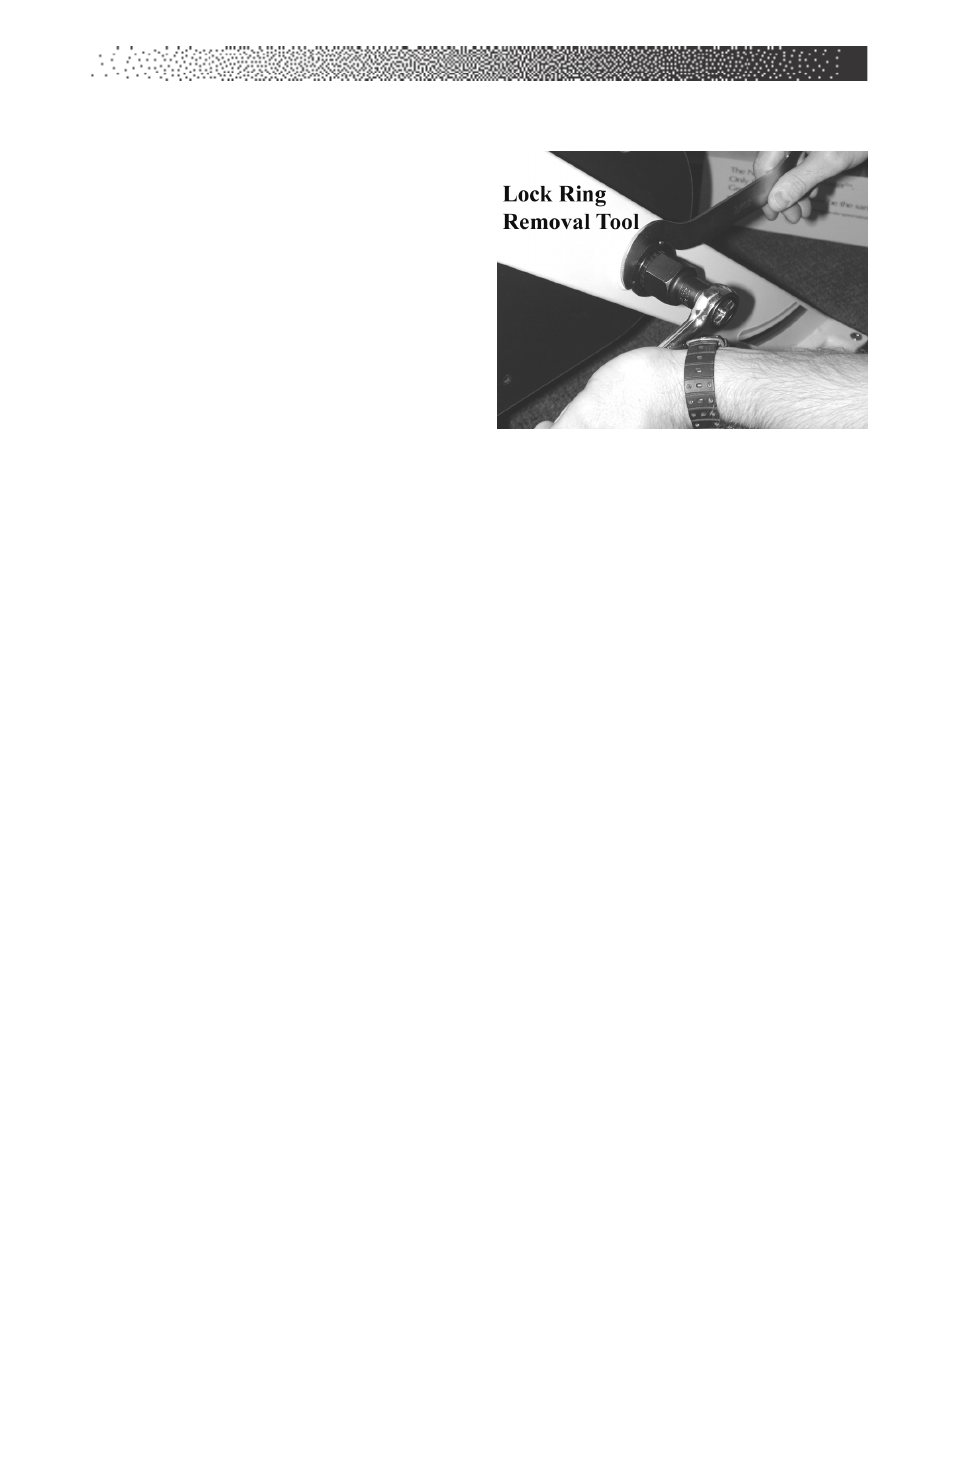
9. Use the lock ring removal tool
to tighten the lock ring.
Note: Prevent the left bearing
cup from spinning by stabilizing it with the bottom bracket
removal tool.
10. Apply a thin coat of grease on the left bottom bracket shaft and install
the left crank arm on the bottom bracket shaft. Note: use a rubber
mallet to tap the arm onto the bottom bracket spindle.
11. Apply 1-2 drops of Locktite
®
242 on the left crank arm bolt threads.
Install the crank arm bolt and tighten to secure the crank arm. Rotate
the pedals a few revolutions and then tighten the crank arm bolt again
to ensure that the crank arm is tightened to 22 foot/lbs.
12. Apply a thin coat of grease on the right bottom bracket shaft and
install the right crank arm on the bottom bracket spindle. Align the
right crank arm 180° from the left crank arm and push the crank arm
on to the crank arm shaft.
13. Apply 1-2 drops of Locktite 242 on the right crank arm bolt threads.
Install the crank arm bolt and tighten to secure the crank arm. Rotate
the pedals a few revolutions and then tighten the crank arm bolt again
to ensure that the crank arm is tightened to 22 foot/lbs.
14. Reinstall the belt. Test the belt tension by standing on the pedals with
the pedals horizontal to the floor. Pedal quickly and see if the belt
slips. A minimum of slipping is okay, it is important not to overtighten
the belt.
6. Reinstall the right side cover.
Note: Inspect the pedal crank arm bolts again after 30 hours (approx.
one week). If loose, remove the bolts; apply Loctite 242 and reinstall.
Tighten the bolts to 22 foot/lbs.