Installation, Ultravista lc ii installation – Rose Electronics UltraVista LC II User Manual
Page 13
INSTALLATION
7
UltraVista LC II Installation and Operations Manual
UltraVista LC II Installation
Installation of the UltraVista LC II is an easy process, and consists of the
following:
Install the display panels
Mount, if necessary, the video wall controller
Connect DVI cables, video input cable and power adapter to the
video wall controller
Adjust the screen resolution output settings
Select a screen mode to display output
Adjust the video wall mask settings to align images
The 2x2 model can be set up to display three modes. The 1x1, or clone
mode, displays the full image on each output monitor. The 2x1, or
replication mode, displays the input image across each row of monitors. The
2x2, or video wall mode, displays the input image across all monitors.
Additionally, while in 2x2 mode, it is possible to simulate a Picture In Picture
(PIP) look by having a complete image of the source in one of the four
quadrants.
1 x 1 2 x 1 2 x 2
Clone Mode Replication Mode Video Wall Mode
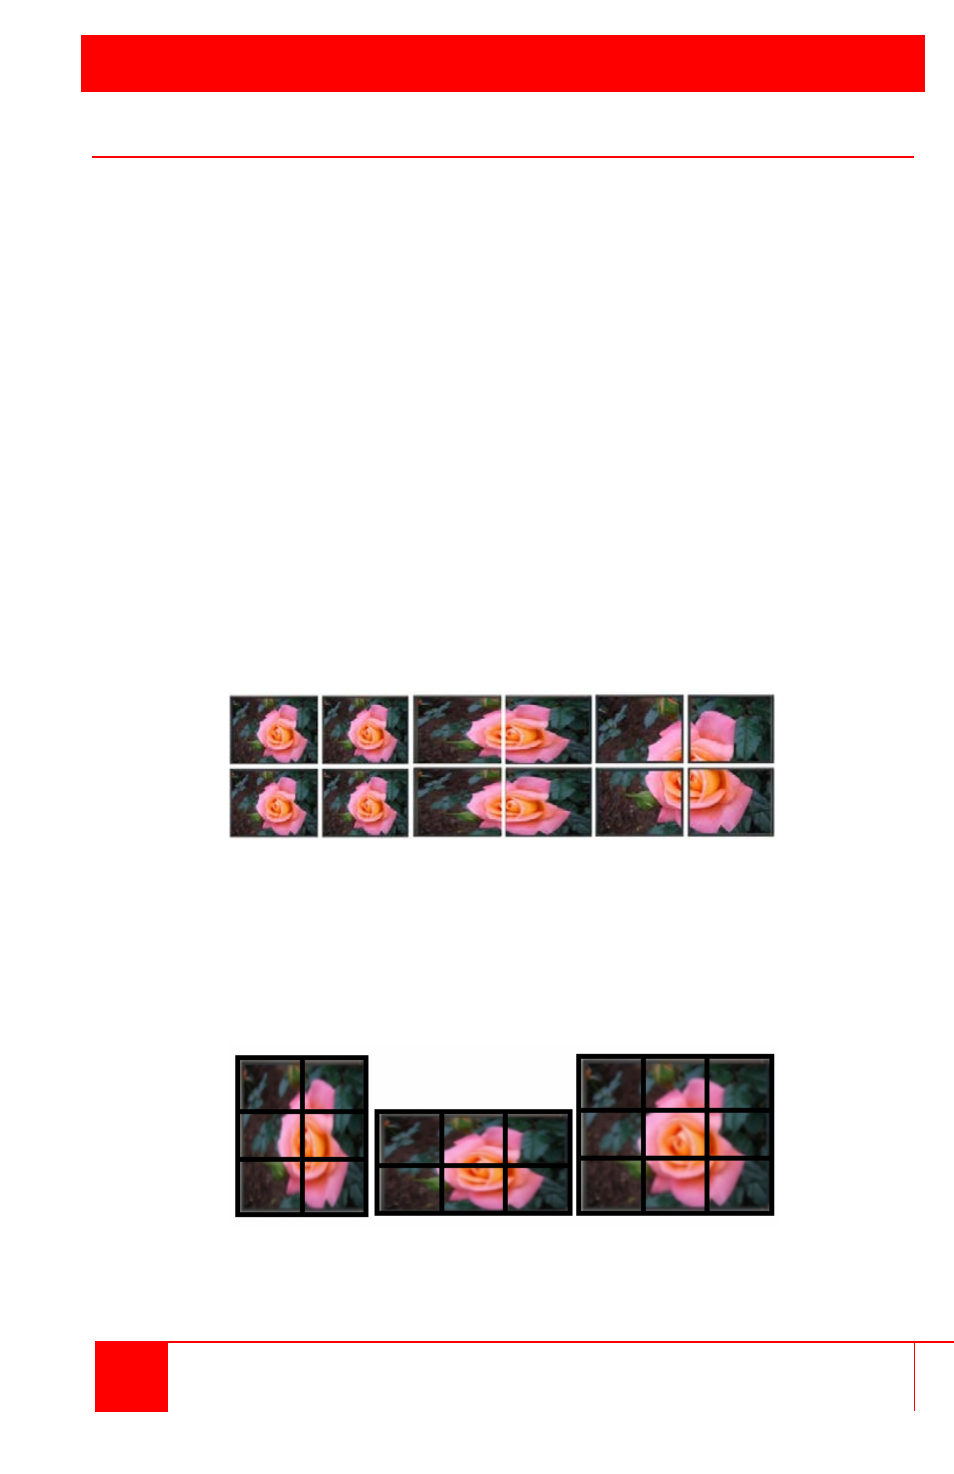
The 3x3 model can be set up to support the following video wall
configurations: 2x2, 2x3, 3x2 and 3x3. With these configurations, two modes
of operation are possible: clone mode and video wall mode.
2 x 3 3 x 2 3 x 3
These modes, including PIP, are selected by using the buttons on the front
of the unit, or by using the remote IR controller.