PLANET VIP-193 User Manual
Page 61
Register Proxy Port. To add or change the Register Proxy Port number, select Edit. Enter the new
Register Proxy Port number in the new window. Press the center selection key to save the new
setting, or select Exit to return to the previous screen.
Outbound Proxy IP. To add or change the Outbound Proxy IP address, select Edit. Enter the new
Outbound Proxy IP address in the new window. Press the center selection key to save the new
setting, or select Exit to return to the previous screen.
Outbound Proxy Port. To add or change the Outbound Proxy Port number, select Edit. Enter the
new Outbound Proxy Port number in the new window. Press the center selection key to save the
new setting, or select Exit to return to the previous screen.
Expire Time. If your Internet phone service provider did not provide an Expire Time setting, then keep
the default setting, 3600 seconds. If your Internet phone service provider provided an Expire Time
setting, then scroll down to Expire Time, and select Edit. Enter the Expire Time in the new window.
Press the center selection key to save the new setting, or select Exit to return to the previous screen.
Display Name. This is the message displayed on the receiver’s caller ID.
Phone Number. To add or change the Phone Number you will use for Internet phone calls, select
Edit. Enter the new Phone Number in the new window. Press the center selection key to save the
new setting, or select Exit to return to the previous screen.
User Name. User Name is used for authentication against the Registration Server. To add or change the
User Name, select Edit. Enter the new User Name in the new window. Press the center selection key to
save the new setting, or select Exit to return to the previous screen.
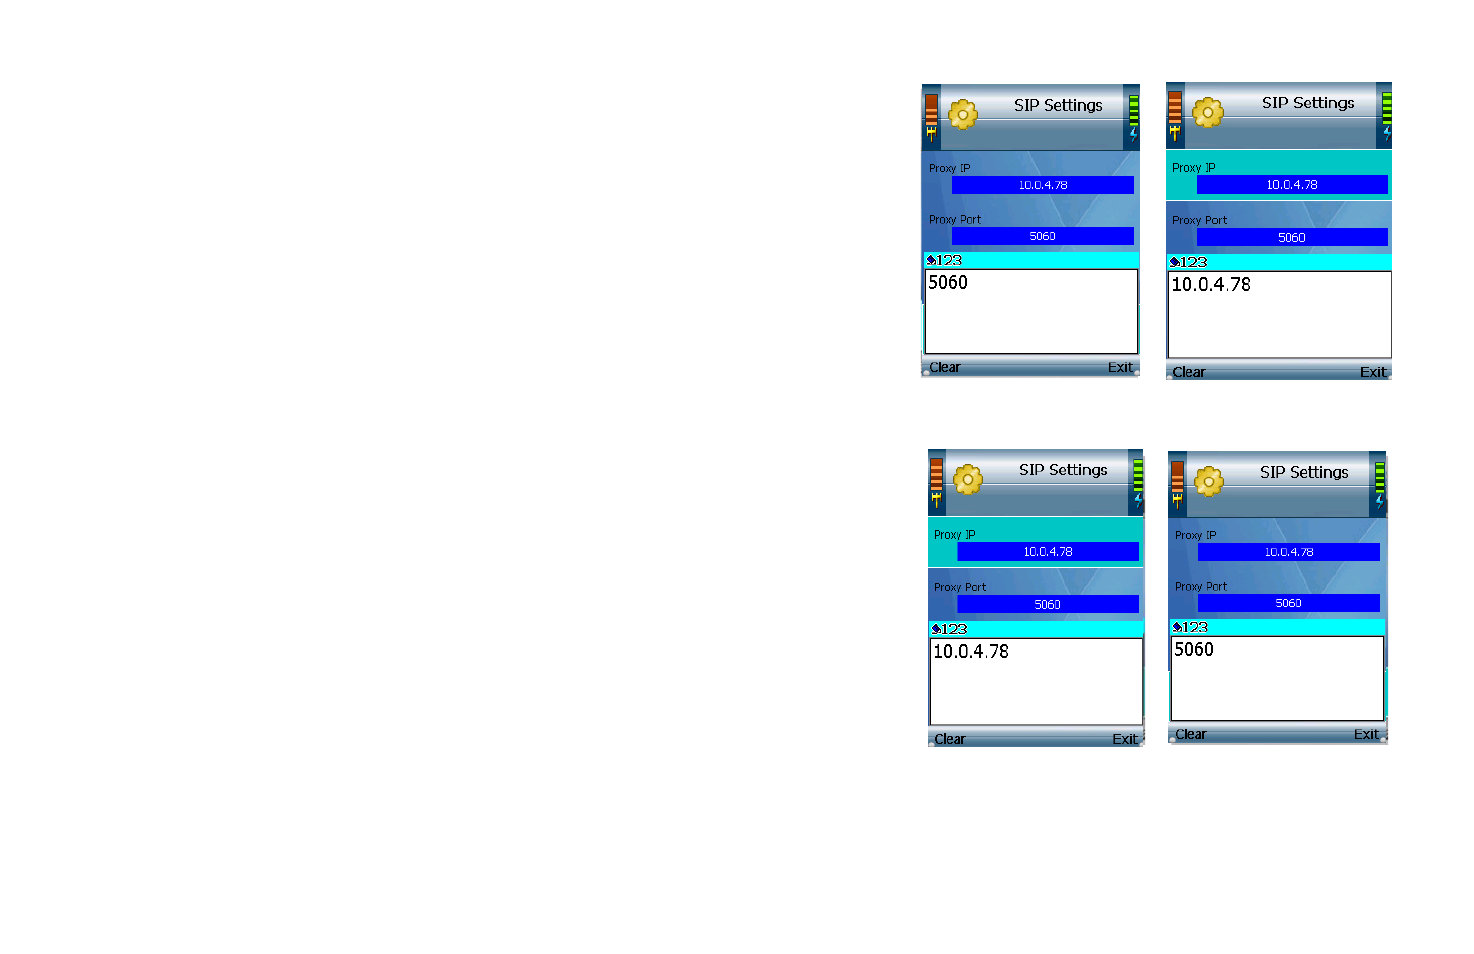
Figure 4-77: Register
Proxy Port
Figure 4-79: Enter Proxy
IP
Figure 4-78: Edit Proxy
IP
Figure 4-80: Enter
Register Proxy Port
56
Chapter 4: Configuring the Wi-Fi Phone