Press [fn11 – Panasonic Lumix DMC-G7 body User Manual
Page 48
2. Getting Started/Basic Operations
48
Temporarily changing the items assigned to the front/rear dials ([Dial Operation
Switch])
You can temporarily change the items assigned to the front/
rear dials using the function button to which [Dial Operation
Switch] is assigned.
[Dial Operation Switch] is assigned to [Fn11] at the time of
purchase.
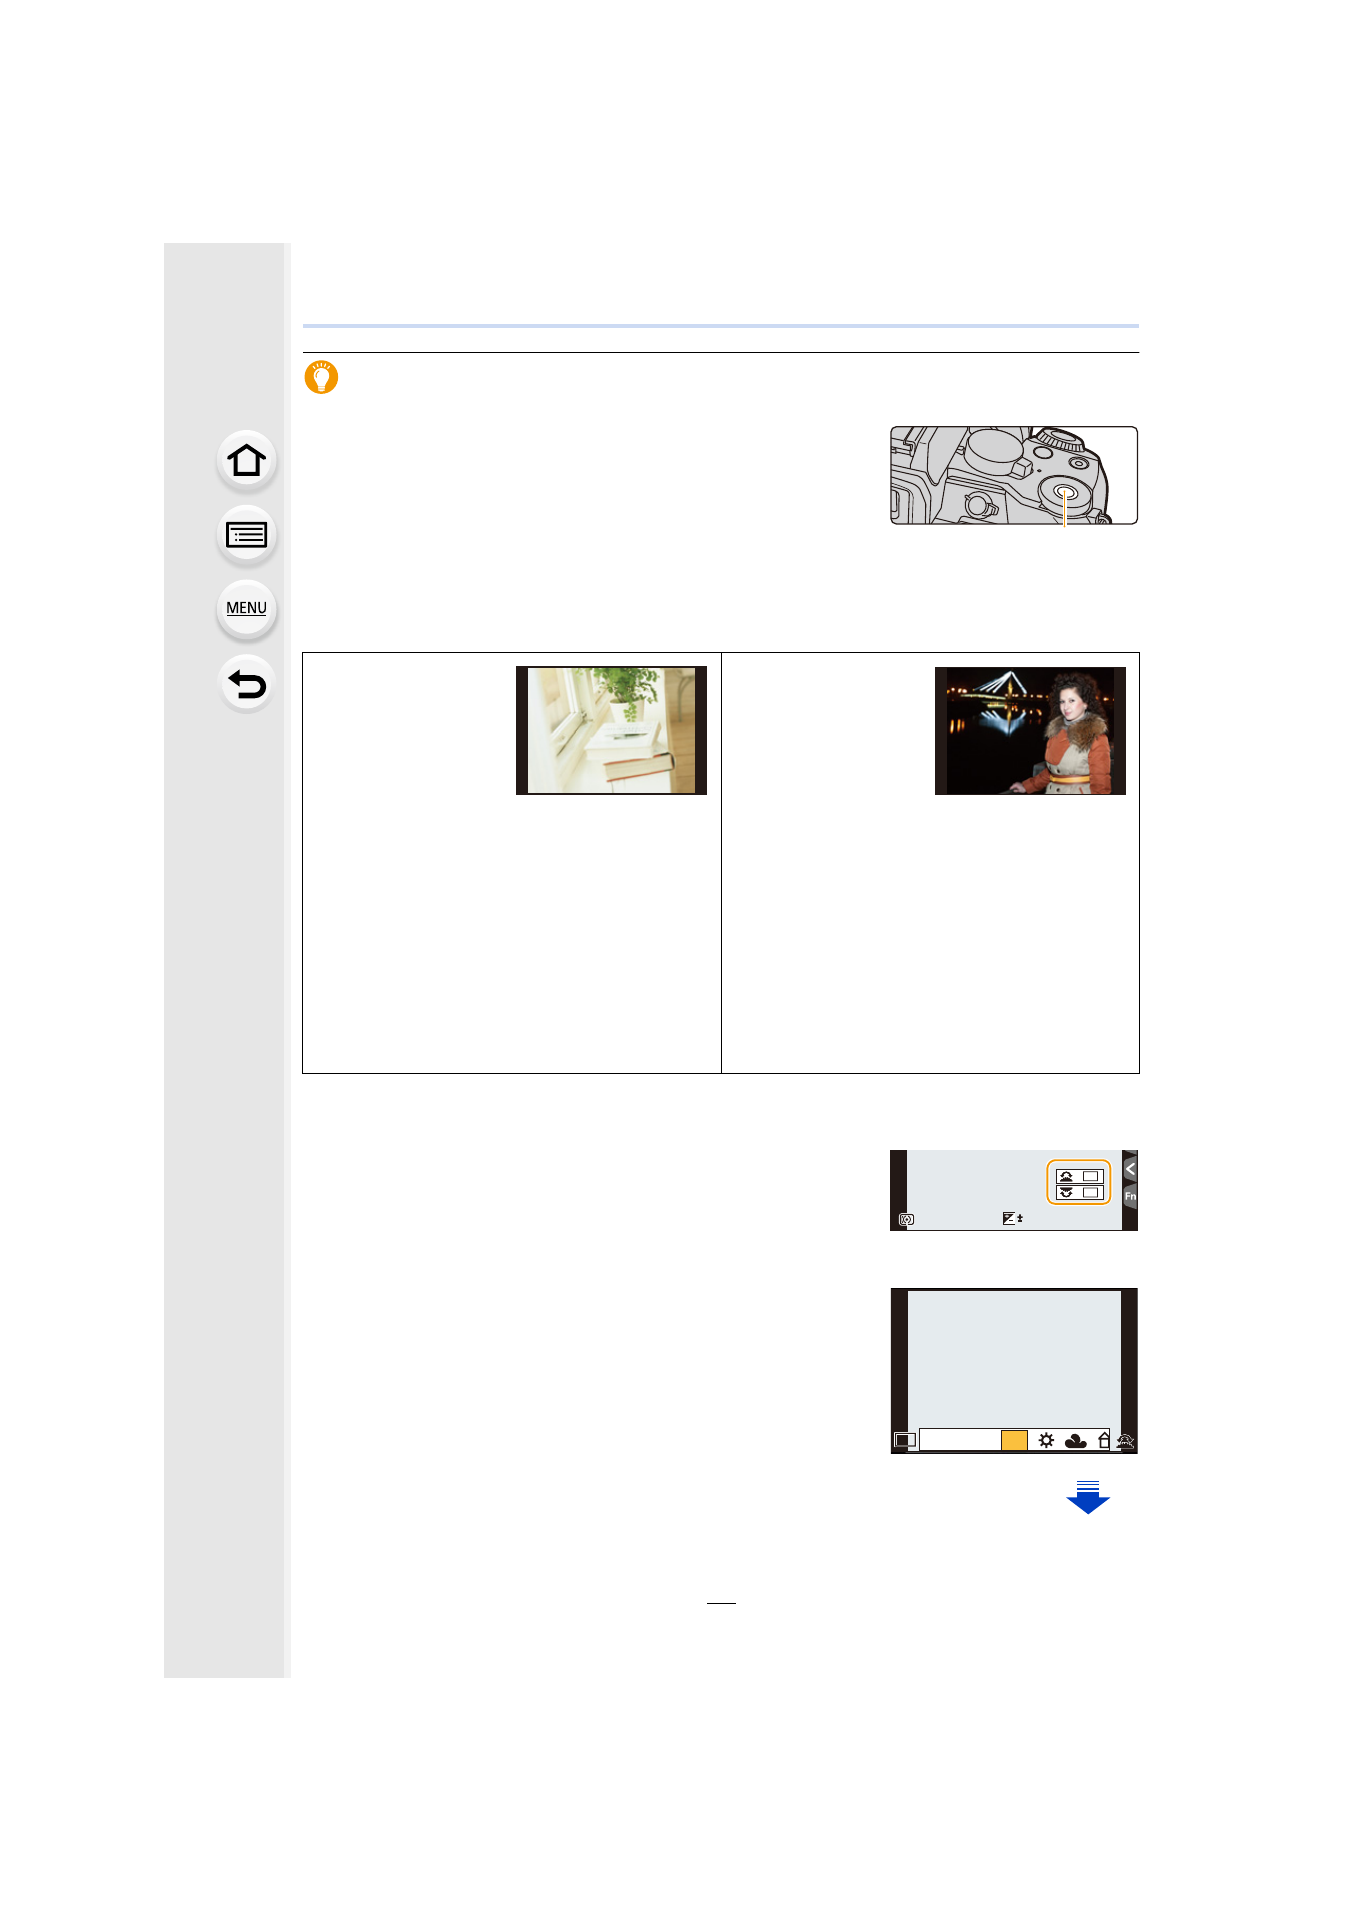
A Function button [Fn11]
Scenes and recommended settings
Below are examples of recommended front/rear dial assignment settings for scenes.
•
You can set the items to be assigned temporarily to the front/rear dials in [Dial Operation Switch
Setup] in [Dial Set.] in the [Custom] menu.
1
Press [Fn11].
•
A guide will be displayed showing the items temporarily
assigned to the front/rear dials.
•
If no operations are performed, the guide will disappear in
a few seconds.
2
Rotate the front/rear dials while the guide is
displayed.
•
The setting of the item assigned to the dial you have
rotated will change. To change the setting of the item
assigned to the other dial, rotate it.
Scenes with
complex light
sources and
contrast (locations
near a window,
etc.)
Recommended settings
•
Front dial: [White Balance]
•
Rear Dial: [Sensitivity]
When recording
using the flash
Recommended settings
•
Front dial: [Flash Mode]
•
Rear Dial: [Flash Adjust.]
Set the color tone by changing the [White
Balance] setting with the front dial, and
then set the ISO sensitivity by changing
the [Sensitivity] setting with the rear dial
while checking the shutter speed and
noise. (Default settings)
Set the flash output method by changing
the [Flash Mode] setting with the front dial,
and then fine-adjust the flash output level
by changing the [Flash Adjust.] setting with
the rear dial.
A
98
98
98
0
ISO
ISO
ISO
ISO
WB
WB
WB
WB
WB
WB
WB
WB
WB
WB
WB
WB
WB
WB
WB
AWB
AWB