Switching in the pgm/pst mode, Using the [auto] or [cut] button to switch video, Ons (p. 9) – Roland V-1HD+ Compact 4 x HDMI Video Switcher User Manual
Page 9: On (p. 9, 9basic operations
9
Basic Operations
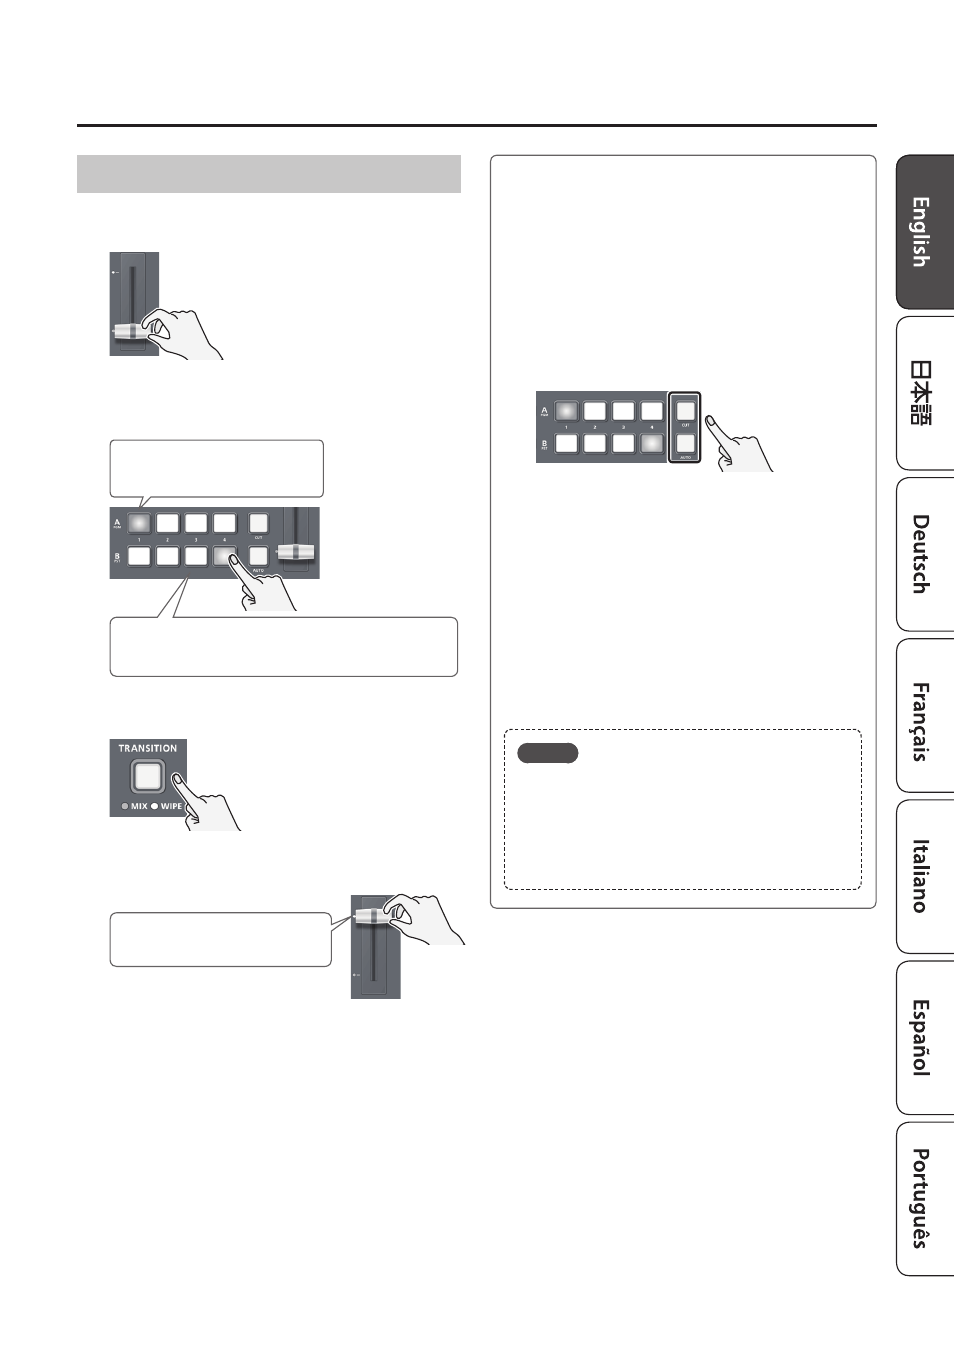
Switching in the PGM/PST Mode
1.
Slide the video fader all the way to the top or
bottom.
The video on the A/PGM bus is the
final output.
2.
Press a B/PST cross-point [1]–[4] button to
select the preset video (the video to be output
next).
B/PST bus
Lit Green: Preset video (the video to be output next)
A/PGM bus
Lit red: Final output video
3.
Press the [TRANSITION] button to select the
transition effect (MIX, WIPE).
4.
Slide the video fader in the direction opposite
to the direction in step 1.
The transition indicator on the
A/PGM bus side is lit.
The video is switched according to the
movement of the video fader.
Using the [AUTO] or [CUT] button to switch
video
You can use the [AUTO] or [CUT] button to switch
video, without using the video fader.
* You can perform operations using the [AUTO] and
[CUT] buttons both in the PGM/PST mode and in
the A/B mode.
1.
Press the [AUTO] or [CUT] button at the
desired timing for switching the video.
[AUTO] button
A transition effect is applied and the video is
switched automatically. The [AUTO] button
flashes while the video transition is in
progress.
* To specify the video transition time, use the
[MENU] button
0
“TRANSITION TIME”
0
“MIX/
WIPE TIME.”
[CUT] button
The video switches instantly.
MEMO
When you use the [AUTO] or [CUT] button to
switch video, the actual output might come to
differ from the position of the video fader.
If you operate the video fader in this state, the
output does not change until the position of the
video fader matches the actual output.