Audio operations, Adjusting the volume (level), Specifying the state of each channel (state) – Roland XS-1HD Multi-Format Matrix Switcher User Manual
Page 18: Muting the audio (mute), Changing the audio source of input channel 4, Matching the output timing of the video and audio, Linking audio output to video switching, Audio follow), Matching the output timing, Of the video and audio
18
Audio Operations
You can adjust the volume (Level) of audio that is input or output, and change the state (State) of each channel.
1.
Press the [MENU] button
g
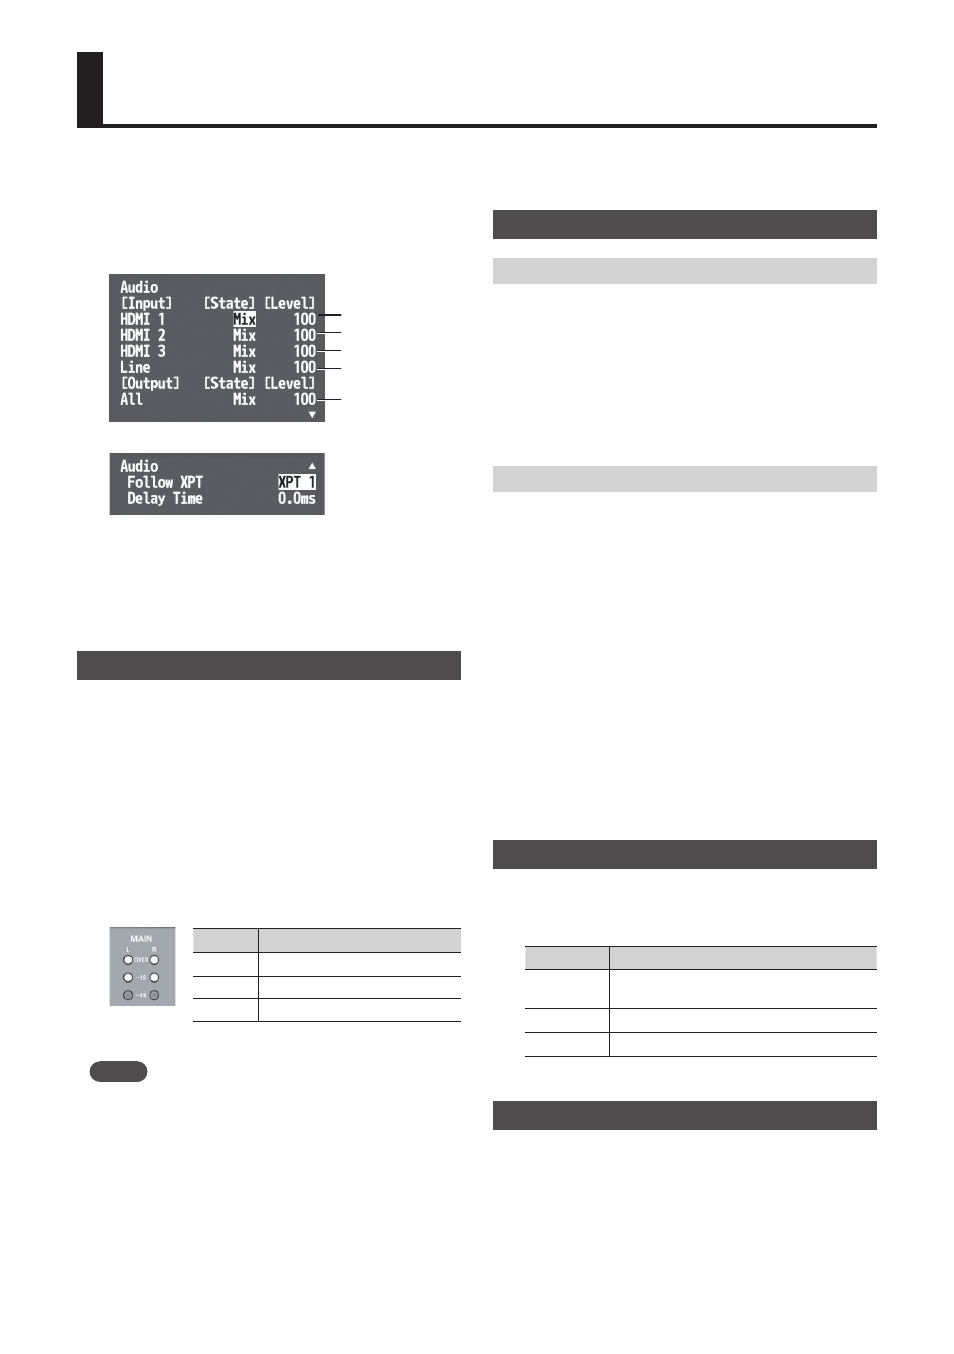
select “Audio” to
access the Audio menu.
Page 1/2
Input channel 1
Input channel 2
Input channel 3
Output channel
Input channel 4
Page 2/2
2.
Use the [VALUE] knob to set each menu item.
3.
Press the [MENU] button several times to close
the menu.
Adjusting the Volume (Level)
1.
Select an input channel’s “Level,” and use the
[VALUE] knob to adjust the volume of the input
audio.
If there is no input audio, or if you’re not using
the audio, set the volume to “0.”
* 100 = 0.0 dB, 127 = +6.0 dB.
2.
Select an output channel’s “Level,” and use
the [VALUE] knob to adjust the volume of the
output audio.
The color of the MAIN level meter indicates
whether the volume is adjusted appropriately.
Lit color Status
Red
Volume is excessive.
Yellow
Volume is appropriate.
Green
Volume is insufficient.
MEMO
5
You can also use the quick edit function to change the
“State” and “Level” settings (p. 20).
5
By using the quick edit function, you can adjust the
volume while checking the level of the input audio.
Specifying the State of Each Channel (State)
Muting the Audio (Mute)
Here’s how to temporarily mute the input audio or
the output audio (Mute function).
1.
Select the “State” of the input or output channel
that you want to mute, and use the [VALUE]
knob to specify “Mute.”
To cancel muting, set “State” to “Mix.”
Linking Audio Output to Video Switching (Audio Follow)
Here’s how you can link only the specified audio to
video switching, and automatically mute other audio.
1.
Select the “State” setting of the input channel
for which you want to use audio follow, and use
the [VALUE] knob to specify “Follow.”
2.
Select “Follow XPT,” and specify one of the
settings “XPT 1”–”XPT 4.”
* In switcher mode (p. 15), specify one of the settings “XPT
2”–”XPT 4.”
When you use the cross-point button specified in
step 2 to switch the video, the audio specified for
audio follow is output in tandem with the video
transition.
Other audio is automatically muted.
Changing the Audio Source of Input Channel 4
1.
Select the “Input” of input channel 4, and use
the [VALUE] knob to specify the audio source
that will be input.
Value
Explanation
HDMI 4
Input audio from the VIDEO INPUT 4
connector
Line
Input audio from the AUDIO INPUT jacks
Test Tone
Test tone
Matching the Output Timing of the Video and Audio
By delaying the output of the audio, you can match
the output timing of the video and audio.
1.
Select “Delay Time,” and use the [VALUE] knob
to adjust the time by which the audio is delayed.