Osd basic adjustment, Installation guide, Picture – Lenco DVT-229 User Manual
Page 11
10
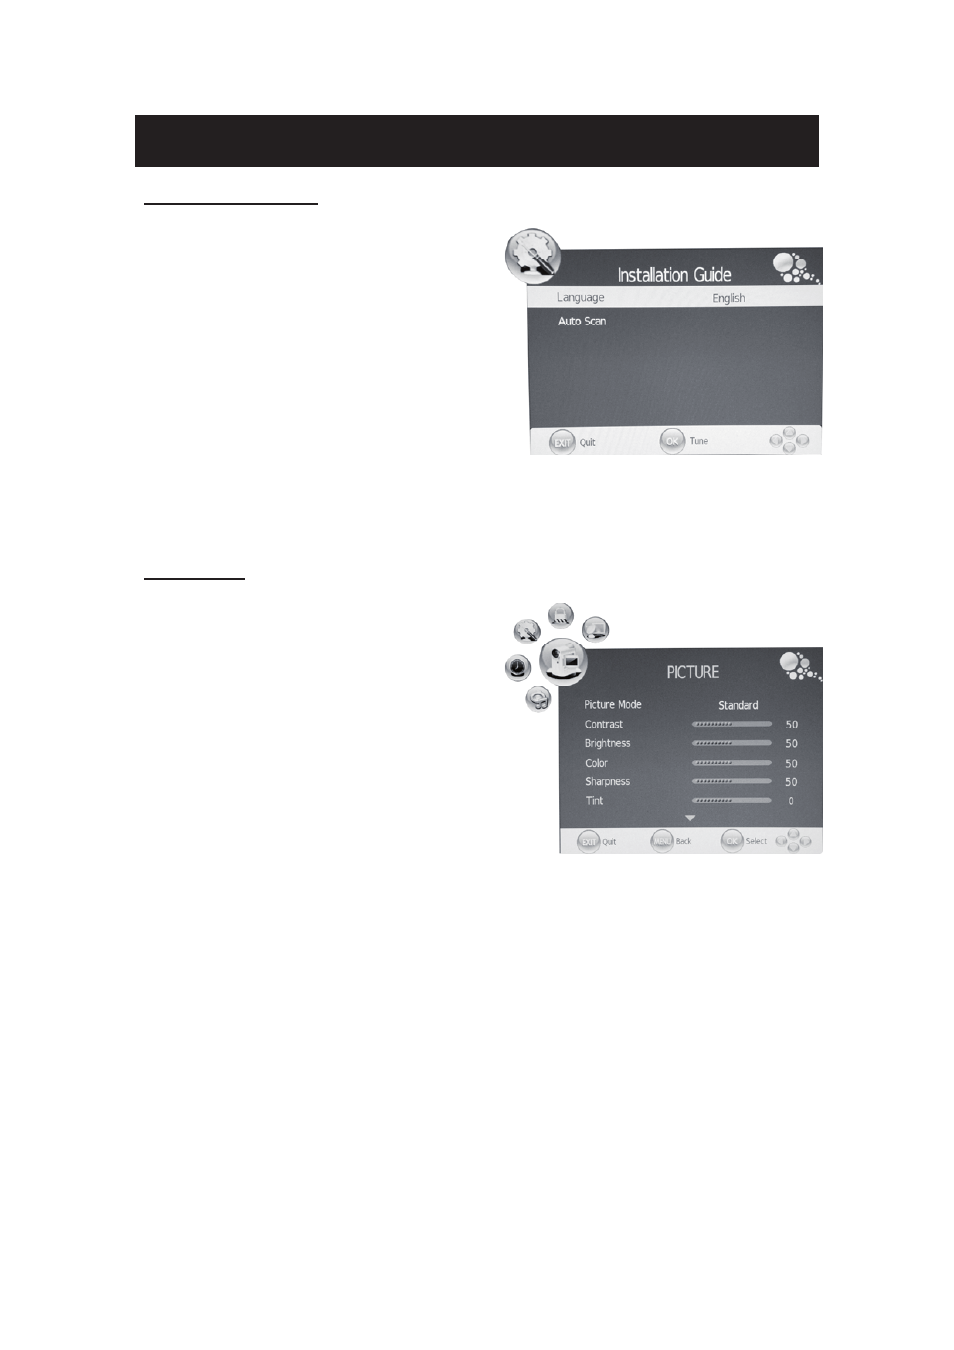
OSD basic adjustment
Installation Guide
If this is the first time you are turning on the TV
and there are no programs in the TV memory, the
“Installation Guide” menu will appear on the
screen.
1. Press the “e/f” button to select the local
language.
2. Press “c/d” button to select “Auto Scan” and
press the “f” button or “ENTER” button to
“MENU” button to skip, or press the “EXIT”
button to exit if necessary.
Note: Searching for platform will take a long time , please be patient!
PICTURE
You can select the type of picture, which best
corresponds to your viewing.
1. Press the “MENU” button to enter the OSD
menu. Then press “e/f” button to select the
“PICTURE” menu. Enter the “PICTURE”
menu by pressing “d” button or “ENTER”
button.
2. Press “c/d” button to select “Picture Mode”
and press the “e/f” button to select the
picture mode .
3. Press “c/d” button to select “Contrast” and
press the “e/f” button to enter contrast adjustment menu to adjust contrast.
4. Press “c/d” button to select “Brightness” and press the “e/f” button to enter brightness
adjustment menu to adjust brightness.
5. Press “c/d” button to select “Color” and press the “e/f” button to enter color adjustment
menu to adjust color.
6. Press “c/d” button to select “Sharpness” and press the “e/f” button to enter sharpness
adjustment menu to adjust sharpness.
7. Press “c/d” button to select “Tint” and press the “e/f” button to enter hue adjustment menu
to adjust tint.
Note: The 'Tint' item is used in NTSC mode only
8. Press “c/d” button to select “Color Temperature” and press the “e/f” button to select the
color temp.
9. Press “c/d” button to select “Red” and press the “e/f” button to adjust.
10. Press “c/d” button to select “Green” and press the “e/f” button to adjust .