Applied Motion TXM24IP-1EG User Manual
Page 14
14
Rev. C
920-0089
TXM24 Ethernet Hardware Manual
for your application. Our drive doesn’t care what that is; when the first command is sent to the
drive, the drive will make note of the IP address and port number from which it originated and
direct any responses there. The drive will also refuse any traffic from other IP addresses that is
headed for the eSCL port. The first application to talk to a drive “owns” the drive. This lock is only
reset when the drive powers down.
If you need help choosing a port number for your application, you can find a list of commonly used
port numbers at
http://www.iana.org/assignments/port-numbers
.
One final note: Ethernet communication can use one or both of two “transport protocols”: UDP and
TCP. eSCL commands can be sent and received using either protocol. UDP is simpler and more
efficient than TCP, but TCP is more reliable on large or very busy networks where UDP packets
might occasionally be dropped.
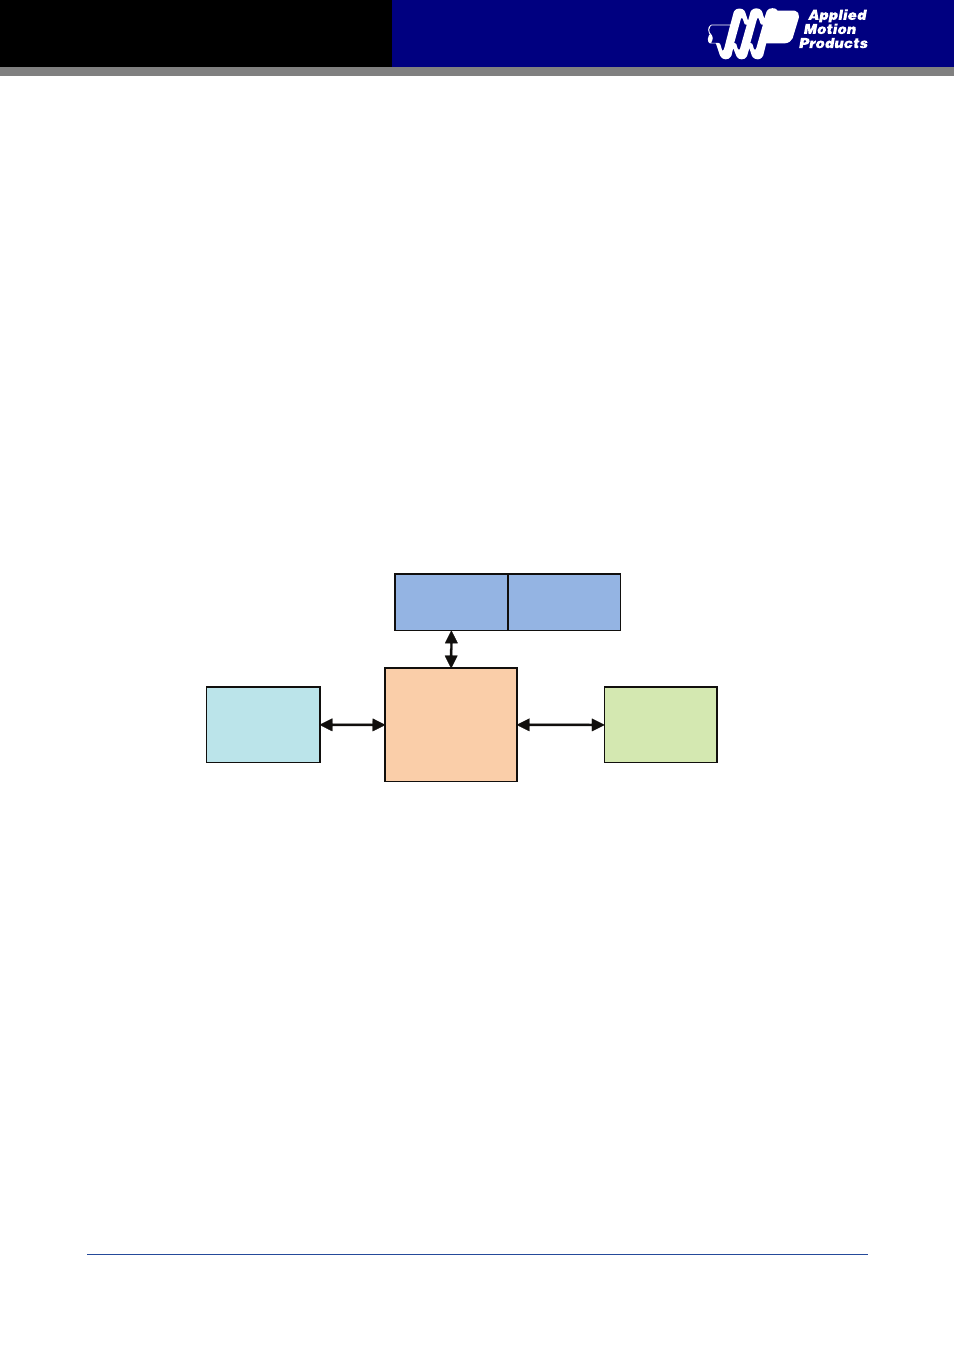
3.3.2 Option 1: Connect a Drive to Your Local Area Network
If you have a spare port on a switch or router and if you are able to set your drive to an IP address
that is compatible with your network, and not used by anything else, this is a simple way to get
connected. This technique also allows you to connect multiple drives to your PC. If you are on a
corporate network, please check with your system administrator before connecting anything new
to the network. He or she should be able assign you a suitable address and help you get going.
Once you’ve chosen an appropriate IP address for your drive, set the IP address using Step-Servo
Quick Tuner. If the default address is not acceptable for you network, you can enter a new IP
address using Step-Servo Quick Tuner.
If your PC address is not in 192.168.1. subnet, you will have to change your subnet mask to
255.255.0.0 in order to talk to your drive. To change your subnet mask:
1. On Windows XP, right click on “My Network Places” and select properties. On Windows 7, click
Computer. Scroll down the left pane until you see “Network”. Right click and select properties.
Select “Change adapter settings”
2. You should see an icon for your network interface card (NIC). Right click and select properties.
3. Scroll down until you see “Internet Properties (TCP/IP)”. Select this item and click the Properties
button. On Windows 7 and Vista, look for “(TCP/IPv4)”
4. If the option “Obtain an IP address automatically” is selected, your PC is getting an IP address
and a subnet mask from the DHCP server. Please cancel this dialog .
PC
NIC
SWITCH
or
R
E
T
U
O
R
LAN
DRIVE