Adobe After Effects CS3 User Manual
Page 228
AFTER EFFECTS CS3
User Guide
223
6
Press Ctrl+C (Windows) or Command+C (Mac OS) to copy the keyframe.
7
Press Ctrl+V (Windows) or Command+V (Mac OS) to paste the keyframe at the current time. You should not
have moved the current-time indicator since step 3.
8
(Optional) To extend the layer so that its duration is increased to accommodate the time added by the freeze-
frame operation, press the K key twice to move the current-time indicator to the last Time Remap keyframe, and
press Alt+] (Windows) or Option+] (Mac OS).
The portion of the layer between the first and second keyframes plays at an unaltered rate (the same as for the non-
time-remapped layer), as does the portion of the layer between the third and fourth keyframes. The second and third
keyframes are identical, so a single frozen frame plays during the time between those two keyframes.
Remap time using the Graph Editor
To switch between Graph Editor mode and layer bar mode, press Shift+F3.
1
In a Composition or Timeline panel, select the layer you want to remap.
2
Choose Layer > Time > Enable Time Remapping.
3
In the Timeline panel, click the name of the Time Remap property to select it.
4
Move the current-time indicator to the time at which to add a keyframe, and click the keyframe button
in the
keyframe navigator to add a keyframe.
5
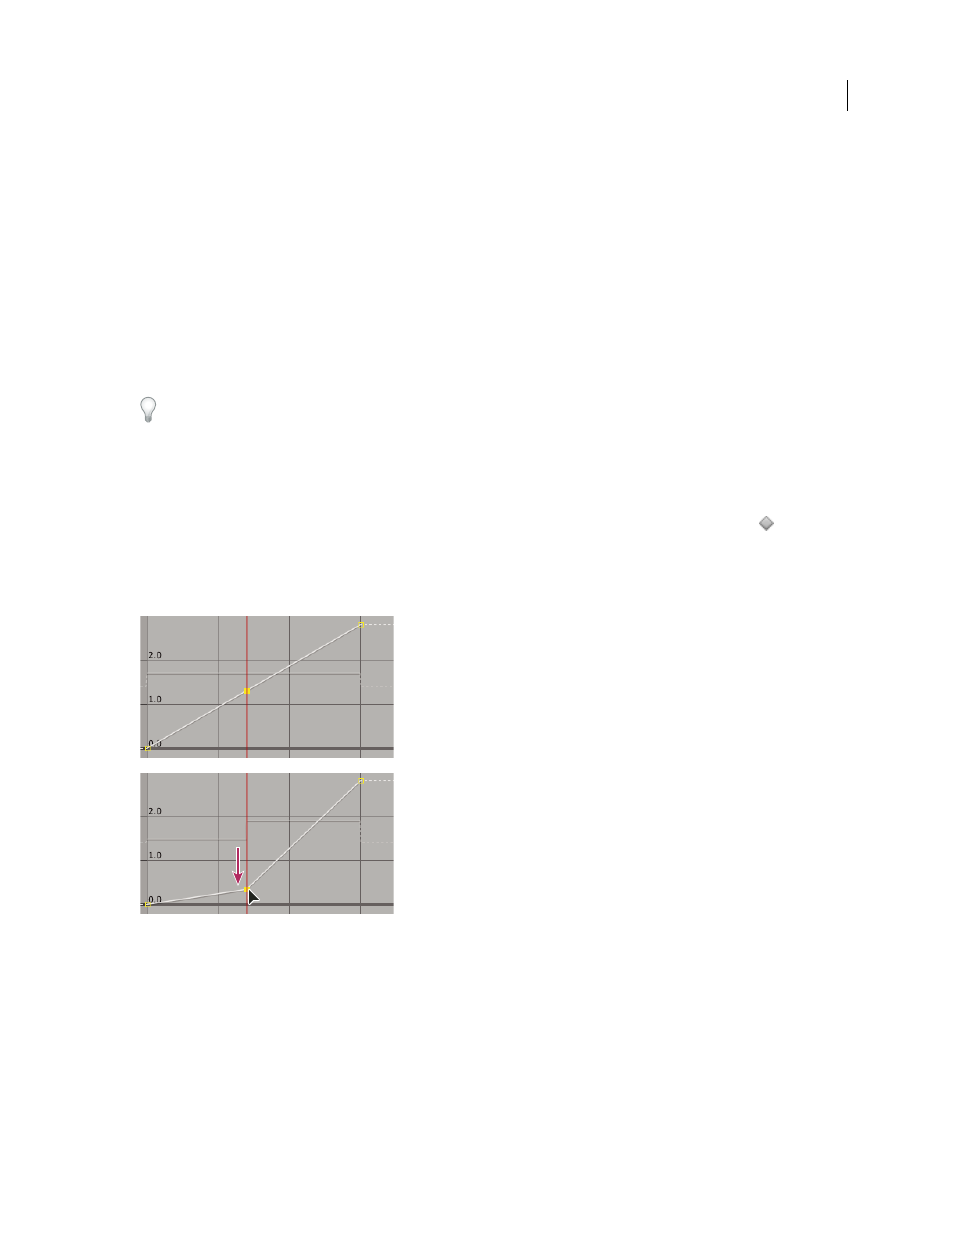
In the Graph Editor, drag the keyframe marker up or down, watching the Time Remap value as you drag. To snap
to other keyframes, Shift-drag.
Dragging the keyframe down slows down the layer.
•
To slow the layer down, drag the keyframe down. (If the layer is playing in reverse, drag up.)
•
To speed the layer up, drag the keyframe up. (If the layer is playing in reverse, drag down.)
•
To play frames backward, drag the keyframe down to a value below the previous keyframe value.
•
To play frames forward, drag the keyframe up to a value above the previous keyframe value.