Adding shapes and images to titles, Create shaped objects for titles – Adobe Premiere Elements 8 User Manual
Page 233
228
USING ADOBE PREMIERE ELEMENTS 8 EDITOR
Creating titles
Last updated 8/12/2010
•
To duplicate a style, right-click the style, and then choose Duplicate Style. A duplicate of the selected style appears
in Text Styles.
•
To rename a style, right-click the style, and then choose Rename Style. Type a new name in the Rename Style dialog
box, and click
OK. In Roman languages, names containing more than 32 characters are truncated.
•
To set a default style, right-click the style, and then choose Set Style As Default. The default style’s thumbnail is
surrounded by a white frame and becomes the style automatically applied when you create a new title.
Note: The most recent style you select remains selected until you choose a new style or create a new title. When you create
a new title, the default style is selected.
Adding shapes and images to titles
Create shaped objects for titles
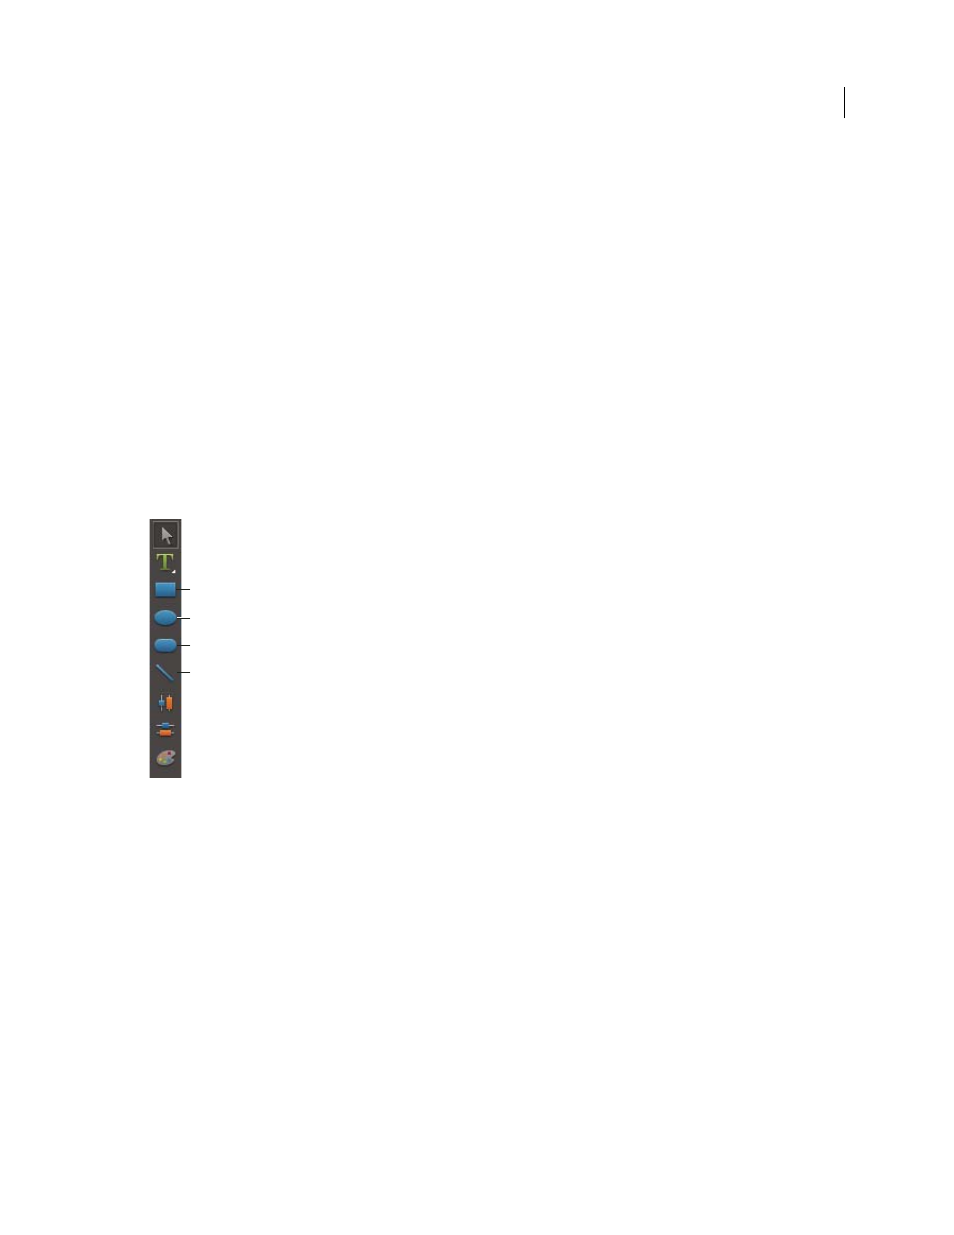
You can use the drawing tools in the Monitor panel to create a variety of shapes, such as rectangles, ellipses, and lines.
After you draw a shape, you can apply a style to it, and change the fill and stroke attributes.
Shape tools
A. Rectangle B. Ellipse C. Rounded Rectangle D. Line
1 If necessary, double-click the title in the Timeline to open it in the Monitor panel.
2 In the Monitor panel, select a shape tool.
3 Do any of the following:
•
Shift-drag to constrain the shape’s aspect ratio.
•
Alt-drag to draw from the center of the shape.
•
Shift+Alt-drag to constrain the aspect ratio and draw from the center.
•
Drag diagonally across the corner points to flip the shape diagonally as you draw.
•
Drag across, up, or down to flip the shape horizontally or vertically as you draw.
4 To apply a style to it, click a style object in the Text Styles section of the Tasks panel.
A
B
C
D