Create, Creating dynamic playlists, Dynamic playlists – BrightSign Network WebUI User Guide v.3.9 User Manual
Page 12: Dynamic, Playlists
8
CREATE
Creating Dynamic Playlists
General Managers, Creators
Dynamic Playlists allow you to easily update and share
content across multiple presentations. For example, if
you have daily announcements that need to be published
to all of your networked players, you can update a single
Dynamic Playlist rather than having to update every
different presentation on your network. When you add
content to a Dynamic Playlist via the WebUI, every
presentation that includes the Dynamic Playlist receives
this new content. This means that a single update can
reach multiple presentations.
1. Click the
Create tab. The Dynamic Playlist
subgroup will already be selected.
2. Click the
Add New Dynamic Playlist button.
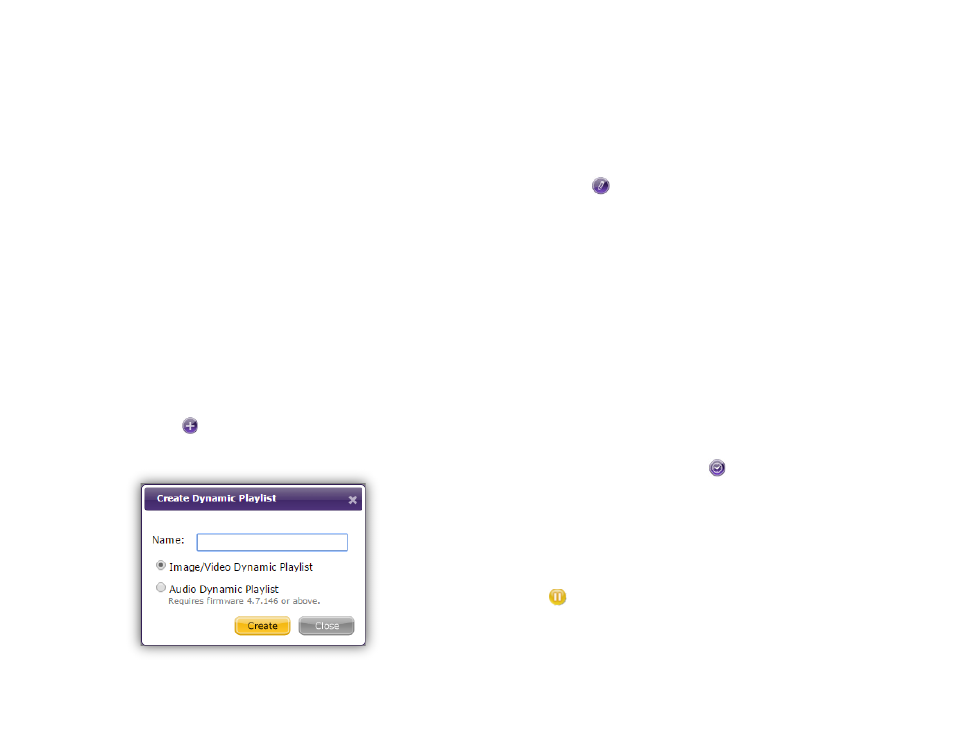
3. Enter a Name for the new Dynamic Playlist.
4. Determine whether you want to create an
Image/Video Dynamic Playlist or an Audio
Dynamic Playlist, then click Create.
5. Click the
Edit Title button if you would like to
rename the Dynamic Playlist at any time.
6. Drag the desired images/video files or audio files
from the
Library and drop them into the playlist
field.
7. Edit the ordering of the playlist by dragging a
thumbnail to a desired position or by entering the
position number of a media item in the
Position
field and clicking
Set.
8. Change the time on screen of an image file by
entering the value (in seconds) in the
Duration
field.
9. Assign a validity date to the selected video, image,
or audio file by clicking the button. If the
Enable
Validity Date box is checked, the media file will
only be included in the Dynamic Playlist between
the specified
Start Date and End Date. A Dynamic
Playlist item with a validity date will have a graphic
in the top left to indicate its current status:
a. The item is not currently included in the
Dynamic Playlist because the validity
Start Date
begins in the future.