Edit, Creating presentations, Presentations – BrightSign Network WebUI User Guide v.3.9 User Manual
Page 19
15
EDIT
Creating Presentations
General Managers, Creators
You can use the WebUI to create and edit simple looping
presentations. You can publish these presentations to
your networked BrightSign players. Remember that you
will need to use BrightAuthor to create any presentations
that are more complex than looping image/video/audio
playlists.
1. Select the
Create tab and click Add New
Presentation. In the Create Presentation window,
you will be provided with the following options:
a.
Name: Choose a unique name for the
presentation.
b.
Device Model: Select the model number of the
BrightSign player(s) to which you will publish this
presentation.
c.
Connector Type: Select either HDMI, VGA,
or
d.
Screen Resolution: Choose the resolution that
best matches the native resolution of your
monitor.
e.
Monitor Orientation: Choose whether you
would like the content to appear in Landscape or
Portrait mode.
Note: BrightSign players do not automatically rotate
landscape content to display in Portrait mode (and
vice versa). You will first need to rotate video or
images in the source application (e.g. Paint Shop
Pro Photoshop, Adobe After Effects) before
publishing them to the player.
2. Click
Create once you are finished. You will be
taken to the content editing page.
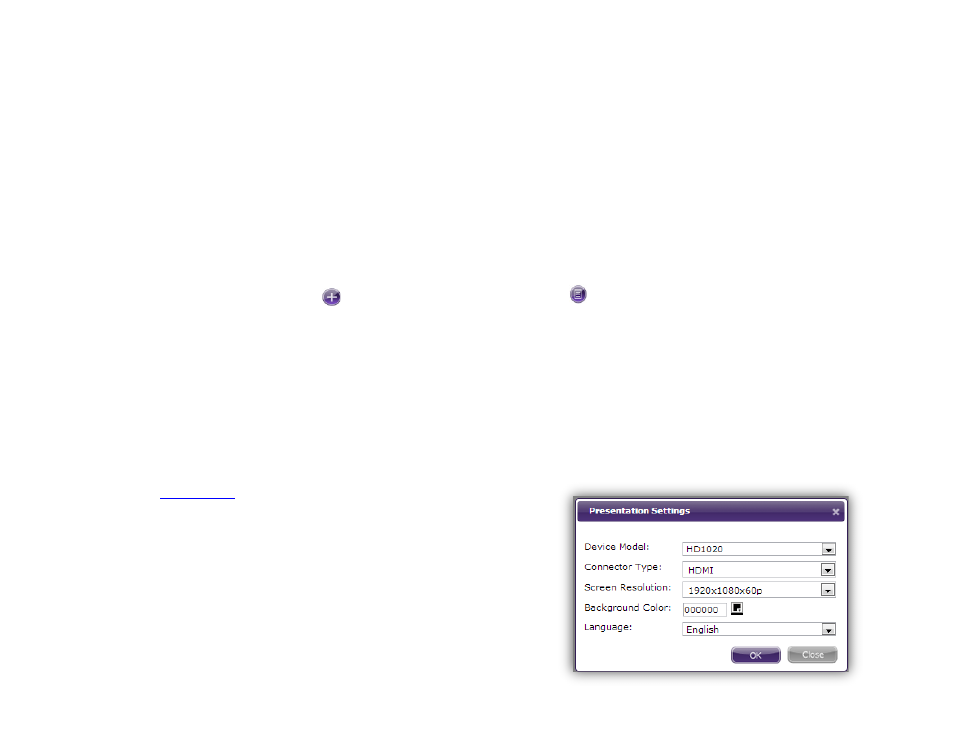
3. Click
Settings to change the properties of the
presentation. In the
Presentation Settings window,
you can edit the
Device Model, Connector Type,
and
Screen Resolution options you set when
creating the presentation. You can also specify
these additional parameters:
a.
Background Color: Choose the color that will
appear on screen if there are no images or
video. You can determine the color by selecting