頁面 7, The power supply and basic battery management – CHIAYO ADVENTURE 800 User Manual
Page 7
25
6
The Power Supply and basic Battery Management
The power supply of Adventure 800 system comes from the two pieces of 12V / 4.5 AH
built-in rechargeable batteries ( maintenance free Lead Acid type, which has no memory
effect ) . An understanding and knowledge of rechargeable battery is imperative in the
operation of the portable sound system as it helps to give a trouble-free operation of this
system.
After unpacking the unit for the first time, please charge the rechargeable batteries in the
system first for at least 10 hours before any operation. This is a very important procedure
that user MUST undertake in order to get the longest life span out of the batteries. Failure to
follow this proper battery management instruction may cause the user end up paying for
new batteries.
The rechargeable batteries were fully charged in the factory before shipment. However, the
unit you have just unpacked could have been several months old and the built-in lead acid
rechargeable batteries might have been discharged or drained. This is analogue of car
which has been left unused for months and the restart is impossible due to flat battery. It is
thus imperative that a full charge is absolutely necessary for a new system or system left
unused for several months.
To charge the battery, simply plug in the AC supply and the charging process will start
automatically and the battery status indicator will flash. When permanent Green light
appears, it means the batteries are fully charged. Normal operation could now be resumed.
When the charging indicator lights up in RED, it means battery is weak and charging is
required. In an urgent case when the system must be used while the system is still under
charging, for this system it is still possible as the AC power supply is designed such that it
also provides the power for the system while charging the batteries but this could only be
done when the charging process has started for about 5 minutes and some minimum
energy has been stored in the batteries.
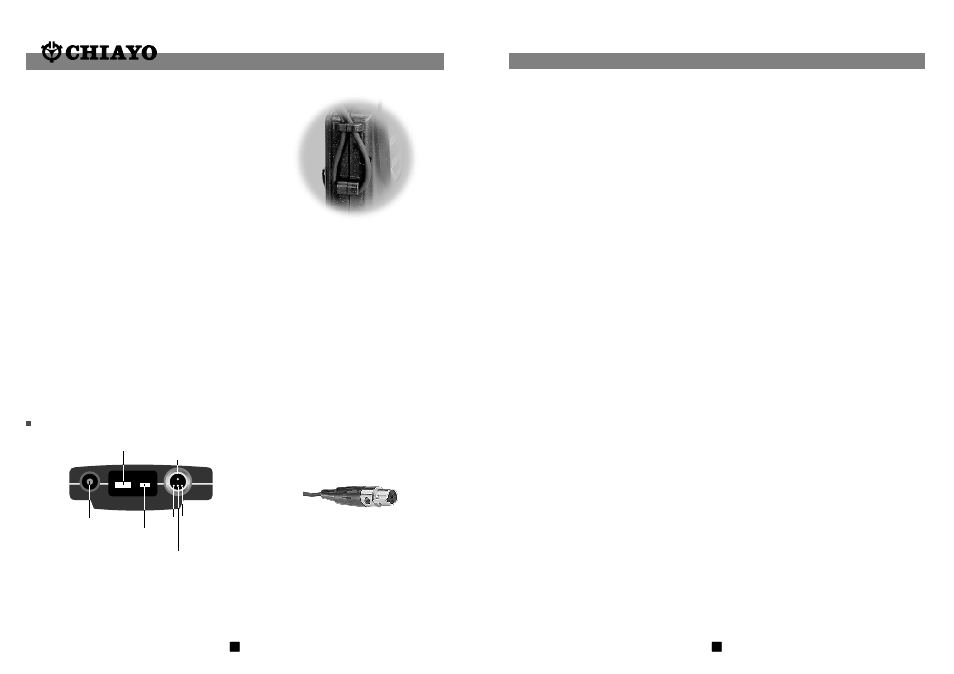
Installation of Lavalier /
Headset microphones or instrument inputs
Depending on customer requirements, Lavalier / Headset microphone or instrument
inputs could be connected to the transmitter via the audio input connector. User is free to
choose the various input sources but is advised to take note that connector used must be
compatible to each other. The pin configurations of mini XLR connector are as follow figure.
ANTENNA
GT IN
LED INDICATOR
MT IN GND
PHANTOM POWER
POWER
SWITCH
POWER
OFF
ON
1
2
3 4
mini XLR connector
Installation of cable restraint
To prevent contact noise caused by constant tension
applied to the connector,,a cable restraint is designed
such that tension is totally reduced when it is
properly used. When the audio cable go through the
cable restraint, it could prevent sweat from going
directly into the electronic board via the connector.
This is another advantage of the cable restraint.