8 - cabled operation – Code CR3 User Manual
Page 16
C002332_15_CR3_User_Manual
10
Save Settings
1.8 - Cabled Operation
CR3 with Cabled Handle - If a handle was purchased for use with the CR3, the 8-pin DIN connector is at the bottom of
the handle (Figure 1.12). Insert the 8-pin connector and firmly push the cable into the handle. The cable has a locking
mechanism that will firmly hold the cable in place. If using the H2 cabled handle, for additional stability, there is an optional
cable attachment clip that can secure the cable to the handle with two threaded screws (Figure 1.13).
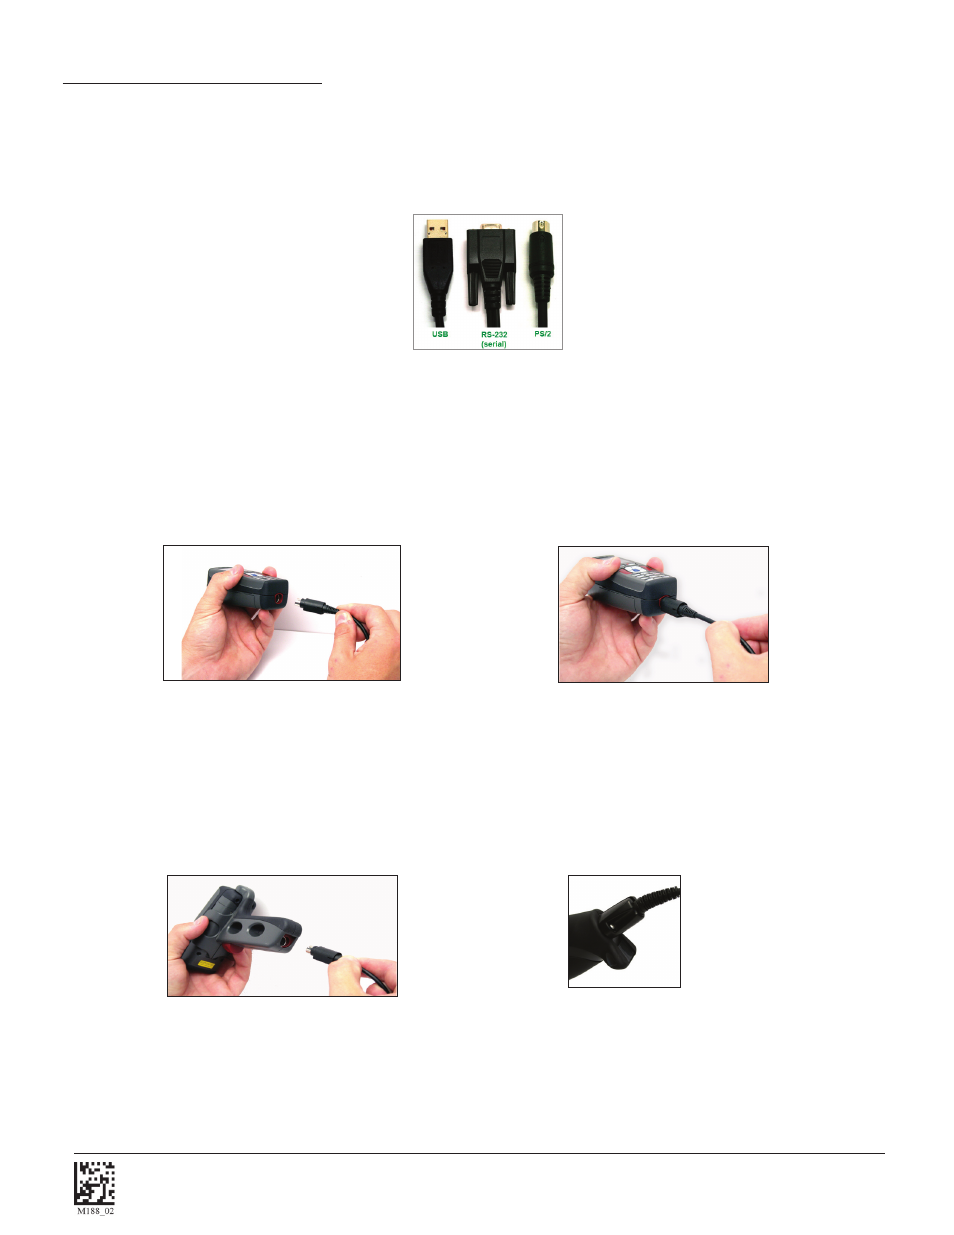
1.8.1- Introduction
The CR3 is a Multi-Interface Unit (MIU) and is available with USB (6 ft. or 12 ft.), RS-232 (Serial) and PS/2 cables. All of
the cables are connected to the CR3 with a 8-pin DIN connector.
Hand Held CR3 - To install a cable directly to the CR3, correctly line up the 8-pin DIN connector into the back end of the
reader. The arrows on the connector should be facing down (Figure 1.10). When the reader and the cable connector
are lined up, firmly push the cable into the reader. The cable has a locking mechanism that will firmly hold the cable in
place (Figure 1.11). To deattach the cable from the reader, you must pinch the plastic on the 8-pin DIN and pull back to
disengage the connector.
Figure 1.12
Figure 1.13
Figure 1.10
Figure 1.11