Crest Electronics CRE57000 TRAIN ENGINEER REVOLUTION MANUAL User Manual
Page 14
14
5) c.NAME - Use the p and q keys
move to NAME. Use the keypad to
type letters or numbers to name the
locomotive. Names may be up to 9
characters long. There is a guide to
entering names in Appendix “A” on
page 35 of this manual.
6) d.ROAD NO. - Use the p and
q
keys move to ROAD No. Enter a
road number of up to four characters
using the number keypad.
7) Place the locomotive on the track.
8) Apply power. If running on batteries
make sure the locomotive’s battery is
12 to 24 volts and is fully charged. If using track power, apply 12 to 24 volts to
the track.
9) m.LINKING - Use the p and
q
keys move to LINKING. Press
and hold the Link Switch on the
locomotive. Release the Link Switch
when the locomotive’s lights begin
flashing.
NOTE: There is an LED on the
Revolution TE Receiver that also
flashes during this linking process. See
the illustration of the receiver, on page
7, to locate the LED.
While the lights (and LED) are flashing
press the STOP/ENTER key on the
transmitter.
In a moment the screen will show that
the programming of the unit has been
successful and the flashing will stop.
11) Press the MENU key once to return to the Main Menu.
BASIC LOCOMOTIVE PROGRAMMING IS NOW COMPLETE.
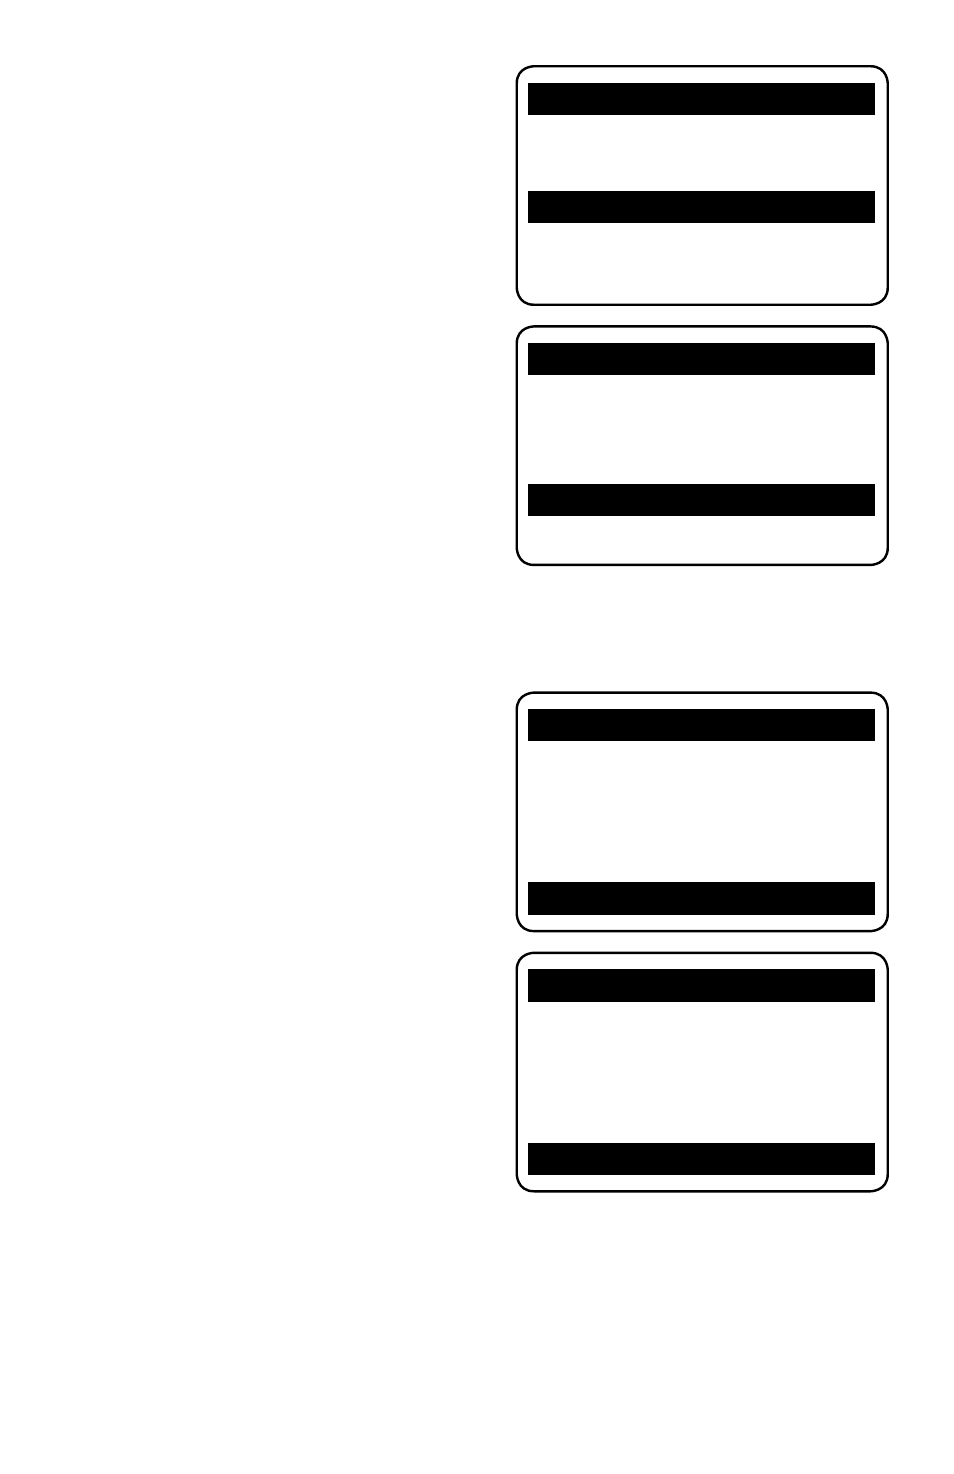
1.ASSIGN FUNCTION
a.LINK ADDR [00]
b.RxType [OnBoard]
c.NAME [GN SD45 ]
¤
d.ROAD No. [RdNo]
e.MOMENTUM [ 10%]
1.ASSIGN FUNCTION
a.LINK ADDR [00]
b.RxType [OnBoard]
c.NAME [GN SD45 ]
d.ROAD No. [400 ]
¤
e.MOMENTUM [ 10%]
1.ASSIGN FUNCTION
i.HD LIGHT [ ON]
j.TOP SPEED [100%]
k.START SPEED[ 0%]
l.AUX FUNC. SETUP
m.LINKING
£
1.ASSIGN FUNCTION
i.HD LIGHT [ ON]
j.TOP SPEED [100%]
k.START SPEED[ 0%]
l.AUX FUNC. SETUP
m.LINKING PASSED!
£