Installing and removing the aerator or cultivator – DR Power Power Take-Off (PTO) System User Manual
Page 14
Installing and Removing the Aerator or Cultivator
BEFORE PERFORMING ANY MAINTENANCE PROCEDURE, STOP THE ENGINE AND DISCONNECT
THE SPARK PLUG WIRE.
THE TRANSMISSION IS HOT DURING AND AFTER USE. TYPICAL SURFACE TEMPERATURES RANGE
TOUCH THE TRANSMISSION UNTIL A COOL
NDING ON
BETWEEN 110 AND 180° FAHRENHEIT. DO NOT
DOWN PERIOD OF 15-30 MINUTES HAS PASSED. COOL DOWN TIME CAN VARY DEPE
THE OUTDOOR TEMPERATURE AND OPERATING CONDITIONS.
Your DR TRIMMER/MOWER Gear-Driven Power Take-Off System aerator attachment slices through the
top layer of sod to help deliver water, air, and nutrients to the roots of your plants. The cultivator
attachment is similar in appearance to the aerator with the exception of its alternating bent blades (see
Figure 1 on Page 7). These blades allow the cultivator to churn weeds and dead material over into the
soil as you move your machine. Use the cultivator to maintain garden beds you have previously prepared
or tilled.
Note: The following steps are based on the trimmer’s left and right as if you were standing at the operating
position behind the trimmer’s handles.
10 DR
®
TRIMMER/MOWER™ GEAR-DRIVEN POWER TAKE-OFF SYSTEM™
THE CULTIVATOR AND AERATOR HAVE CAPS ON THE OUTSIDE ENDS: A RED CAP ON THE RIGHT AND
A BLACK CAP ON THE LEFT. BE SURE TO INSTALL THE RED-CAPPED END ON THE RIGHT SIDE OF THE
TRANSMISSION AND THE BLACK-CAPPED END ON THE LEFT SIDE OF THE TRANSMISSION.
INSTALLING THE ACCESSORY INCORRECTLY CAN CAUSE THE ATTACHMENT TO COME OFF DURING
OPERATION. SEE
FIGURE
6 ON PAGE 10 FOR A DESCRIPTION OF THE DIFFERENCES BETWEEN THE
RIGHT & LEFT HAND ATTACHMENTS.
Tools Needed:
• 3/8" wrench
• 7/16" wrench
• Hammer
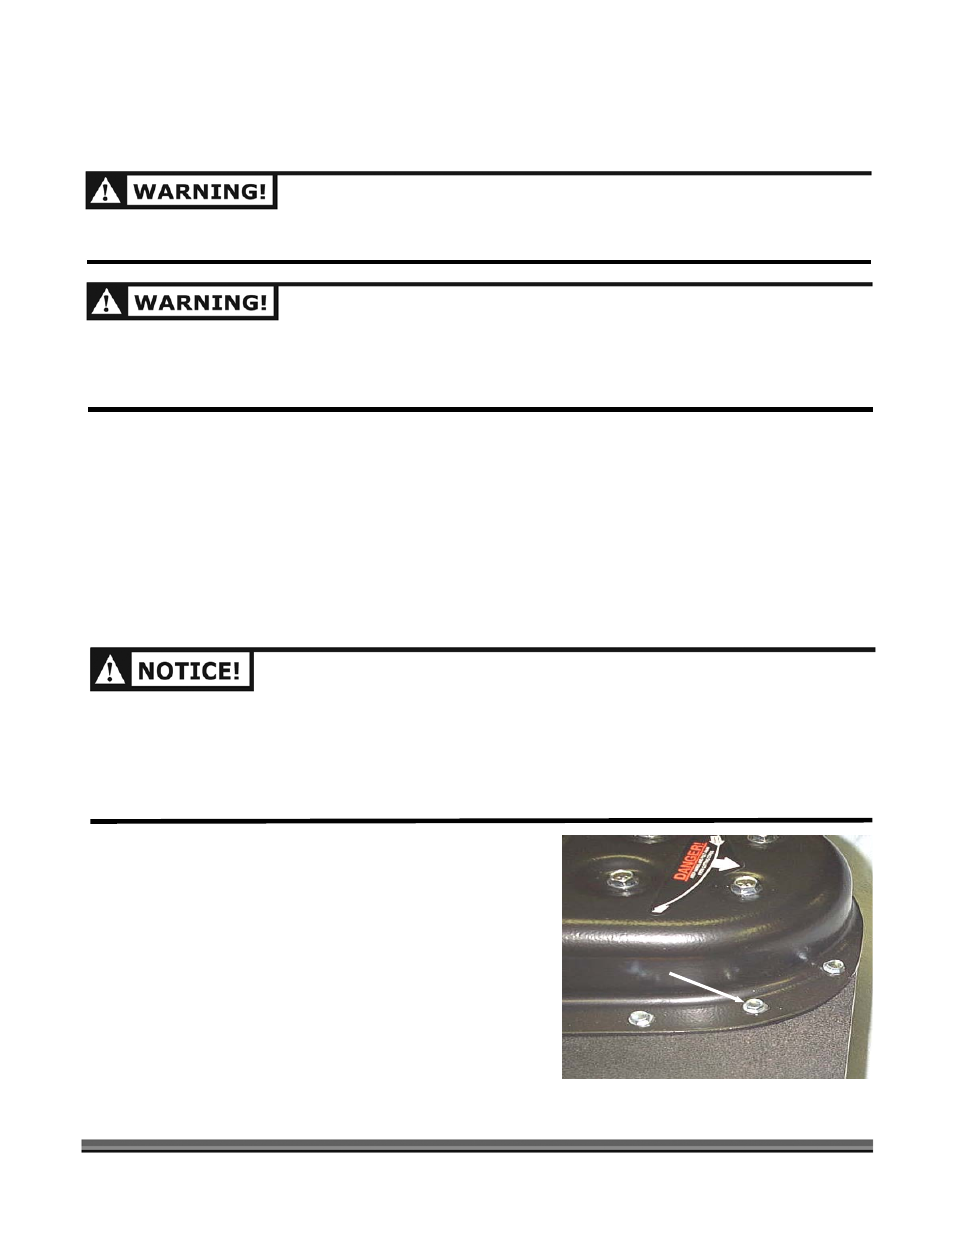
Remove this bolt
1. Remove a bolt and nut holding the main frame to the
deck (
Figure
10) using a 7/16" and a 3/8" wrench.
Note:
Machines purchased after July 2002 may not need to
perform these steps. Your machine may not have this bolt; if
you don’t have the bolt, continue with step 3.
Figure 10