Maintenance instructions, 1 general disassembly instructions – Flowserve LHS Hydraulic Heavy-Duty Actuator Series User Manual
Page 16
16
LHS Hydraulic Heavy-Duty Actuator Series FCD LFENIM0003-00-AQ 7/14
LHS Series actuators are designed to offer the greatest ease of operations of assembly, disassembly and maintenance.
The maintenance and disassembly do not require special equipment or special or large wrenches. Furthermore the
joints among the moving parts of the actuator are made exclusively through pins and then not using bolts to be
tightened with specific torques.
LHS Series actuators do not need maintenance for long period, even if they are working in severe condition. The
life-time of these actuators is guarantee for 25 years with a regular and programmed maintenance operation every 6
years. However, if the actuator operation happens infrequently, it is recommended to periodically check the actuator,
performing the following steps:
• In the plants, where it is possible, carry out few opening and closing operations, involving all the control unit
components, checking that the actuator operates correctly and within the required stroking times;
• Check that all the signals (hydraulic and electric) arriving at the actuator are correct and that the supply fluid pressure
is within the required range. Check for the absence of leaks in the hydraulic connections. If necessary, tighten the
pipe fittings.
• Check the paint coating. If some areas are damaged due to accidental events, retouch them according to the paint
procedure supplied along with the actuator documentation.
• In case of scheduled preventive maintenance, or following accidental events, refer to the following maintenance
instructions regarding the main actuators components.
4.1 General Disassembly Instructions
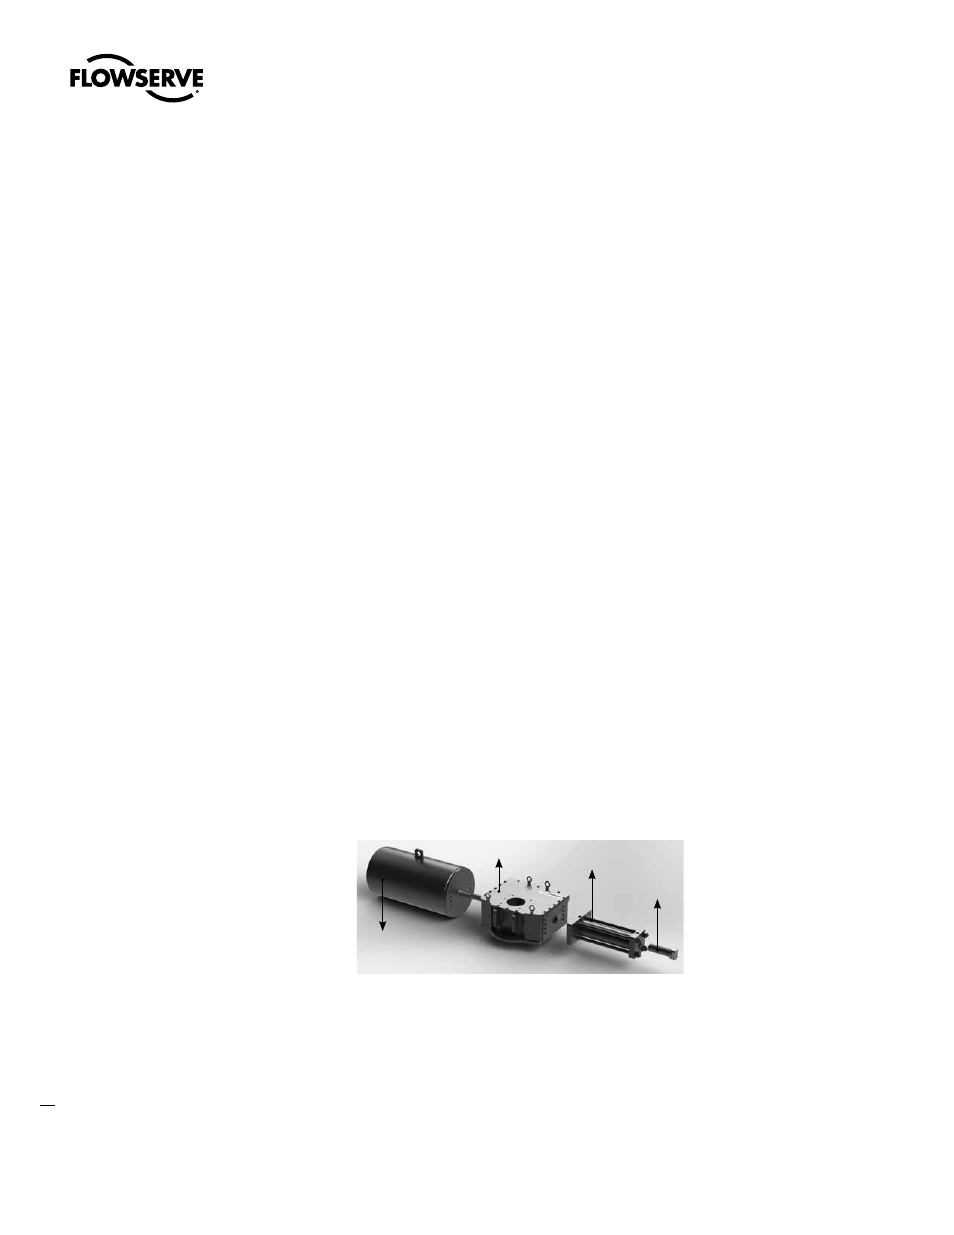
The LHS Series actuator is available in two different configurations, single acting and double acting, composed by the
main parts showed in Figure 18.
4.1.1 Disconnect all air and electrical supplies from actuator;
4.1.2 If removal of the actuator from valve is necessary, before dismounting the actuator, remove all
accessories from actuator.
4.1.3 The reference drawings for the instructions reported in the following paragraphs are exploded views of single
acting and double acting actuators, included as Figures 19, 20, 21 and 22.
4
Maintenance Instructions
Spring Can
Housing
Stop Bolt
Hydraulic Cylinder
Figure 18: Single Acting Actuator