Foxconn X38A User Manual
Page 77
71
Chapter 5 RAID Configuration
3. Press <Tab> to switch to “RAID Level” item, and then use Up or Down arrow
key to select RAID1 (Mirror), press <Enter> to confirm.
4. Select “Disks” item and press <Enter> to choose the hard disks that you want
to configure as RAID 1.
5. key in the RAID volume “Capacity” value, then Press <Enter>. The default value
indicates the maximum capacity.
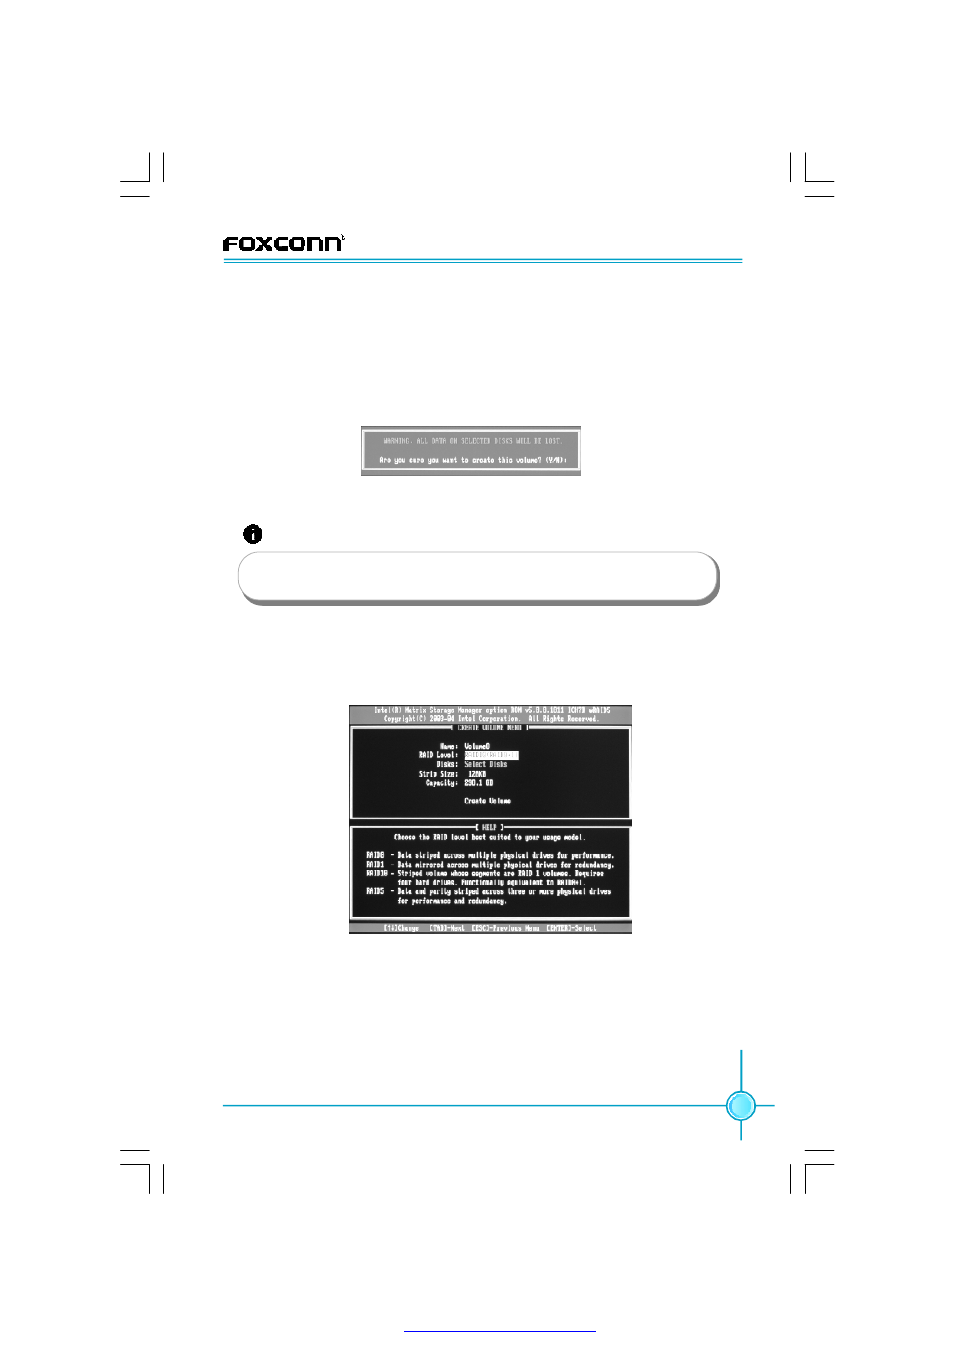
6. Select “Create Volume” and Press <Enter>, a warning message will appear
as below:
Press <Y> to create the volume and return to the main menu.
Press <N> to return to the “Create RAID Volume” menu.
1. Select “1.Create RAID Volume” from the utility main menu and press <Enter>.
2. Key in a name for the RAID 10 according to the [DISK/VOLUME INFORMATION]
and press <Enter> to confirm.
Creating RAID 10 (0+1)
Attention:
You will lost all data on the selected hard disk when you press <Y>
to create the volume.
3. Press <Tab> to switch to “RAID Level” item, and then use Up or Down arrow
key to select RAID10 (RAID 0+1), press <Enter> to confirm.
4. Select “Disks” item and press <Enter> to choose the hard disks that you want
to configure as RAID 10.
5. Use Up or Down arrow keys to select desired strip size for RAID10. The avail-
able values range from 4KB to 128KB. The default value is 64KB.
16K_Best for sequential transfer
64K_Good general purpose strip size
128K_Best performance for most desktops and workstations
PDF 文件使用 "pdfFactory" 试用版本创建