Installation/replacement – GAI-Tronics 69268-001 Amplifier Zone Interface II (AZI) User Manual
Page 4
Pub. 42004-614L2C
69268-001 Amplifier Zone Interface II PCBA
Page: 4 of 9
f:\standard ioms - current release\42004 instr. manuals\42004-614l2c.doc
11/10
Installation/Replacement
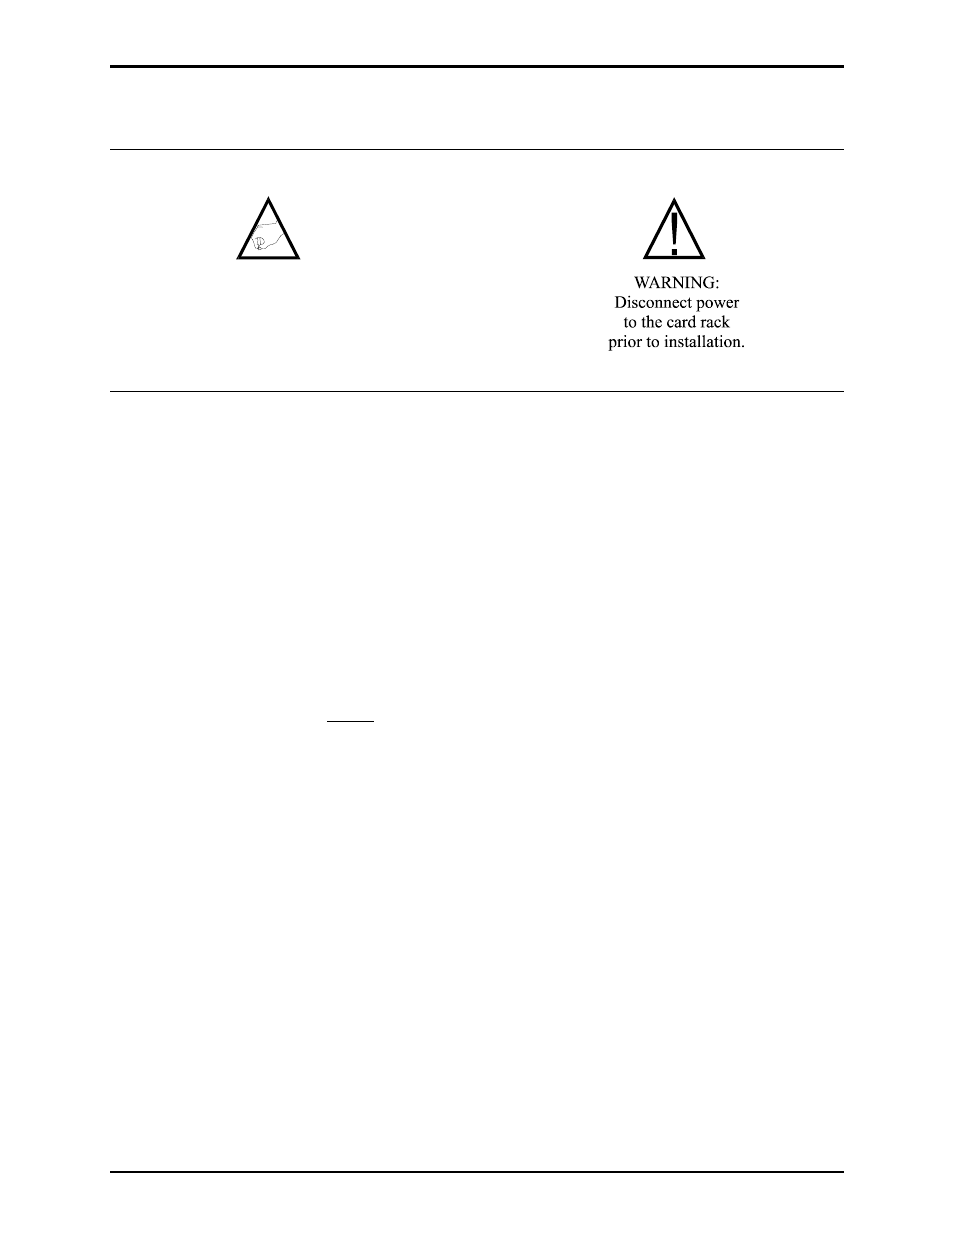
Warnings: Please observe the following warnings, or damage to the equipment may result.
1. Remove the AZI II board from its carton. Ensure that power is disconnected from the card rack
assembly.
2. Before installation, set hex switch S1 (Board Address) and hex switch S2 (Board ID) as shown in the
system manual.
• The valid range of Board IDs is:
0x1 to 0xE (hex)
• The valid range of Board Addresses is: 0x200 to 0x3F0 (hex)
The following is an example of a Board Address and how it is derived:
Sample Board Address:
2
E
0
• The first digit must always be either a 2 or a 3. This corresponds to whether W1 is installed
(2), or is removed (3).
• The second digit is set by switch S1. It is a hexadecimal number ranging from 0 to F.
• The third digit is always zero.
3. Remove existing AZI II board from card rack assembly.
4. Align the new AZI II board into the upper and lower tracks for the slot.
5. Slide the card towards the rear of the card rack assembly until the board comes in contact with the
backplane connector.
6. Firmly press on the front bezel until the board is seated.
7. Secure the board to the card rack assembly by tightening the two screws located on the front bezel.
(See Figure 1.)
WARNING:
Observe precautions for
handling electrostatic
sensitive devices.