Attaching the front panel, Keypad labels – GAI-Tronics 12576-50315 Desktop Access Panel with LCD Display User Manual
Page 8
Pub. 42004-733L2C
Model 12576-503 & 12576-50315 Desktop Access Panels with LCD Display
Page 8 of 13
e:\standard ioms - current release\42004 instr. manuals\42004-733l2c.doc
07/14
Attaching the Front Panel
After all adjustments have been completed, place the bottom enclosure on the top enclosure, being careful
not to pinch any cables. Secure the rear enclosure using the four screws provided.
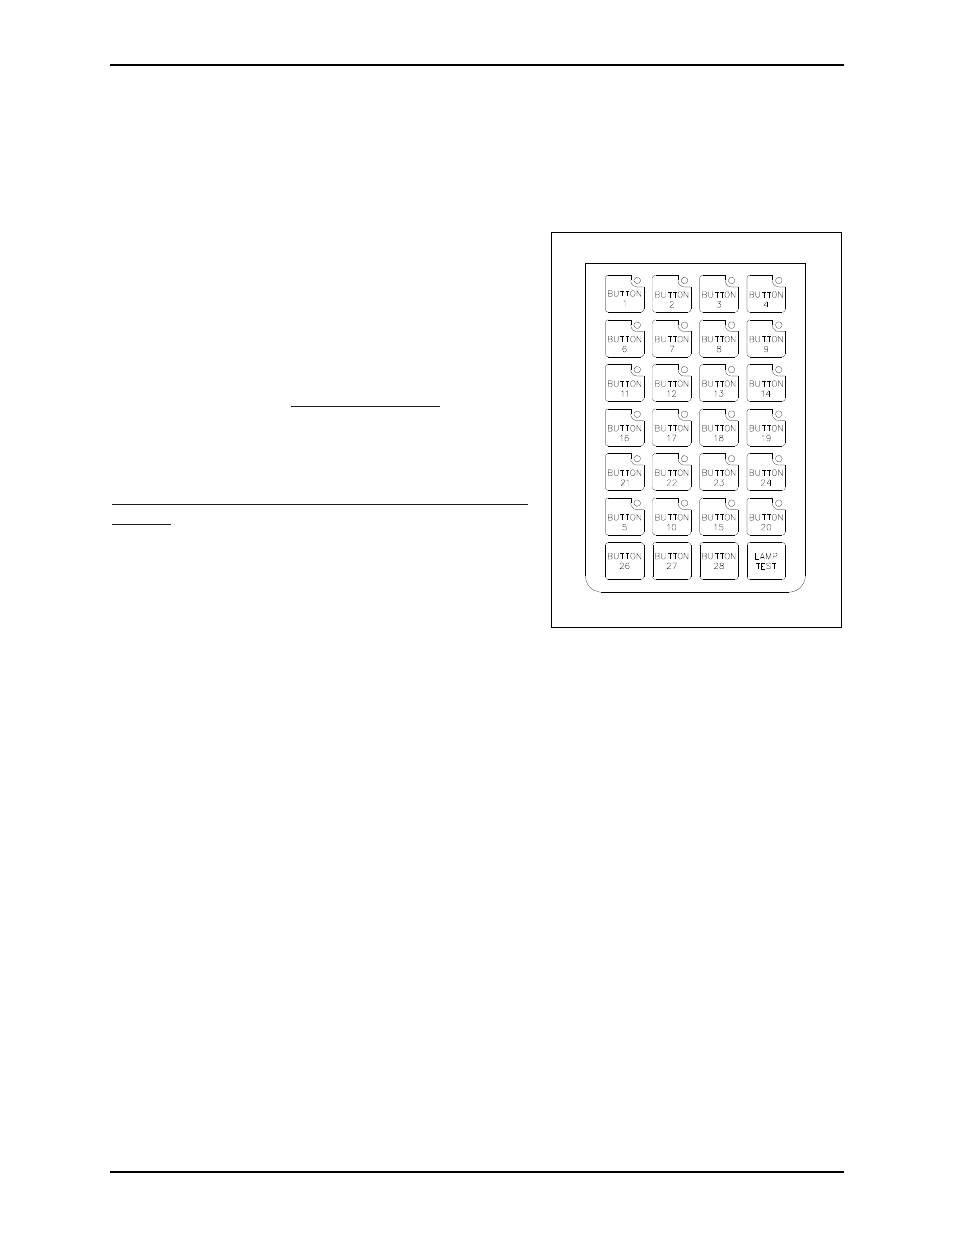
Keypad Labels
The keypad on the enclosure uses “slide-in” labels to identify
the individual switch functions. Two sheets of blank labels
are included with the access panel. (GAI-Tronics Part. No.
14919-113).
The labels are printed by inserting the blank sheets into any
laser jet or inkjet printer. A Microsoft Word document
(Version 97) is available to create custom labels. It is
available for download at
www.gai-tronics.com
under
Industrial Communications.
Follow the ADVANCE /SmartSeries link, and select “Access
Panels.”
http://wwwgtccom/indcomsystems/smartseries/ss_access_pa
nels.htm
NOTES
:
1. To modify the text size and color of the text in the
blocks, you must “unprotect” the document. Do not re-
protect the document, otherwise all the information that
was typed in will be lost.
2. Before printing on the included slide-in labels, print a
test page on plain paper to verify that the positioning, the orientation, and the information are correct.
To check the printed paper, lay it behind the included slide-in label sheet and verify that the print is in
the proper location. Because printers vary, you may need to adjust the margins in the page setup to
center the printed text within the perforated strips.
Install keypad slide-in labels as follows:
1. Separate the slide-in labels along the perforated lines on the sheet.
2. Fold the tab at the end of the slide-in label so that it is perpendicular to the rest of the label.
3. Slide the label into the appropriate slot opening located at the top of each of the button columns.
4. Repeat the above steps for the remaining labels.
To remove the keypad slide-in labels, proceed as follows:
1. Locate the tab at the top of the label and pull it out from behind.
2. Slide the label out using the tab that has been exposed.
Figure 8. Keypad Button Layout