Geist Leak Detection Kit User Manual
Page 7
Leak Detection Kit quick setup guide (rev.131111B-GD)
7
Repeat
.) Choose the actions you want to occur (e-mails, SNMP traps, relays, etc.) from
the checkbox list on the right, then click
Save Changes
.
Then, click
Add New Alarm
again, choose “
Leak Detection
” from the list of
measurements, set
trips if
and
threshold
to
Above
and
50
, choose the actions you want, and
Save Changes
. In the example shown here, “[email protected]” will be notified if a
cable fault occurs, while both “zed” and “baz” will be notified if a leak detection occurs.
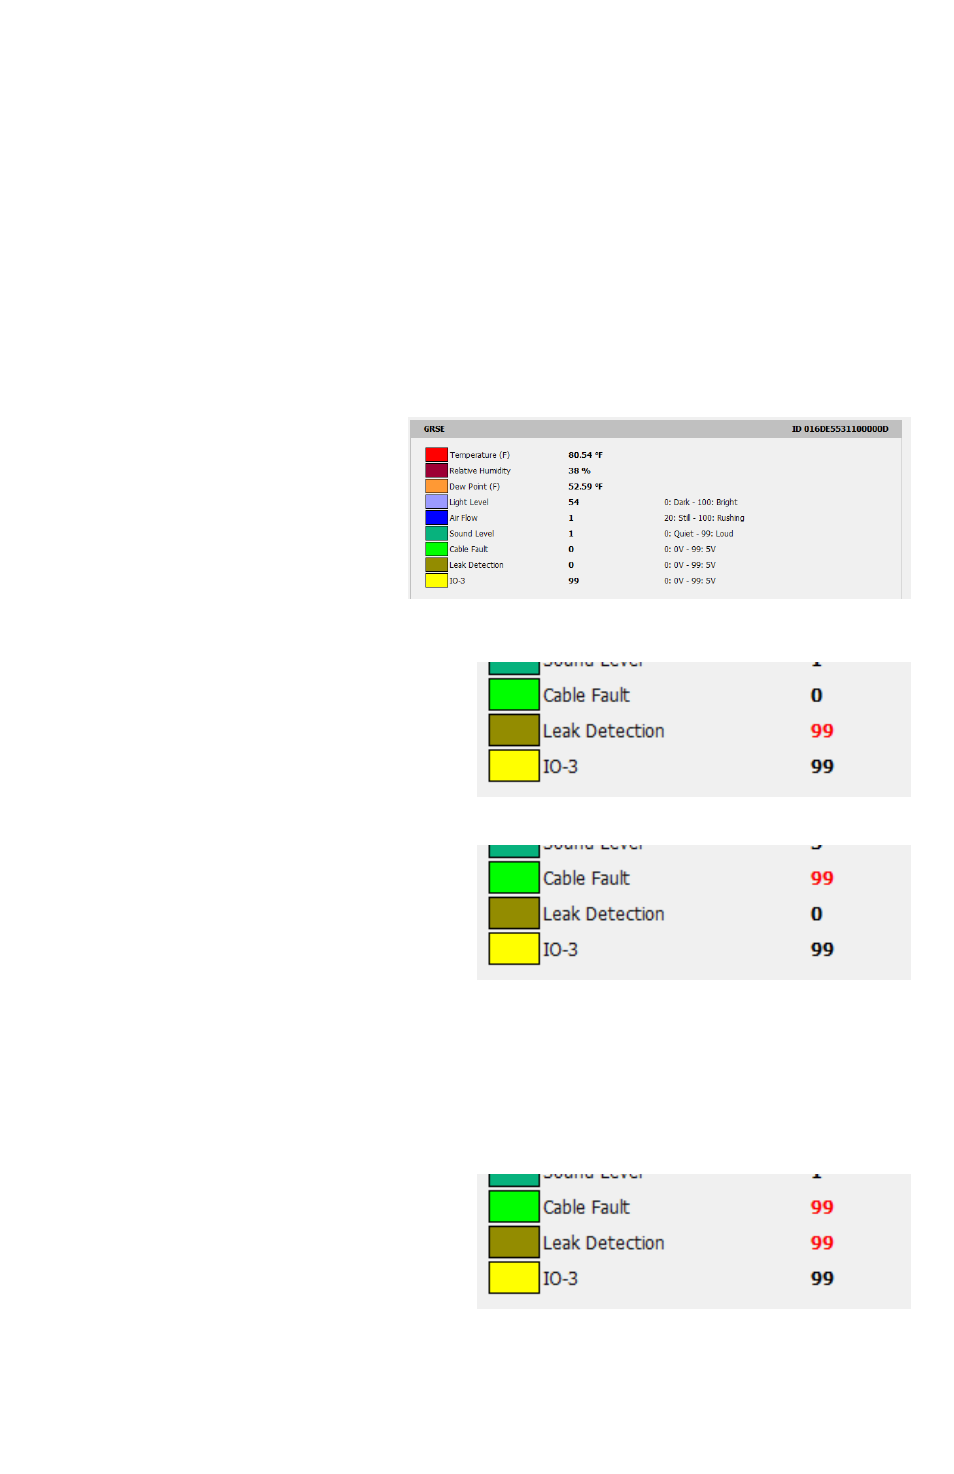
When conditions are normal, both sets of the control box’s relay contacts will be closed,
and the Cable Fault and Leak Detection inputs will read
0
, as shown here.
If water is detected by the sensing
cable, the “leak” relay on the control
box will de-energize, opening the
contacts, and the Leak Detection
input will read
99
, as shown here.
If a fault is detected in the sensing
cable, the “fault” relay on the control box
will de-energize, opening the contacts, and
the Cable Fault input will read
99
, as shown
here. Examples of a cable fault would
include an accidental disconnection of the
leader cable fro m the control box,
disconnection of one of the sensing-cable
segments, a break or cut in either the leader
or sensing cables, or failing to install the
terminator plug or pre-terminated sensing
cable at the end ofthe chain.
If the LD300 control box loses power, both
relays will de-energize, causing the Cable Fault and Leak Detection alarms to occur
simultaneously. Since these events can’t occur at the same time under normal
circumstances (obviously, a faulty cable can’t detect water!), receiving both of these alerts
at the same time would indicate that the Leak Detection Kit itself is no longer functioning.