Oper ation – ikan V8000T User Manual
Page 6
1. POWER ON/OFF/STANDBY:
Always use the enclosed power supply.
After connecting the power, the monitor will be in at standby mode. Press
the “pow” button on the monitor or the “power” button on the remote
control.to turn on the monitor. Press the same button again, the monitor will
return to its standby mode.
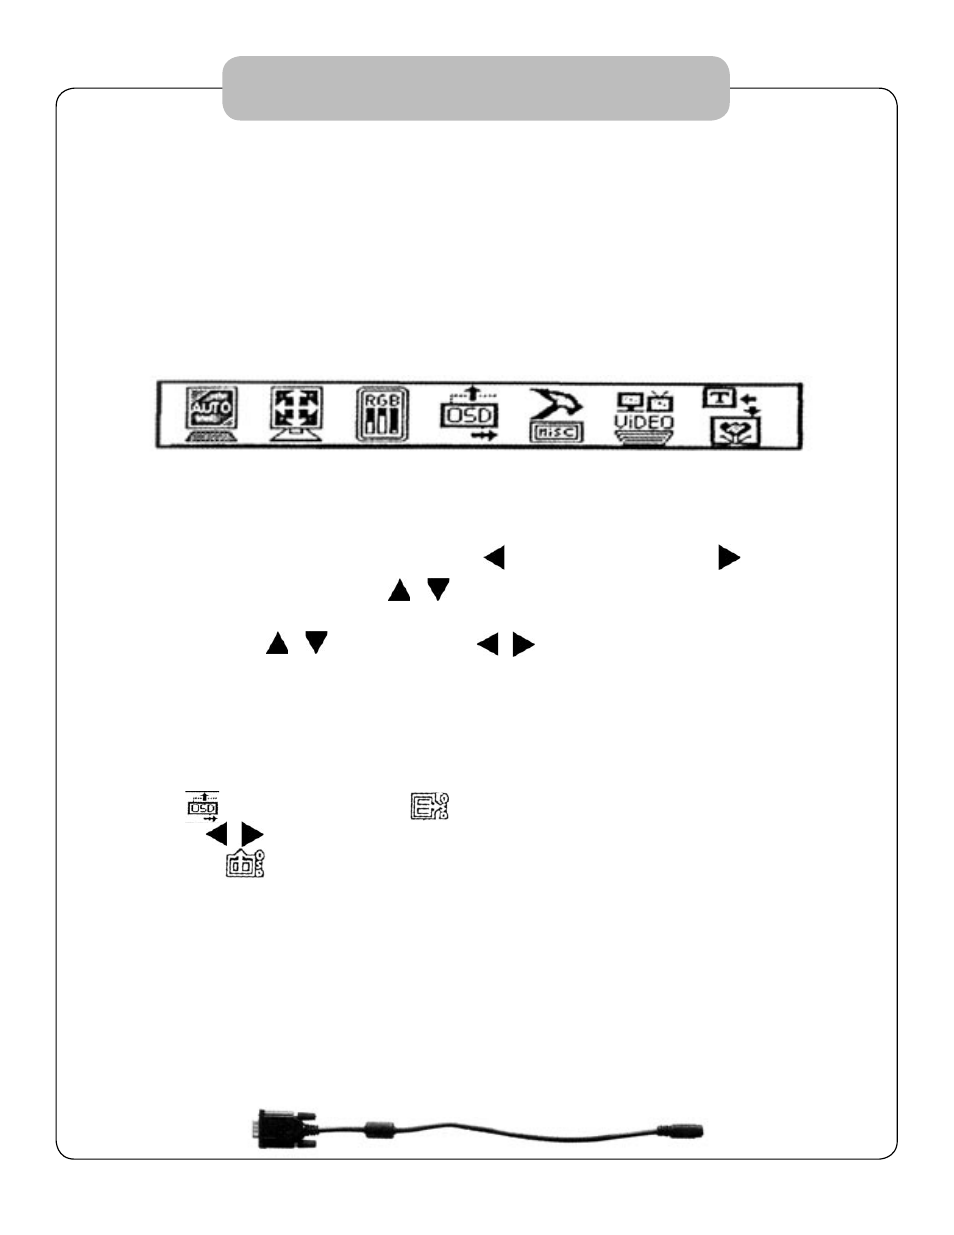
2. MAIN MENU(From left to right):
Auto adjustment; display position adjustment; image adjustment; osd adjust
ment; other setting; video adjustment; menu exit. After connecting, press
the “menu” button on the unit or remote control. The “main menu” will
appear on the screen. Use the button” “ (move to the left) “ “ (move to
the right) on the unit or “ / ” on the remote control to choose a setting
then press the “menu” button again to confirm. For the sub menu, you can
use the volume / on the unit or / on the remote
remote control for adjustments. To return to the main menu, please
choose “exit”, then confirm by pressing “menu” button again.
3. OSD ADJUSTMENT (MENU POSITION ADJUSTMENT):
The users can adjust the position of menu display.
Choose in the main menu, in the sub menu,
then use / for the horizontal adjustment;
Similarily, is for the vertical adjustments.
4. SELECTION OF INPUT SIGNAL :
The unit is provided with VGA jack and AV1 and AV2 input signal.
Therefore it could be used along with a computer, monitor camera system
as well as a DVD player. To work as a computer display, input
the PC signal into the VGA jack. then press the “PC/ AV” button on
the front panel. (see figure I)
Oper ation
3
Figure 1