Infloor Infloorboard User Manual
Page 17
Infloorboard™ Application & Installation Manual
17
INST
ALLA
TION
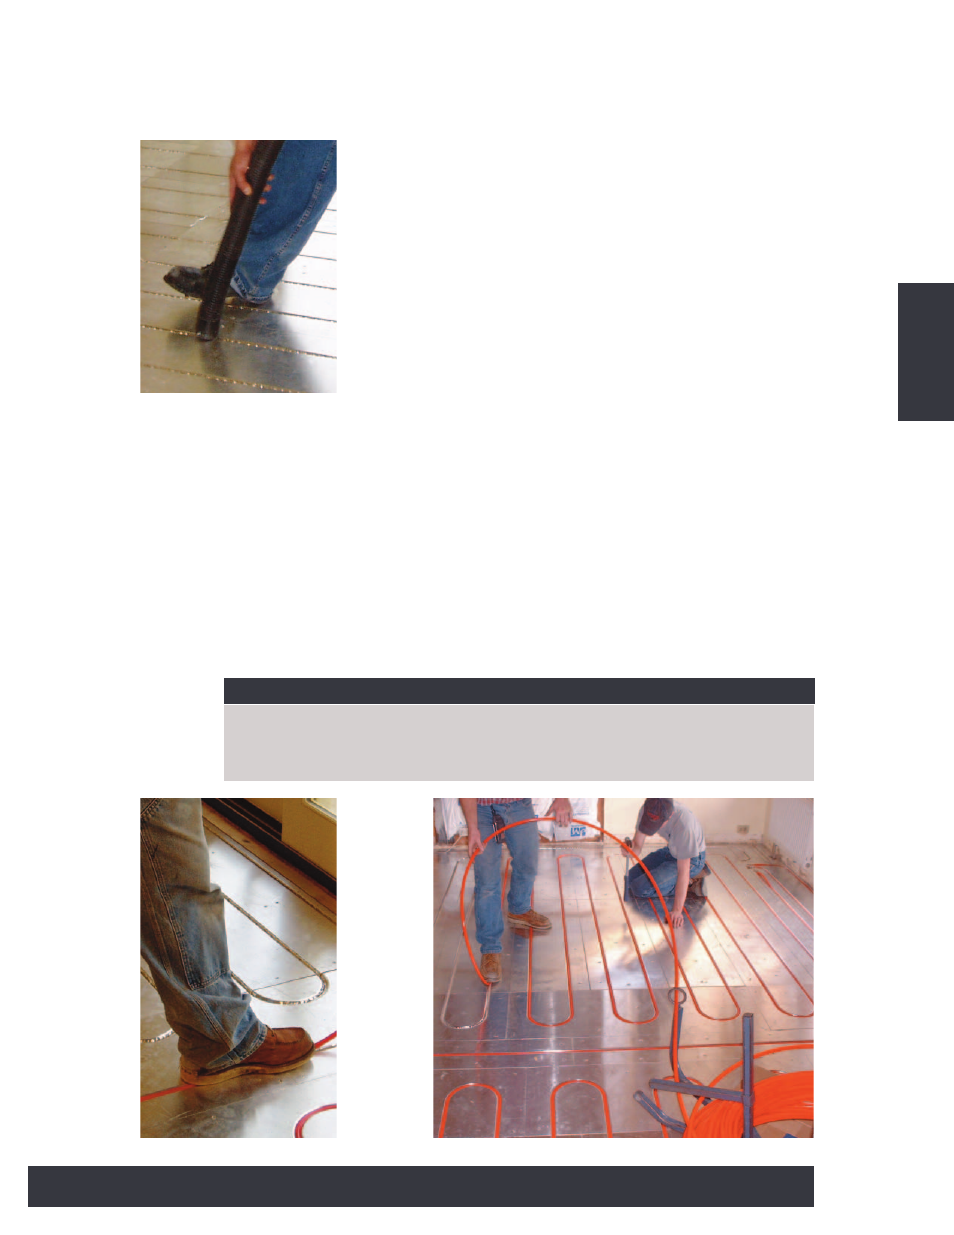
INSTALLING TUBING IN THE GROOVES:
First, vacuum the grooves so there is nothing that will damage
the tubing or keep it from going properly into the groove. The
use of a tubing uncoiler is recommended. Start at the intended
manifold location and allow enough tubing as a ‘leader” to
attach the tubing to the manifold. You may then begin, but
make sure you understand the layout and where and how you
will return to the manifold. There is, intentionally, a tight tol-
erance between the ASTM F-876 PEX tube and the slightly
undercut groove. This allows the tubing to be retained in the
grooves once it is pushed in place. Usually, this only requires “walking the tubing
into the groove:” as shown in the photographs below. Occaisionally tubing
installation may require the use of a rubber or hide mallet as shown on the pre-
vious page to force the tubing in place in the grooves. After installing a loop of
tubing, always walk the loop and make sure the tubing is fully in the groove for
the entire length of the groove. This is very important! The top of the tubing
should be just below the level of the top of the Infloorboard™, and fully
retained in the groove.
INSTALLER’S NOTE: INFLOORBOARD™ WARMCOAT™ METAL AND GROOVES
Infloorboard™ has an aluminum Warmcoat™ metal layer that is slit for the
grooves. It is designed to be folded down into the grooves and pressed to the
side as the tubing is pushed into the groove.