Using kanguru usb copy pro, Select files and folders to copy – Kanguru USB Copy Pro User Manual
Page 7
7
3. Using Kanguru USB Copy Pro
Before you can run the Kanguru USB Copy Pro application, you will first need to connect the Kanguru
10-Port USB Hub that came with your package to your computer. Then simply double click on the
Kanguru USB Copy Pro icon on your desktop to launch the Kanguru USB Copy Pro application.
Note: You must be logged in Windows as a user with administrative rights in order to run the Kanguru
USB Copy Pro application.
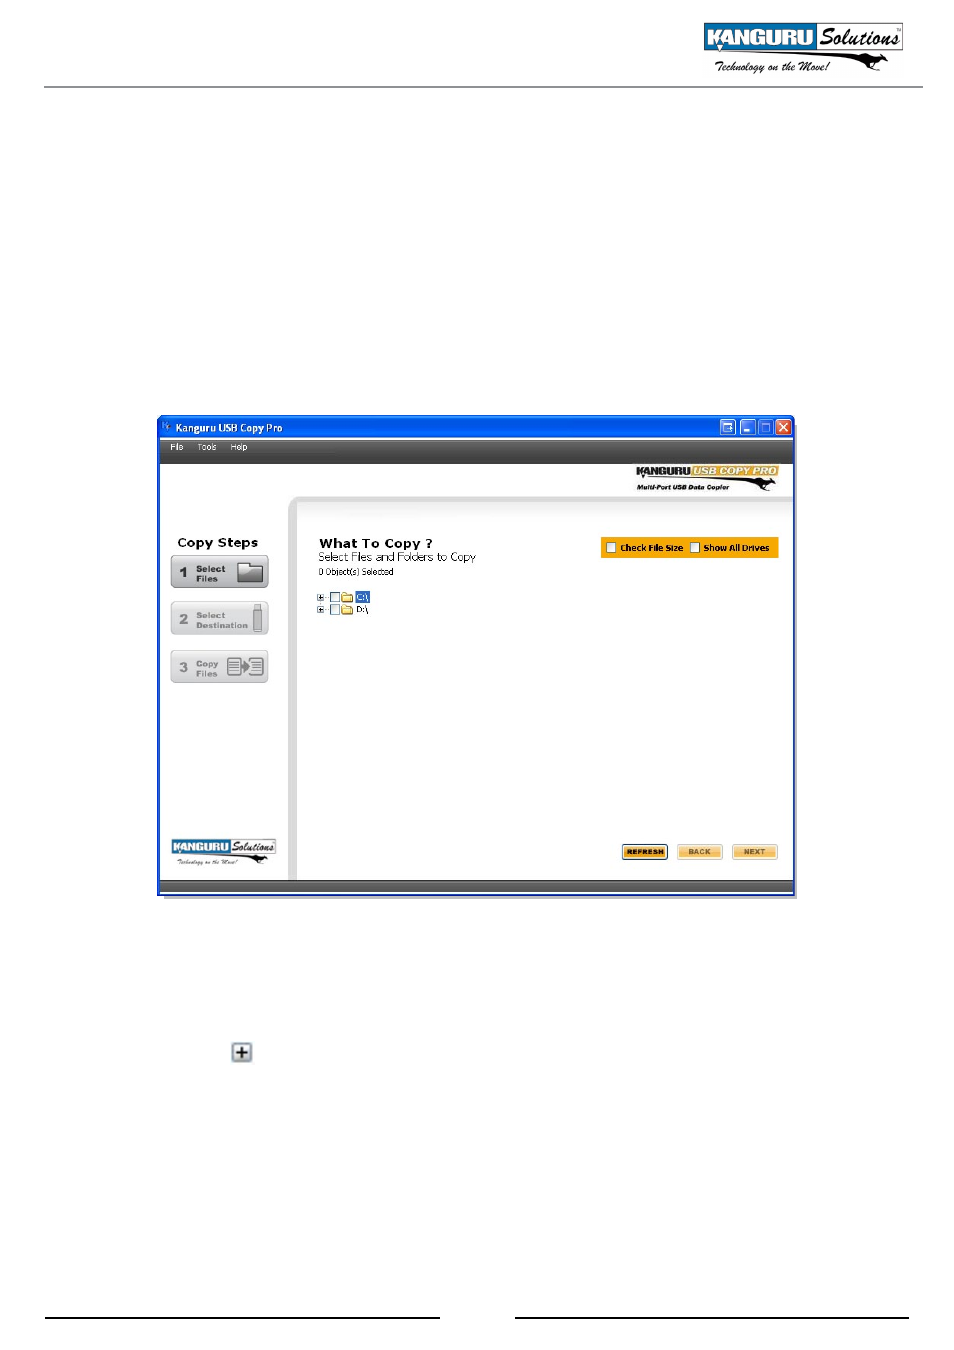
3.1 Select Files and Folders to Copy
A list of the physical hard drives installed on your computer is displayed.
Note: Only attached drives are displayed by default. To include removable devices, click on the
‘Show All Drives’ option.
1. Click on the box to expand each drive to reveal directories and subdirectories.
2. Click on the check box next to a file or folder to select it as the source. If you are selecting a
folder, the entire folder structure, including any subdirectories, will be replicated on the target
devices.
3. If you would like to be able to view the total size of the files you have selected, click on the
‘Check File Size’ option. The file size information will be visible during the next step.
4. Click on the Next button to continue with selecting USB devices to copy your files/folders to.
Note: The USB Copy Pro software does not support copying system files. The USB Copy Pro software
will not be able to copy any files that are currently in use by other programs.
Using Kanguru USB Copy Pro / Select Files and Folders to Copy