Maintenance – Montigo B34DV User Manual
Page 21
Page 21
B-Series DV-2 Gas Fireplace
Part No. XG0160 - 141231
Maintenance
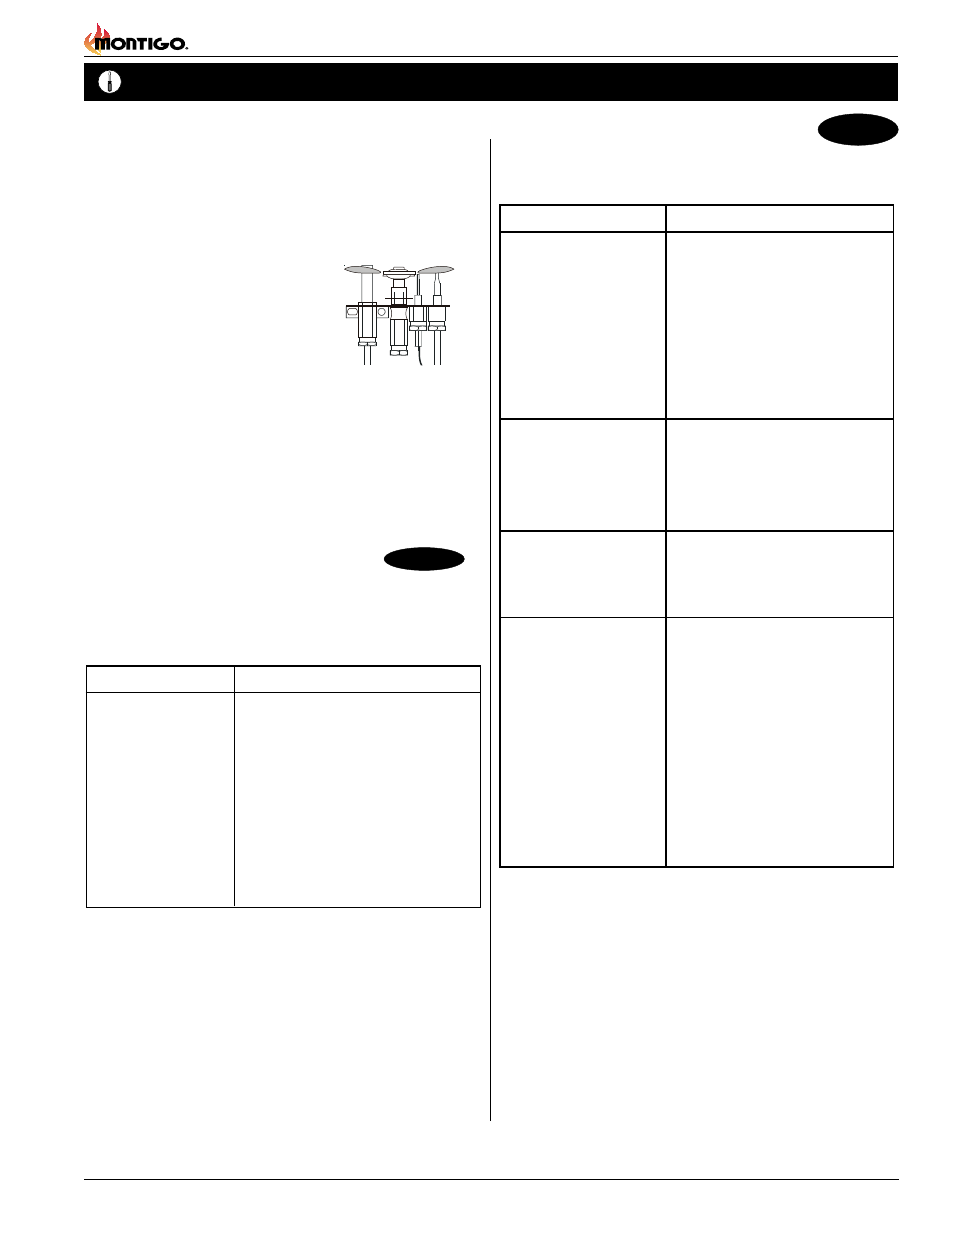
Figure 32. Pilot Burner.
B-Series DV-2
Troubleshooting:
SIT Proflame 2:
B-Series DV-2-F
If your fireplace still does not operate correctly, consult your local
Montigo dealer.
All service and repairs should be performed by a qualified
Technician.
All spare parts, optional fans, and optional trim finishes are available
from your local Montigo dealer.
PROBLEM
SOLUTION
Pilot Igniter won't spark
1. Check the MAIN ON-OFF switch
(typically located below the valve
cover) and turn ON
2. Ensure main power is ON or new
batteries are installed in the remote
control and backup battery pack (if
available).
3. Check the 3.15A fuse in the control
box and replace if necessary
Pilot Igniter sparking, but
Pilot burner will not light
1. Verify the Inlet and Manifold Gas
Pressure are within acceptable limits
2. Check all connections to gas valve
3. Check connection to stepper motor
(if available)
Pilot lights , but Main
burner will not Light
1. Check and verify all wiring connec-
tions as per the wiring diagram.
2 . Verify the inlet and Manifold Pres-
sure are within acceptable limits
Pilot lights , but Main
burner will not Light and
igniter continues to spark
1. Check the Pilot Flame Sensor Rod
and clean with steel wool or similar.
2 . Check the Pilot hood and clean
with steel wool if dirty.
3. Adjust pilot flame using the pilot
adjustment screw if the pilot flame is
too long or too short (Flame should
fully engulf the sensor rod and must
be stable).
4. Check and make sure the ground
wire from the pilot is connected to the
fireplace body.
Troubleshooting
:
SIT Nova 820:
The following is a troubleshooting chart of possible problems:
PROBLEM
CORRECTIVE ACTION
Noisy Pilot Flame
Locate pilot adjustment screw on
gas control valve. Flame is decreased by
turning adjustment screw clockwise.
Pilot won’t ignite
Disconnect remote wires and try to
light pilot. If pilot now works, remote
connections are faulty. Check wiring
diagram figure
30.
Main burner will
1. Check wiring (see figure 30).
not light
2. Check wall switch for proper con-
nection.
Pilot Burner Adjustment.
1. Locate Pilot Adjustment Screw. (See figure 30 or 31.)
2. Adjust pilot screw to provide properly sized flame as shown.
3. After installing or servicing, leak test with a soap solution with
main burner on. Coat pipe and tubing joints, gasket etc. with
soap solution. Bubbles indicate
leaks. Tighten any areas where the
bubbles appear until the bubbling
stops completely.