Niveo Professional NNAS-R8 User Manual
Page 4
- 4 -
4.
Click “Yes” to confirm.
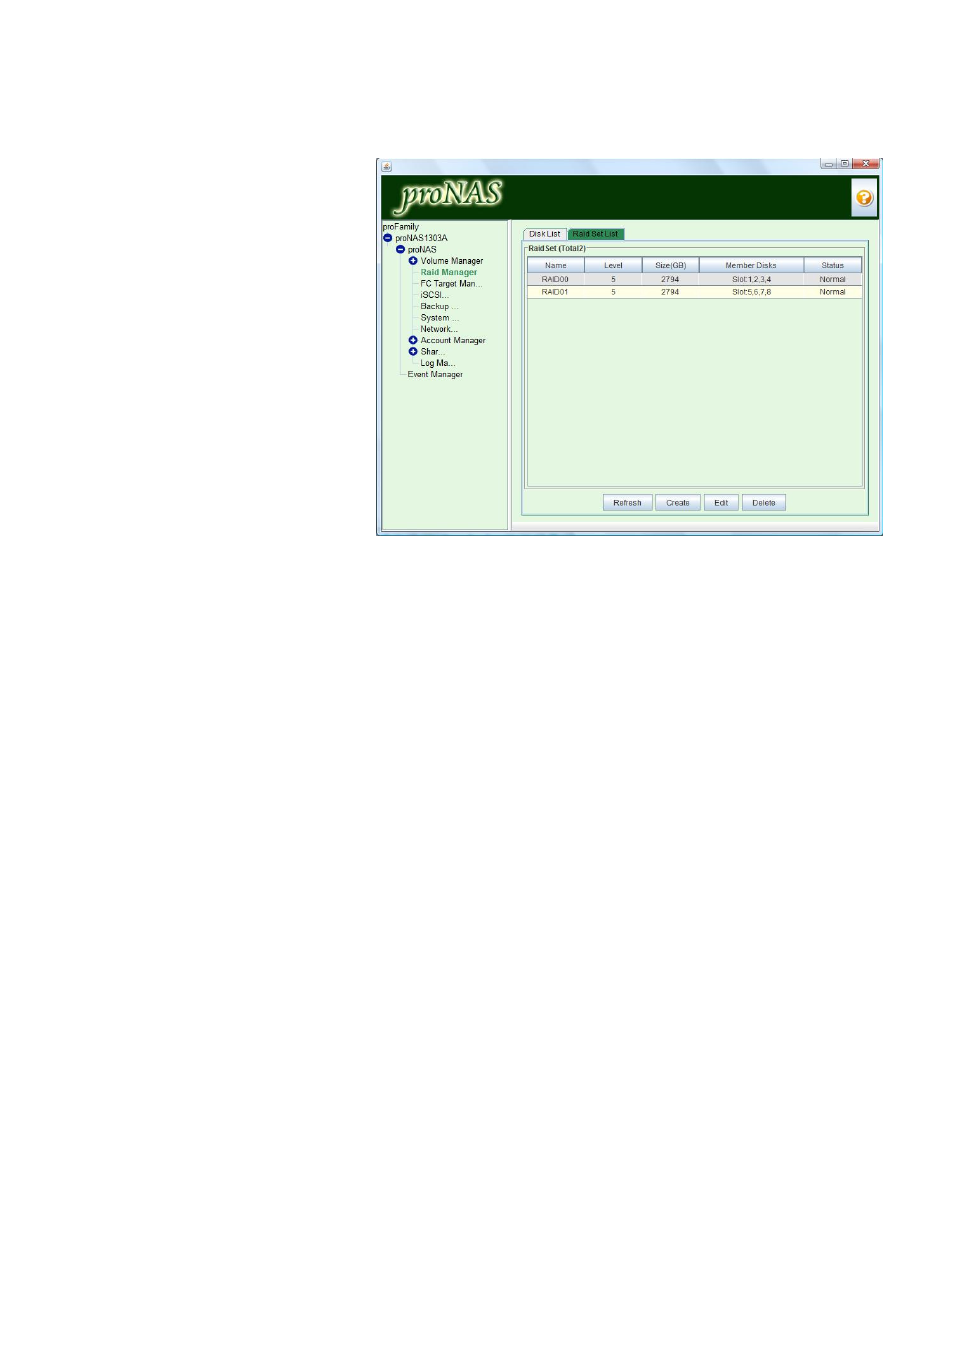
5.
The Raid Set will be created
and shown in Raid Set List.
The Status will show Normal.
6.
The NAS system will be able to detect the newly created Raid Set (RAID disk device), such as
/dev/sdb, in Volume Manager. If the disk device is not shown, click “Refresh” button in Volume
Manager.
III.
How to Join New Disk to proNASVG in Volume Manager
1.
Double-click the NAS node name and navigate down to Volume Manager until proNASVG.
2.
In proNASVG, click “Join New Disk”.
3.
From the “Available Disk(s)” list, select a Non_Initialized disk (for example: /dev/sdb). Click
“OK”.
NOTE: The disk /dev/sdb is the Raid Set you created in proNAS Raid Manager.
4.
Click “Yes” to confirm. Click “Yes” again to join disk.
5.
ProNASVG will be initialized. The NAS will reboot to free some system memory and a message
will be displayed. Click “OK” to close the message.
6.
Re-login to NAS management GUI after about 3 minutes. When the disk is successfully joined,
the default Logical Volumes “home” and “public” will be shown in the Volume List.
IV.
How to Change LAN0 (eth0) IP Address
1.
Navigate down to Network Manager. The main screen is the Network tab.
2.
Click “Edit” then select “eth0” in the Adapter List.
3.
Change the IP Address, Gateway, and Subnet Mask applicable to your network environment.
Click “Save” when done.
4.
Click “OK” to confirm. The new network settings will be updated for a while.
5.
Close the NAS management GUI and use the new IP address in the web browser, then login
again.
V.
How to Create Logical Volume and Share
1.
Under Volume Manager, select proNASVG.
2.
Click “Create New Volume”.