Step 3: power up the system, Step 4: assign ip address – Quintum Technologies Tenor Call Relay 60 Quick Start User Manual
Page 2
480-0077-00-00
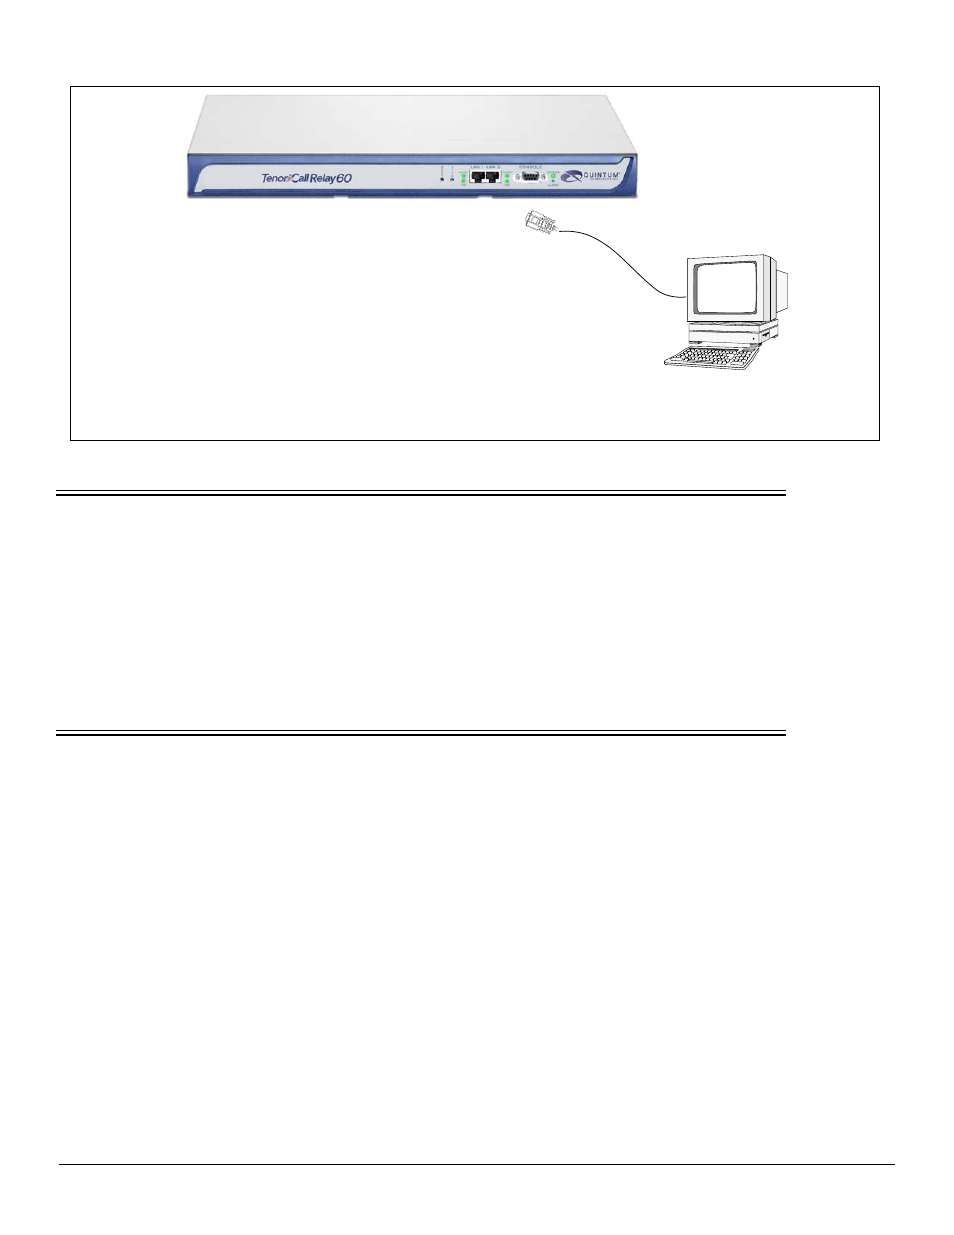
Figure 2:
DB-9
1. Insert the male end of the DB-9 cable into the port
labeled Console. (See the Tenor Call Relay 60 Product
Guide for RS-232 connector pinouts.)
2. Insert the female end of the DB-9 cable into your work-
station’s serial port (see your PC documentation for
more information about this port).
Connect to PC Com
STEP 3: Power up the System
Once you have all cables connected properly, you are ready to turn the system on as follows:
1. Plug in the power cord to an AC outlet.
2. Locate the on/off switch on the back of the unit and click the switch to On.
The unit will power up and the LEDs will flash and turn off, the power LED will remain lit. Once the unit is powered
up, you are ready to assign an IP address.
STEP 4: Assign IP Address
Before you can configure the Call Relay 60, you need to assign a valid IP address. An IP address is a 32 bit (up to 12
numeric characters) address used to identify each network device in the TCP/IP network.
Assign IP address as follows:
1. Click on Start> Programs> Accessories> Communications> HyperTerminal> Run. The HyperTerminal window
will be displayed.
2. Click on Hyperterm.
3. Enter a Connection Description (i.e., name for each unit such as CR 60 NJ).
4. Click Ok.
5. Choose the connection port on your PC from the Connect Using drop down list box (i.e., Direct to Com 1). Click
Ok. The Com1 Properties window will be displayed. See Figure 3.