Quintum Technologies Tenor Call Relay 60 Quick Start User Manual
Page 3
480-0077-00-00
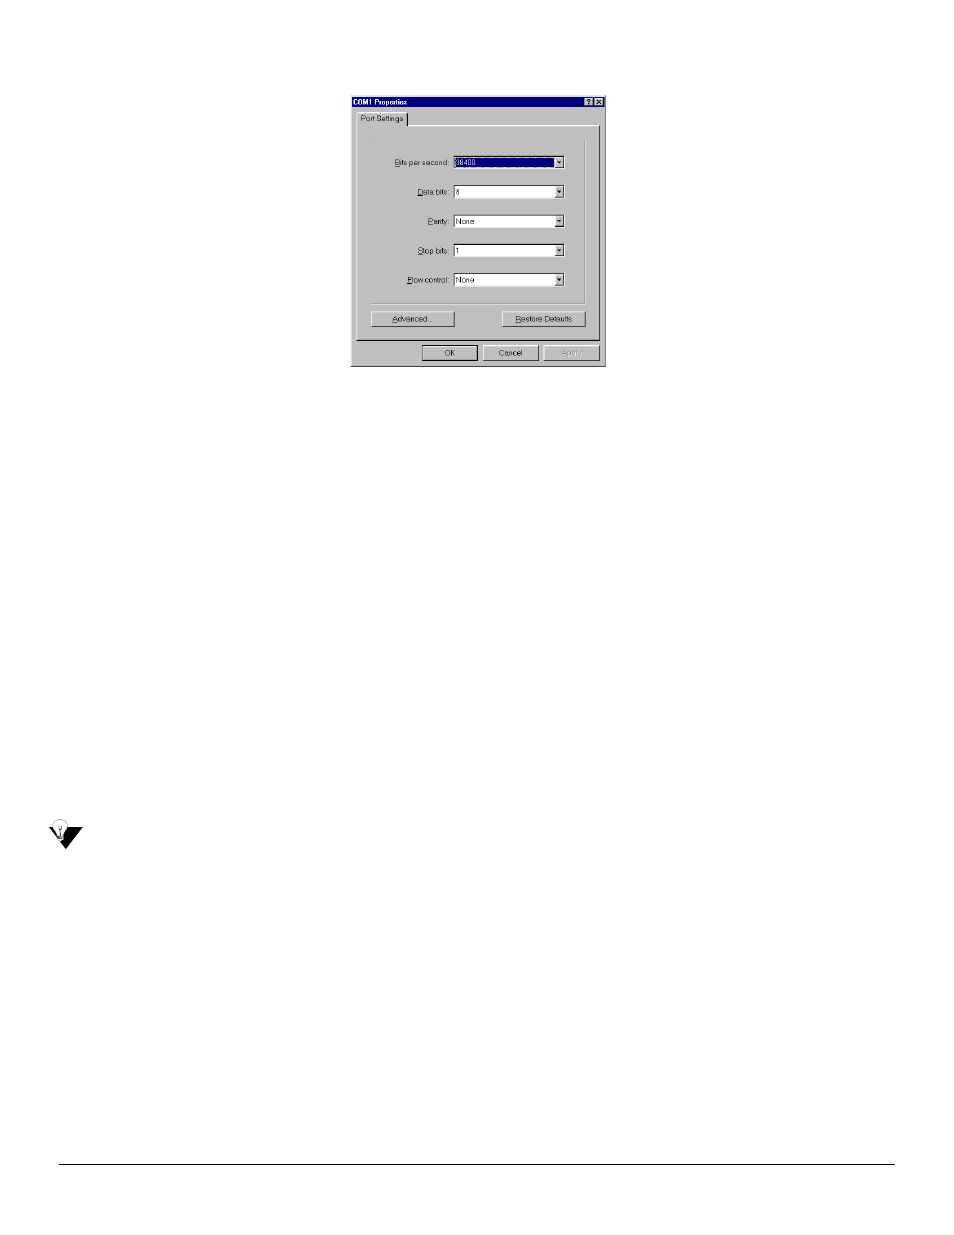
Figure 3: Port Settings Window
6. From the Bits Per Second drop down list box, choose 38400.
7. From the Data Bits drop down list box, choose 8.
8. From the Parity drop down list box, choose None.
9. From the Stop bits drop down list box, choose 1.
10.From the Flow control drop down list box, choose None.
11.Click on Ok.
12.Click on Call>Call. A connection to the Call Relay 60 will be established.
13.After the bootup sequence, the login prompt will appear.
14.Enter a login name. The default login name is admin.
15.Enter a password. The default password is admin. Questions about the unit will scroll on the screen.
16.You will be asked to configure an Ethernet port. Enter Y to configure the Ethernet port.
NOTE: If you are unsure of the following values, contact your network administrator.
17.For IP address, enter the IP address for the Call Relay 60 unit.
18.For Subnet Mask prompt, enter the subnet mask. This address is used to differentiate the network portion of the IP
address from the host portion of the IP address.
19.For Default Gateway IP, choose whether there should be a default gateway (router) which routes packet data out-
side of your LAN, and enter its IP address.
The Tenor Call Relay 60 will automatically reboot with the new IP address.