Initial operation, Prior to initial operation – REMKO RXW 350 User Manual
Page 16
16
Before starting the test runs, follow the instructions be-
low:
1. Remove the caps from the valves.
2. To begin initial operation, briefly open the shut-off
valves until the manometer displays pressure meas-
uring approx. 4 bar.
3. Check all established connections for leaks using
leak locator spray or suitable devices.
4. If you did not find any leaks, open the shut-off valves
by turning them all the way counter-clockwise with a
hexagonal wrench.
5. If you find leaks, the connection must be re-
established.
It is absolutely necessary to create a new vacuum
and dry the unit!
Functional check and test run
To ensure that the unit is functioning properly, a func-
tional check must be performed to identify any irregu-
larities during unit operation before the unit is handed
over to the operator.
This check is dependent on the installed outdoor unit.
These procedures are documented in the operating in-
structions of the outdoor unit in use.
The functional tests are started via the indoor unit.
The following must be checked:
◊
Check refrigerant pipes for leaks.
◊
Check that the fan and compressor are running
smoothly.
◊
Conduct a functional test of the indoor unit and all
program processes.
◊ Check the surface temperature of the suction pipe
and determine the evaporator overheating value.
To measure the temperature, hold the thermometer on
the suction pipe and subtract the boiling point tem-
perature recorded on the manometer from the meas-
ured temperature.
Initial Operation
Once all components have been connected and
checked, the unit can be put into operation. Initial opera-
tion must be performed using the certificate and must be
documented.
Following initial operation, the operator must be trained
in its operation and the initial operation log given to him.
Prior to Initial Operation
After the pressure check has been performed and a
vacuum is created (see the “Initial Operation” chapter in
the operating instructions for the outdoor unit), the fol-
lowing checks must be performed:
◊ Check that the condensation drains properly.
◊ Check that the additional components function prop-
erly.
Condensation pumps, etc.
◊ Check the refrigerant pipes and the insulation for
damage.
◊ Check that the electrical connection between the in-
door unit and the outdoor unit has the correct polar-
ity.
◊ Check all fixtures and suspended parts to ensure
that they are in the proper position and at the correct
height.
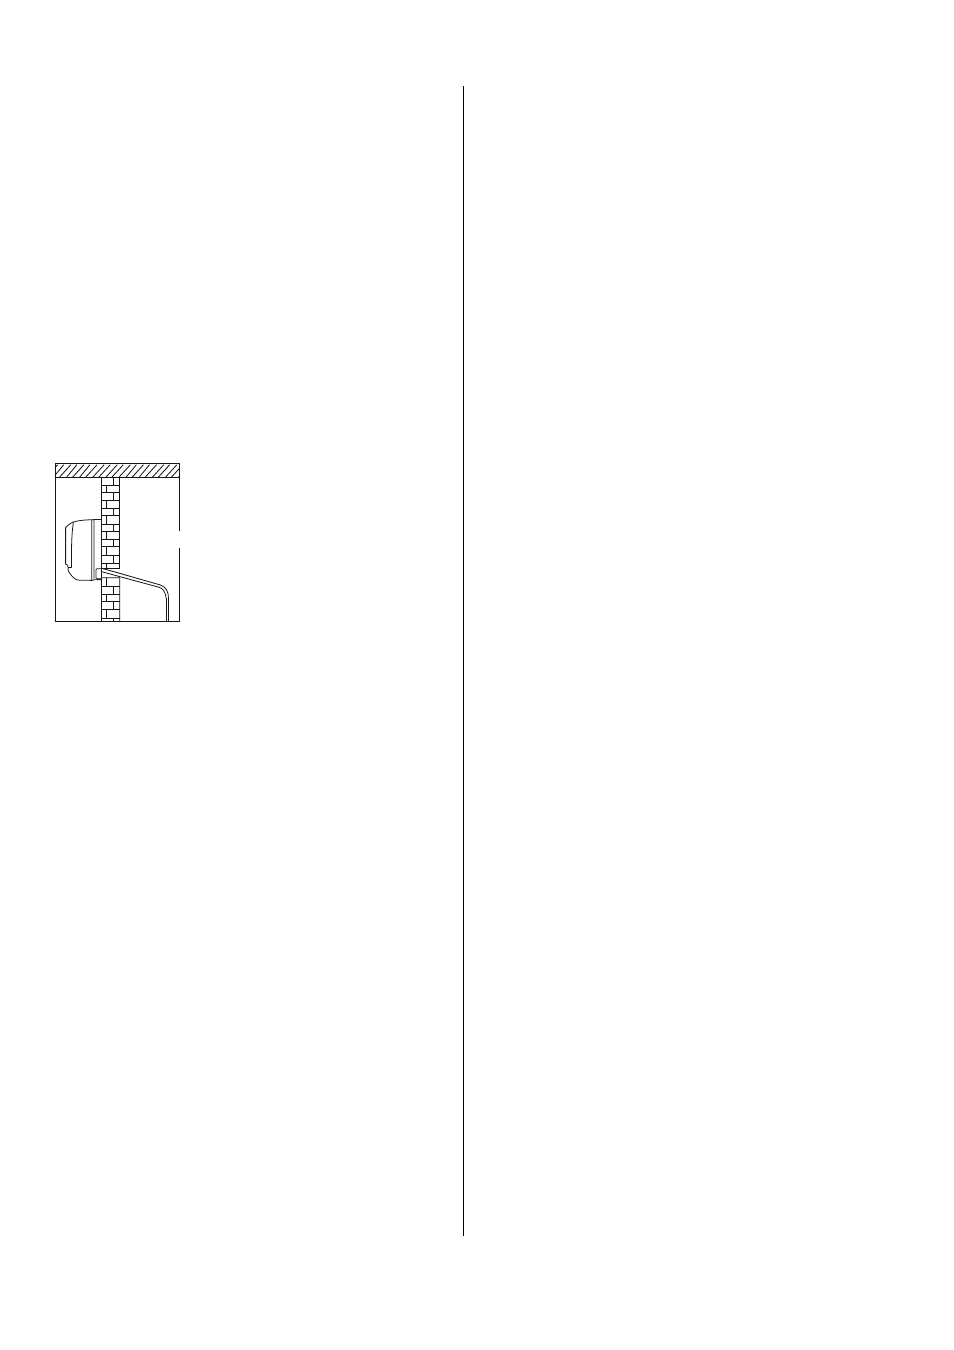
◊ Make sure there is an adequate
incline for drainage.
It must be at least 2 %!
◊ The supplied condensation
hose can be extended using
standard hoses.
◊ Since condensation is created, the condensation
hose must be isolated.
◊ After the hose has been laid, check to make sure
that condensation can drain freely.
2 % incline
Follow the instructions below to lay the condensation
hose:
◊ The condensation drainage pipe is generally
placed in the same guideway as the refrigerant
pipes.
◊ If, as a result of structural design conditions, it is nec-
essary to have a different guideway for the condensa-
tion hose, the hose can also be guided to the indoor
unit through a different drain.
◊ If the unit is being operated at outside temperatures
below 0°C, the hose must be placed in such a way
that it is protected from frost.
◊ Always use suitable hose clips.
◊ If the condensation is being guided to a drainage
pipe, please install a siphon-like hose guideway
which acts as an odour seal.