Transition and clip margin, Gpufx transition – Grass Valley EDIUS Pro v.7.0 User Manual
Page 90
Editing
82
EDIUS -
User Guide
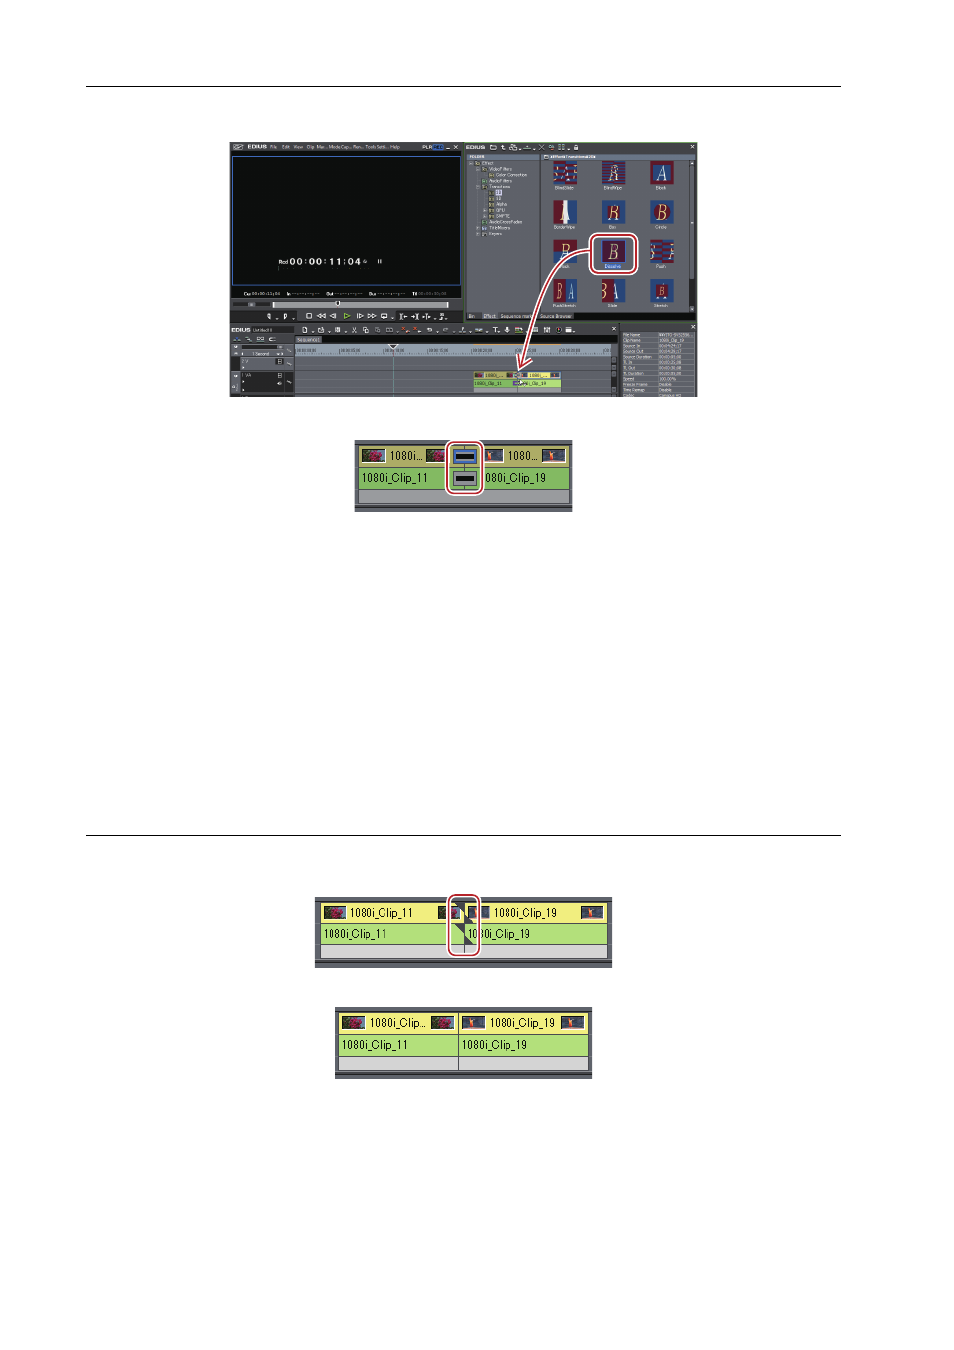
3 Drag and drop [Dissolve] to the transition part of a clip (video part) on the timeline.
The timeline display changes as shown below. [Linear out/in] for audio cross fade is added at the same time.
3
•
To change the duration of the transition, right-click the transition on the timeline, select [Duration], and then set
the duration.
4 Click on the transition of the clip (video part) to which [Dissolve] is applied.
How to Adjust Effects
5 Select [Dissolve] in the [Information] palette, and click [Open Setup Dialog].
The [Dissolve] dialog box appears.
6 Set each item and click [OK].
Transition and Clip Margin
0
Transition is an effect that overlays images of 2 adjacent clips and gradually shifts to the next scene. For the overlaying
operations, you can use either of the extend mode or fix mode.
For details on the extend mode/fix mode, see the Reference Manual.
Clip Margin Existence
If there is no clip margin, transition cannot be applied in the extend mode (except for the mixer part).
If clips do not have margins, triangle marks are added at the edges of the clips.
If clips have margins, they are displayed as in the following figure.
GPUfx Transition
0
High quality and complex transitions that use the GPU (Graphics Processing Unit) can be set. A large number of
presets are included in the [GPU] effect folder. If you want to set parameters to create a new transition, they can be set
and applied from the [Advanced] folder.
The setting dialog box of each transition contains [Design] settings to adjust the motion, lighting, etc. and [Time]
settings to specify a key frame for changing the motion along the time axis. These settings can be used to apply
complex motion and effects.